NOTE: To find out how you can create a macro-enabled template, check out this article.
Table of Contents
1.Access Word Options.

2.Look in the Add-ins Tab.

3.Load up the Templates and Add-ins menu.

4.Select the template you want to attach.

5.Enable the macros.

6.Test out the macros.
To attach a macro-enabled template to a Microsoft Word document, refer to the instructions below.
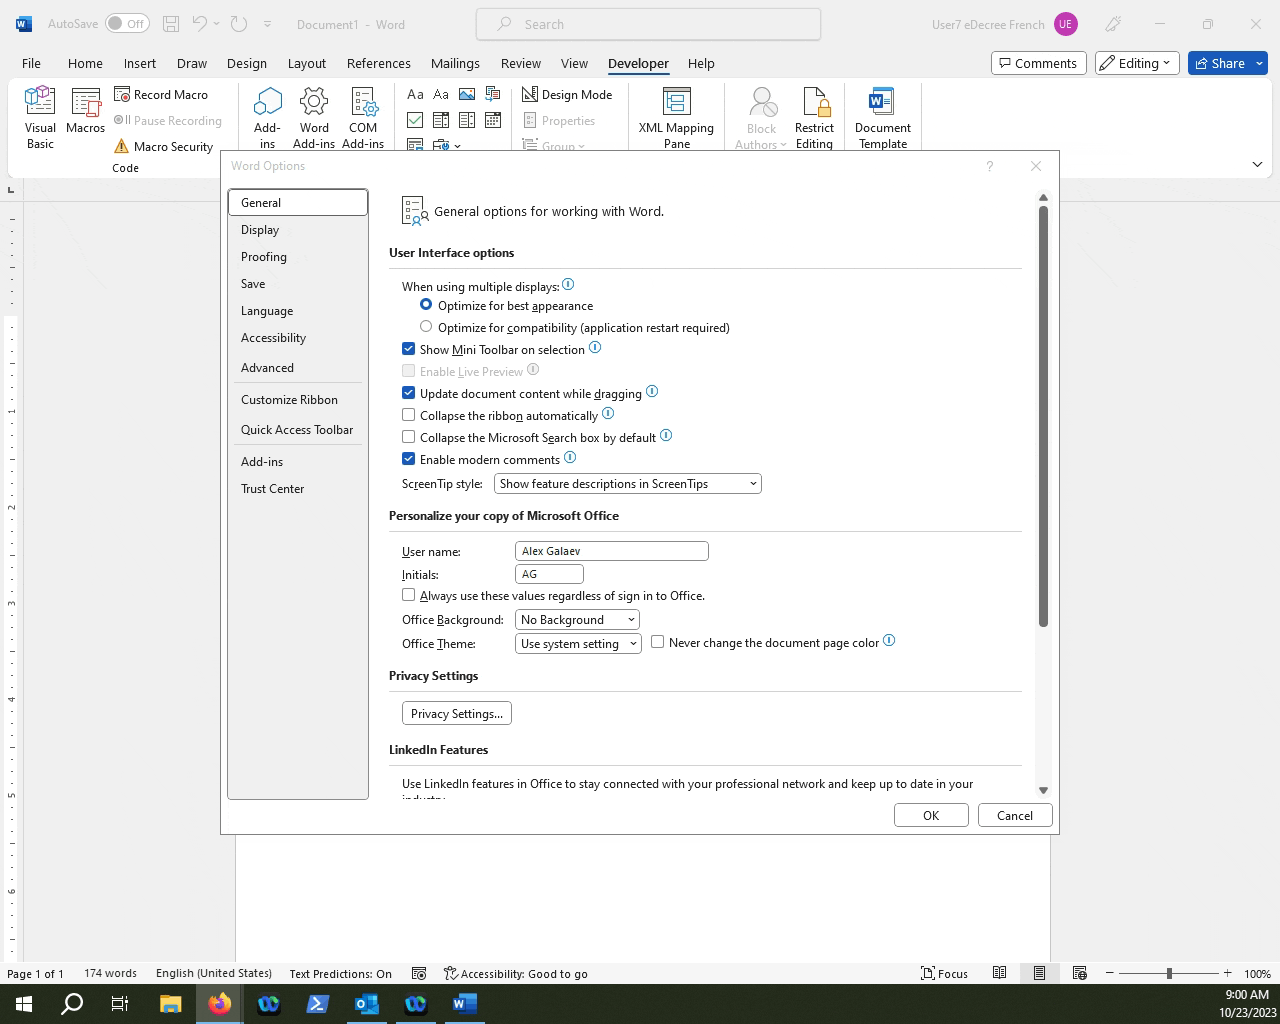
Click File.
Click Options.
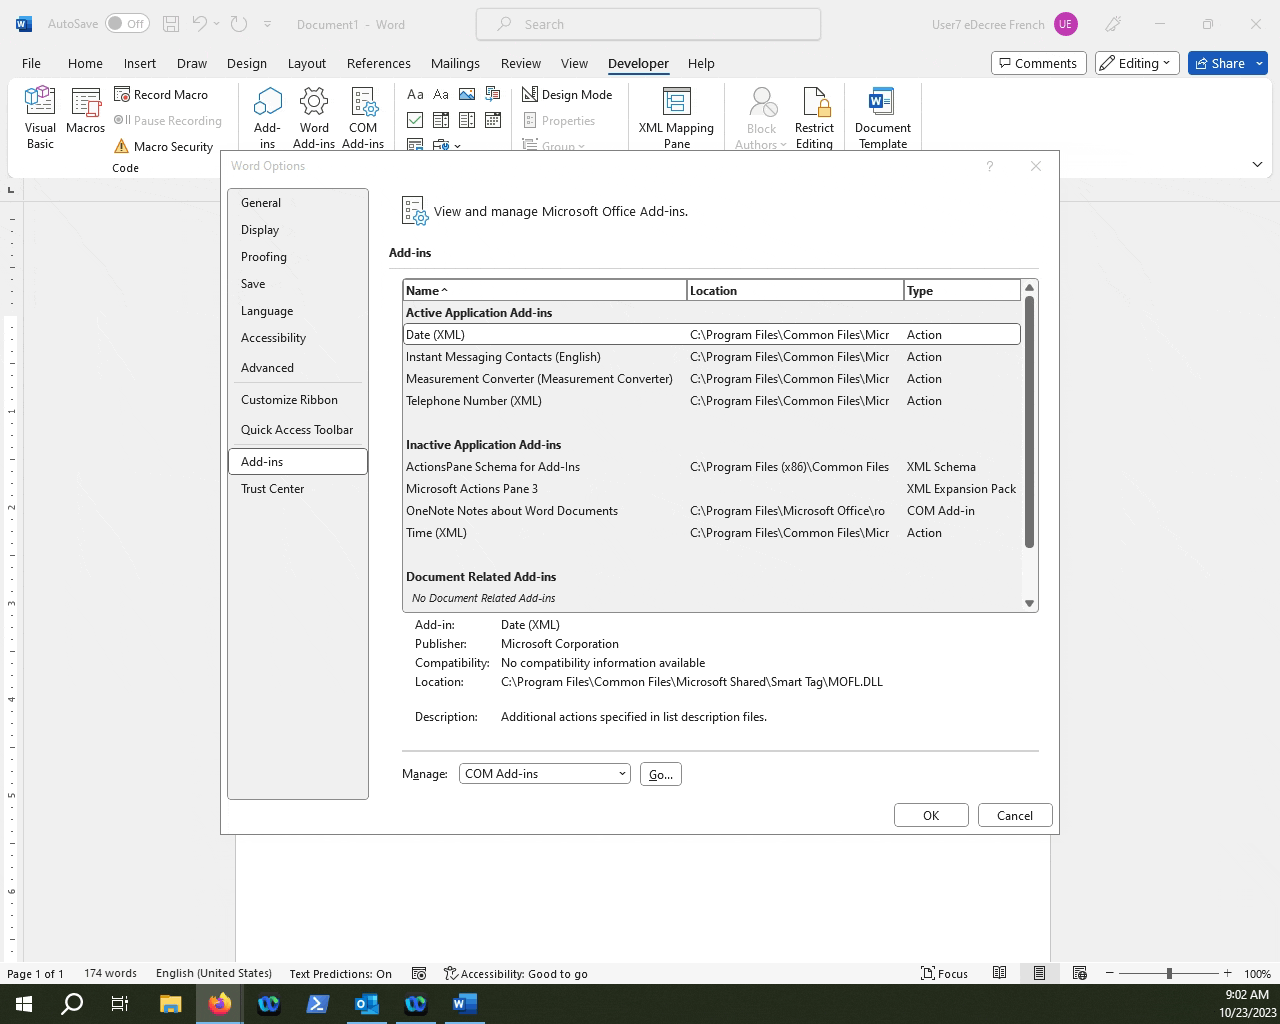
Click Add-ins.
Click the "Manage" drop-down list and select Templates. Then click Go.
Click on "Attach..." and navigate to the template you want to load into the document.
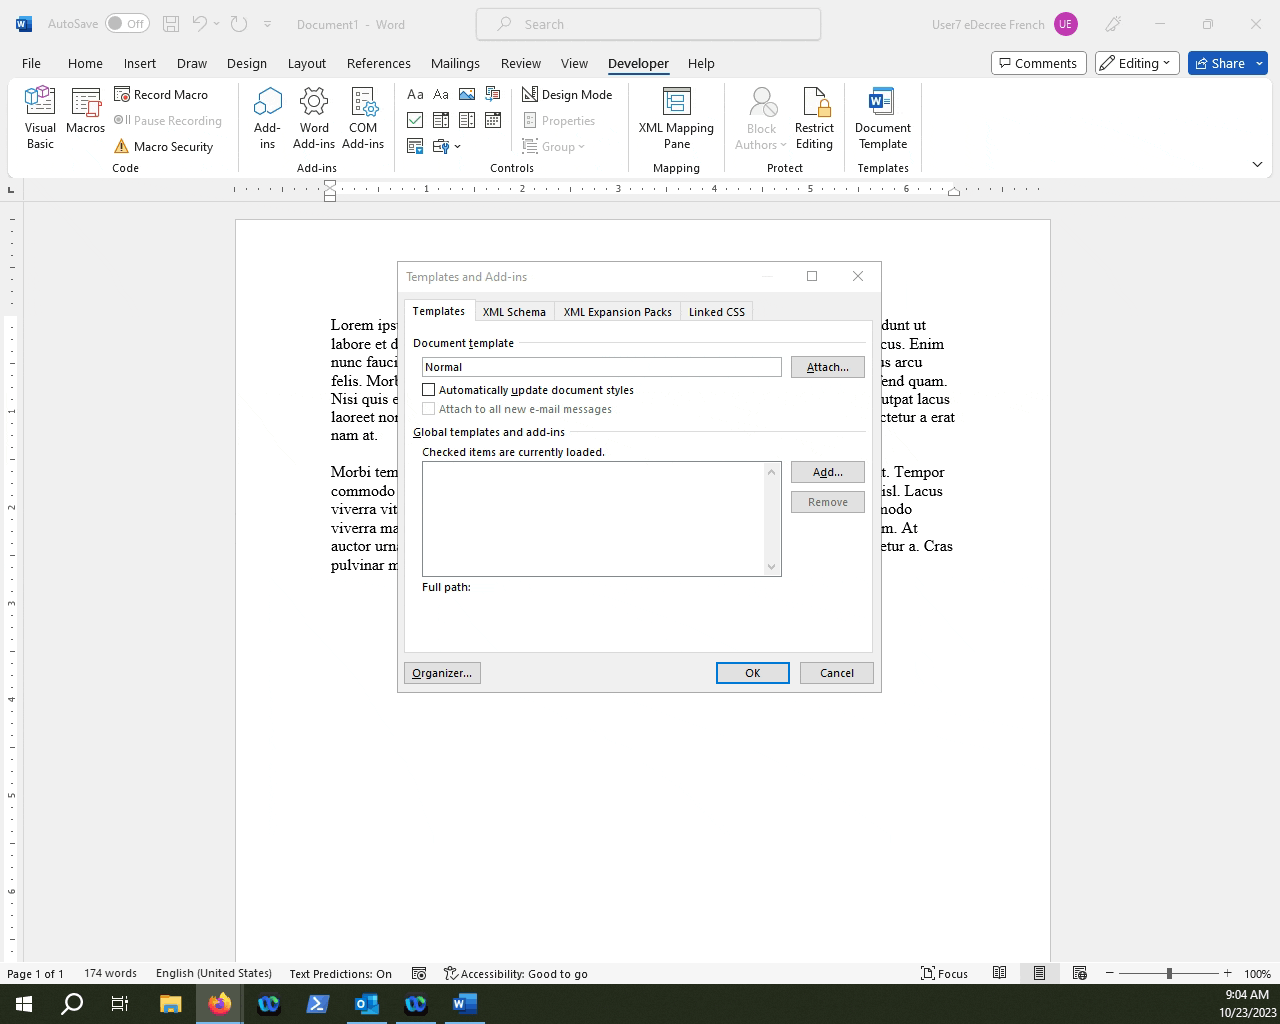
NOTE: If you also want to load in the Styles that are created in the template, you can check off the "Automatically update document styles" checkbox.
Click OK.

NOTE: If you see the message that tells you that Macros have been disabled, click on the Enable Content. If the macros are still disabled, refer to this article.