![Loom_Analytics_Logo_Transparent.png]](https://support.loomanalytics.com/hs-fs/hubfs/Loom_Analytics_Logo_Transparent.png?height=40&name=Loom_Analytics_Logo_Transparent.png)
NOTE: Check out this article to learn more about keyboard shortcuts in MS Word.
Table of Contents
1.Use the View Tab to Look at Current Macros

2.Access the File Tab

3.Navigate to the Options Menu

4.Find the Customize Ribbon Option

5.Open the Customize Keyboard Menu

6.Look For the Macro Category

7.Edit Your Macro Hotkey

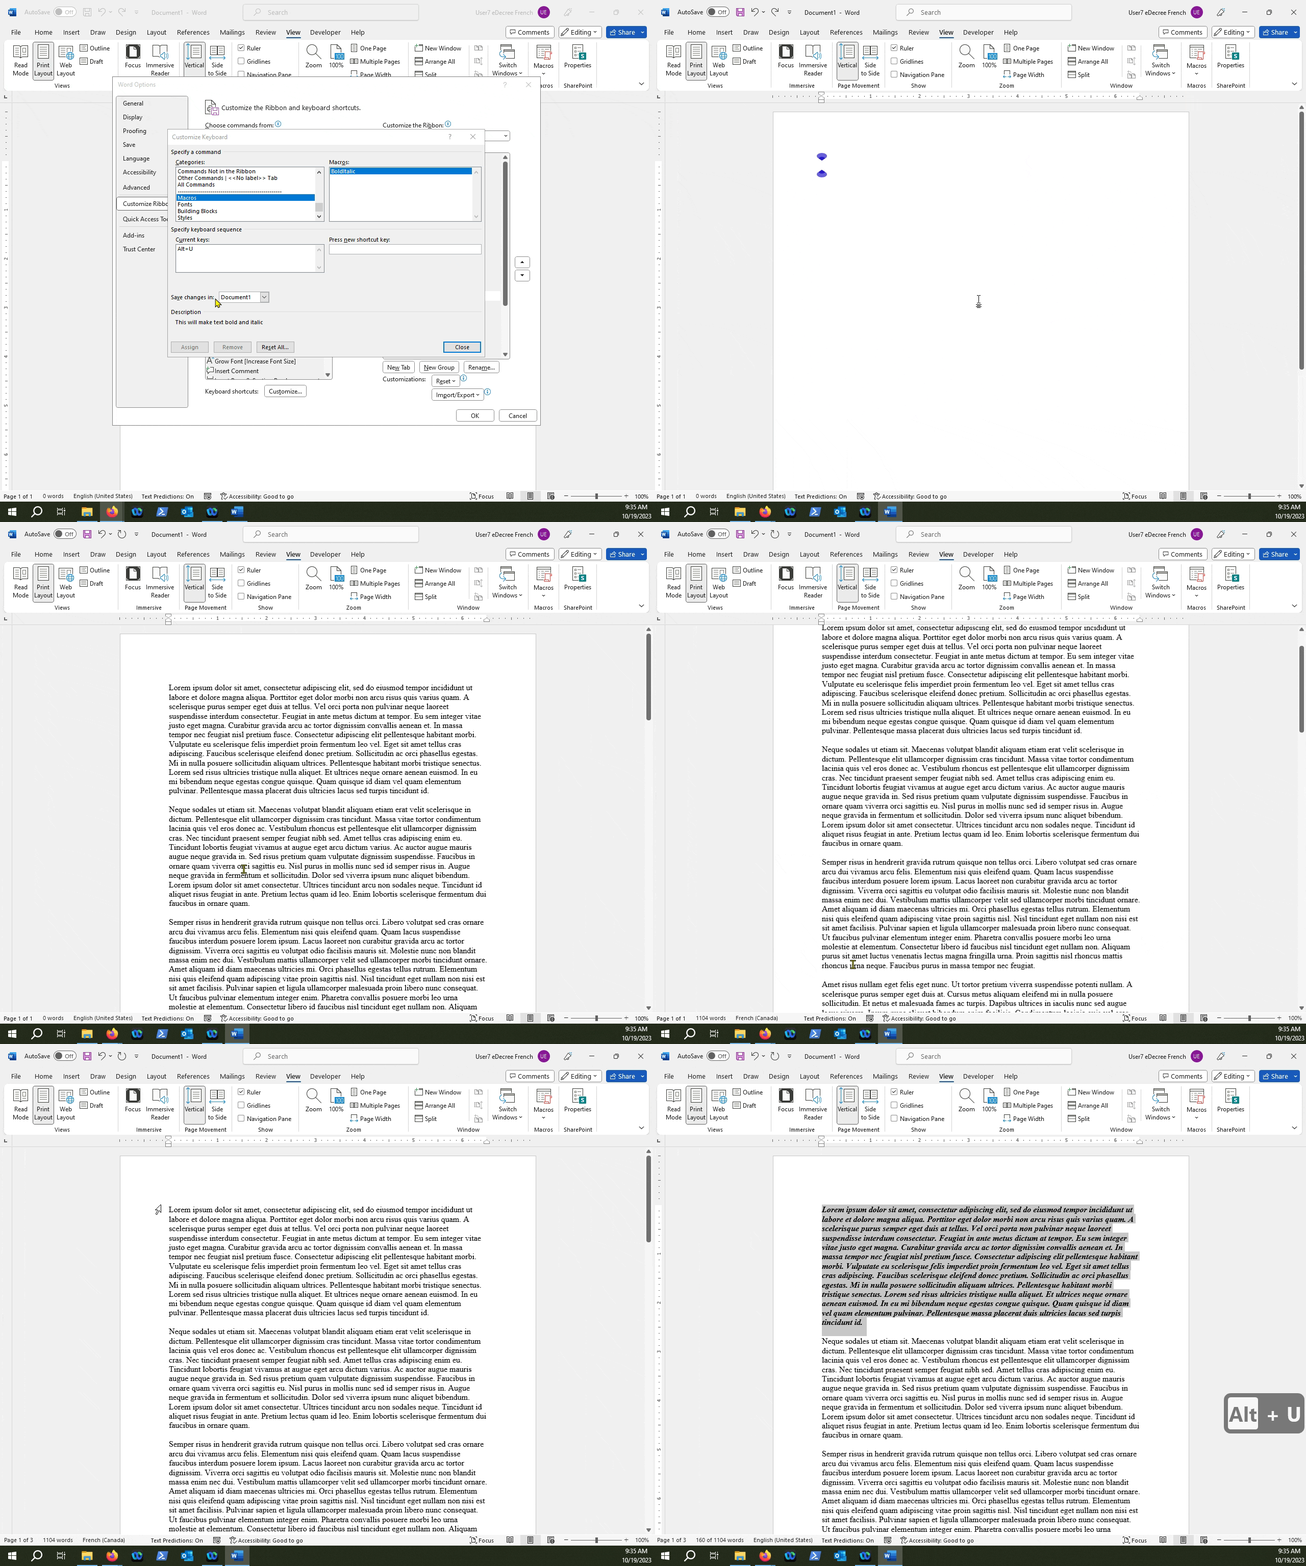
8.Test Your Changes
Sometimes we may forget which hotkey a macro is assigned to, and if we check the Macro menu in the Ribbon, it doesn't really display that information right away. Let's take a look at a macro we previously created in this article and see how we can change its hotkey.
Open the Macro menu by going into the View tab
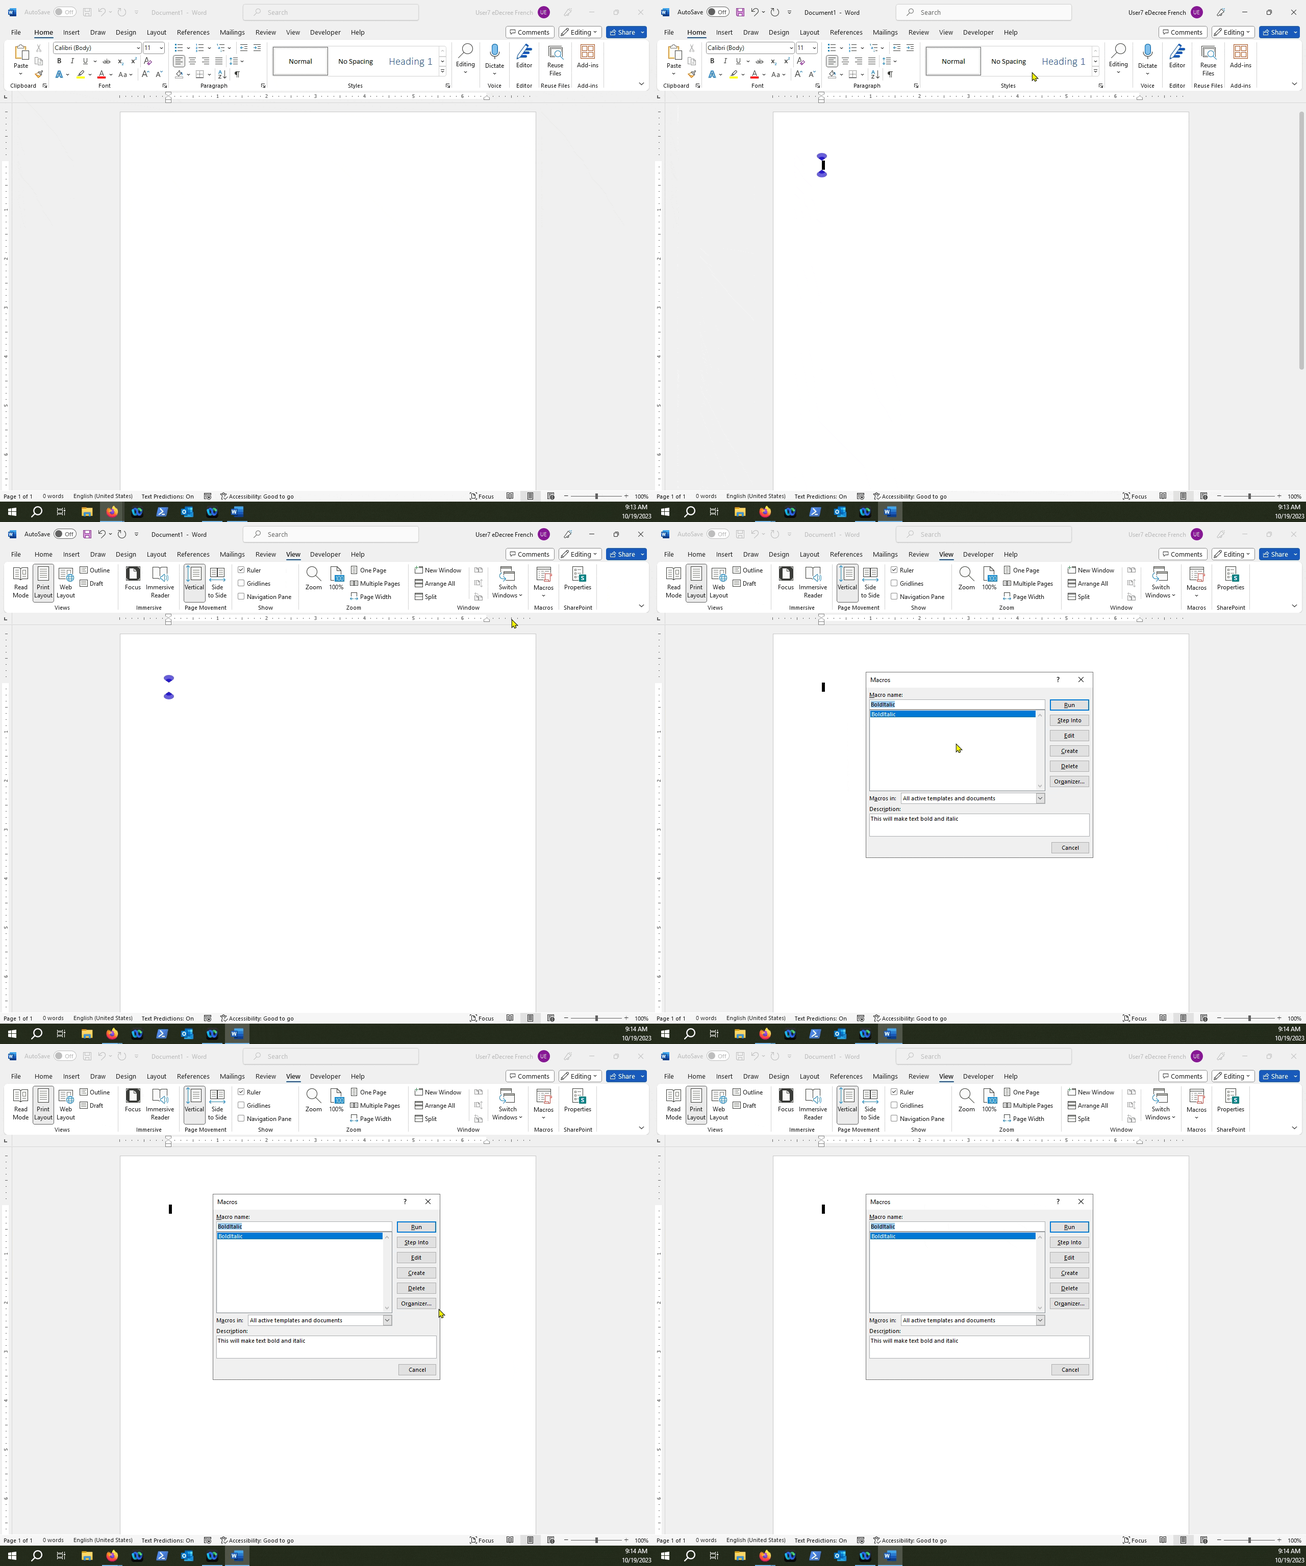
NOTE: Notice how the hotkey we created isn't displayed. You can, of course, provide the hotkey in the description when you create the macro, but you don't really need to, as there is a way to see which shortcut a macro is mapped to.
Click on "File"...
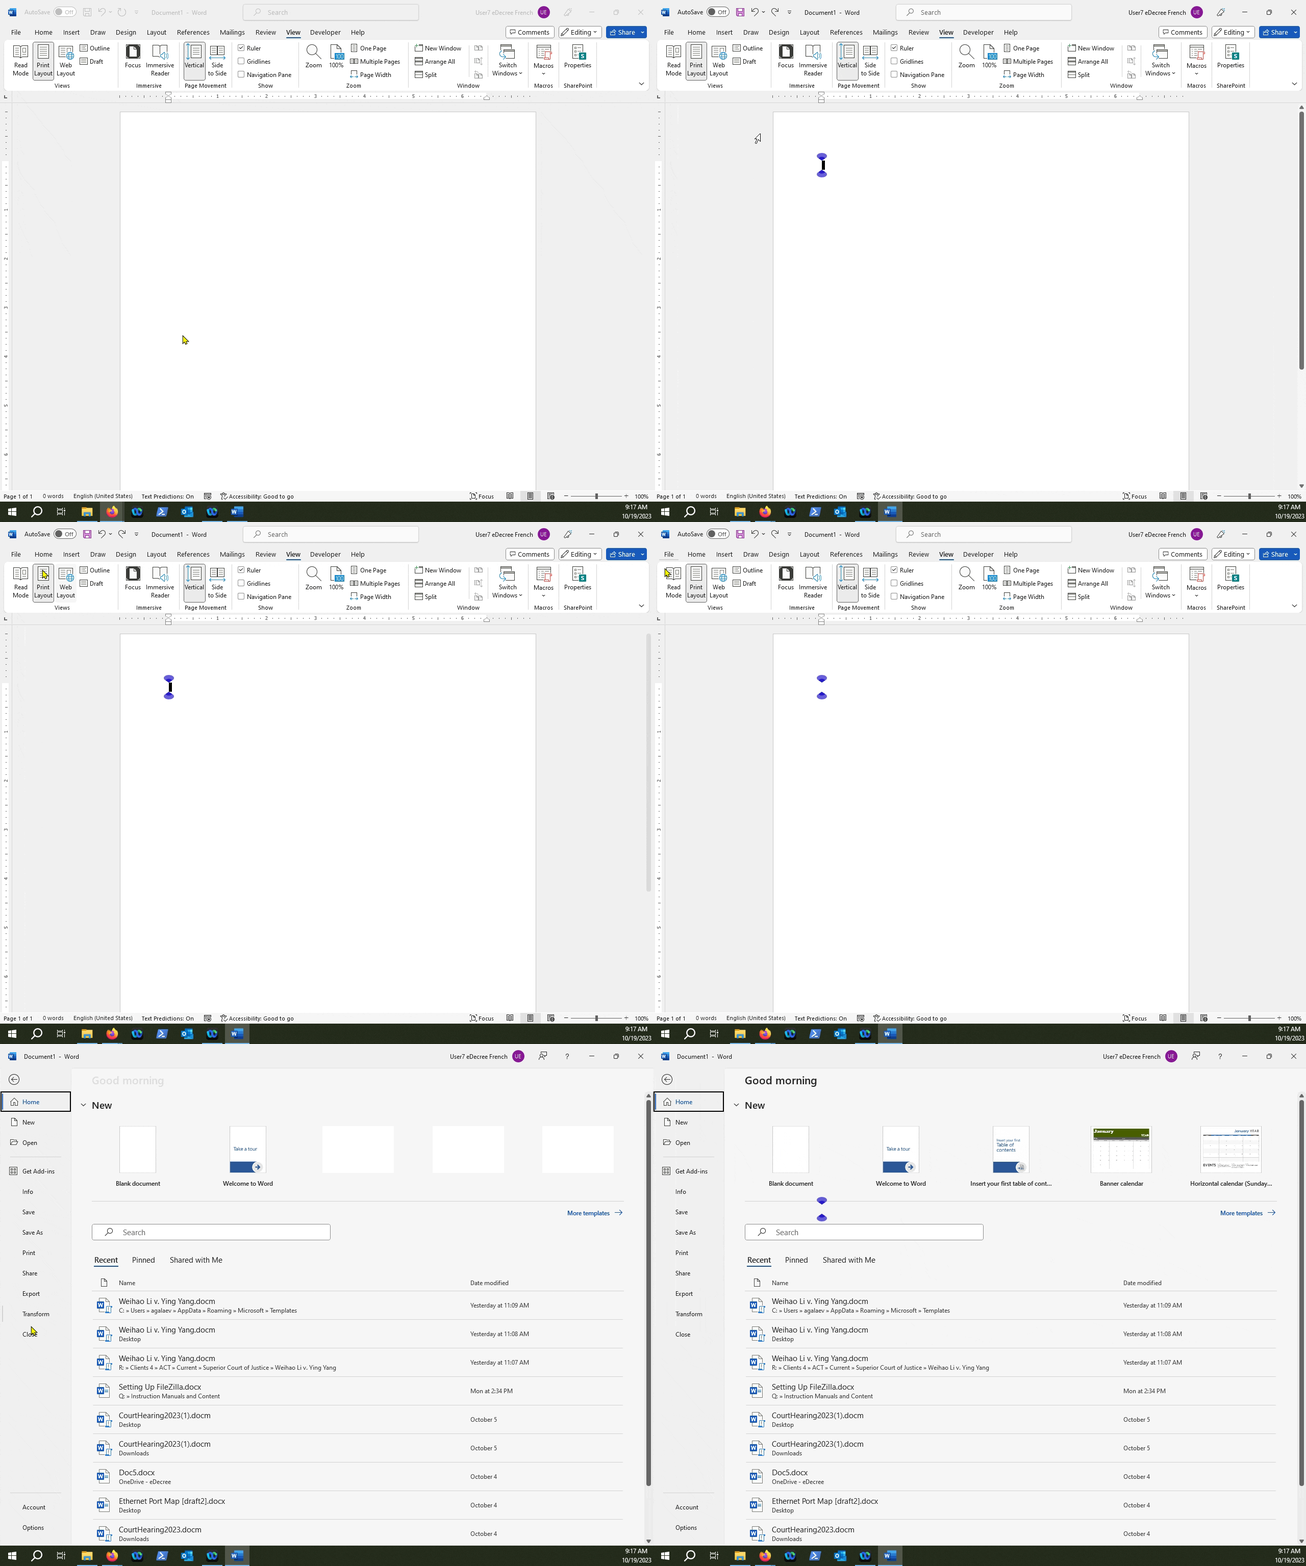
Click on "Options"...
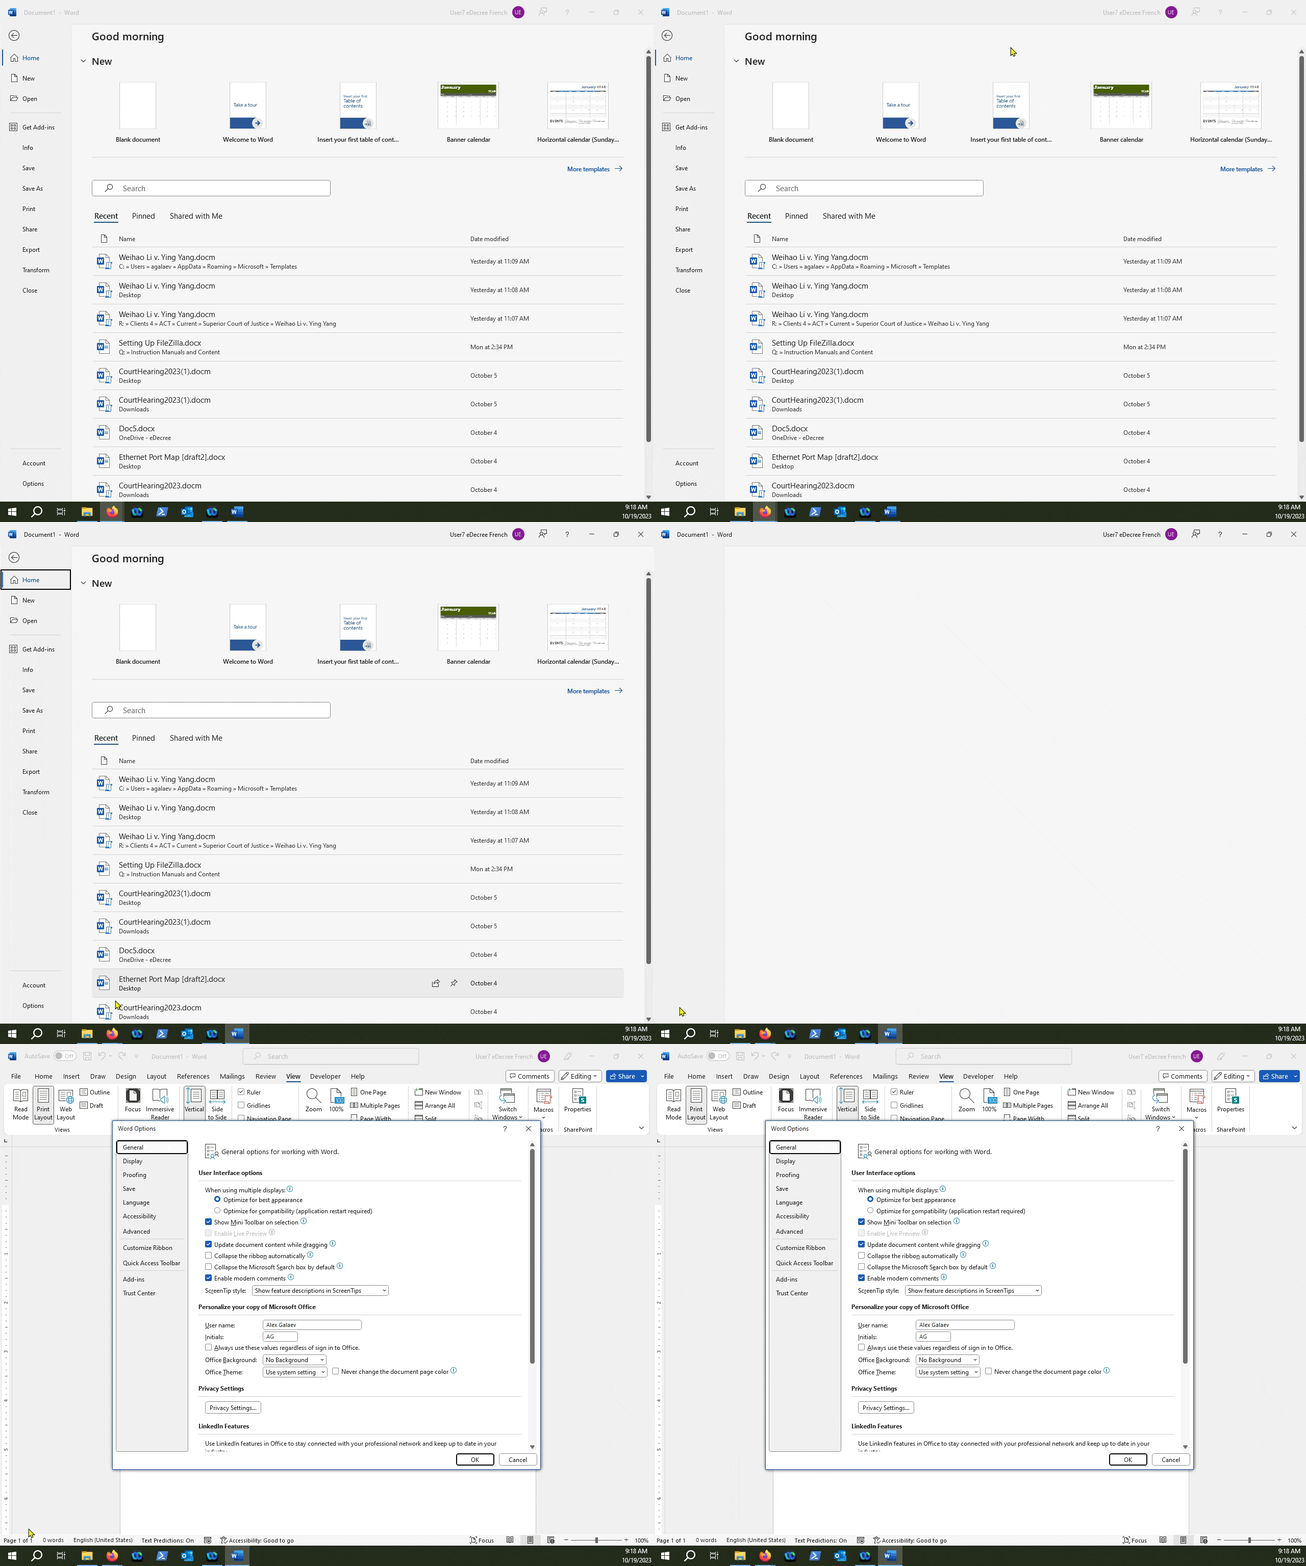
Click on "Customize Ribbon"...
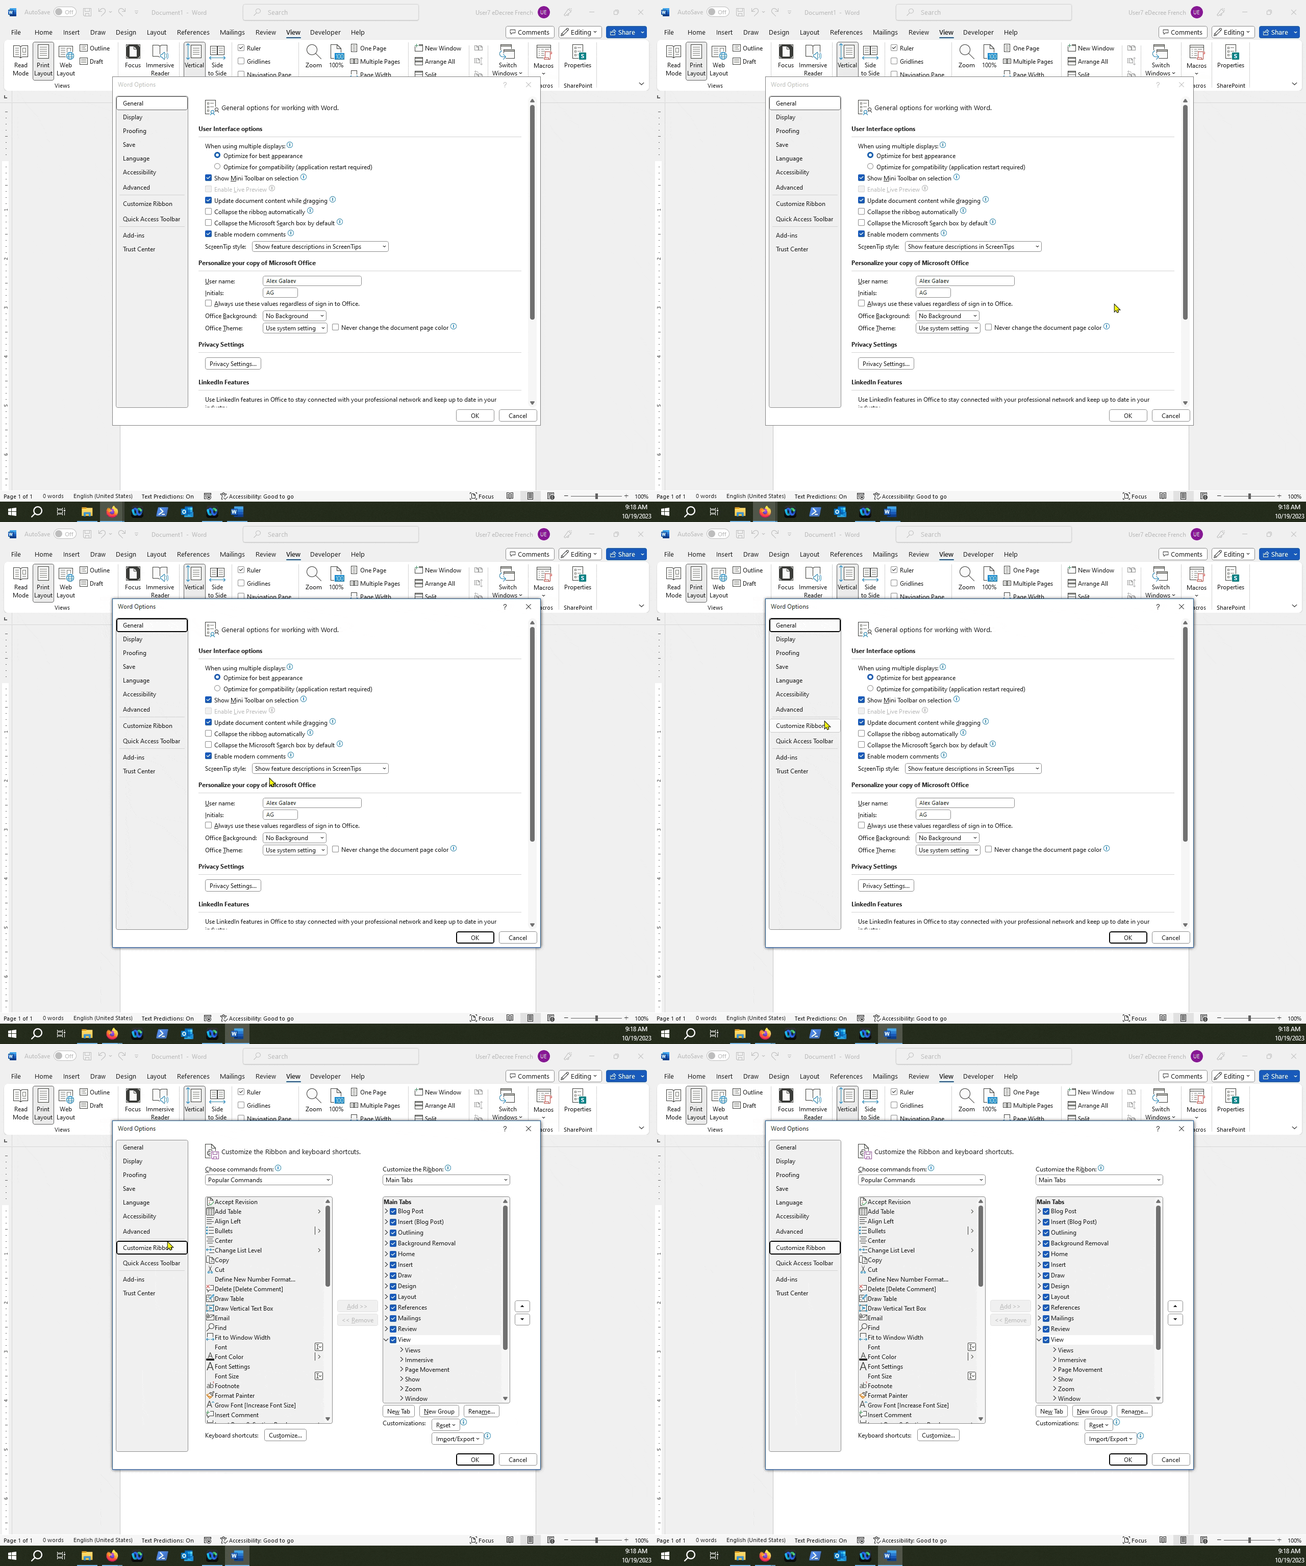
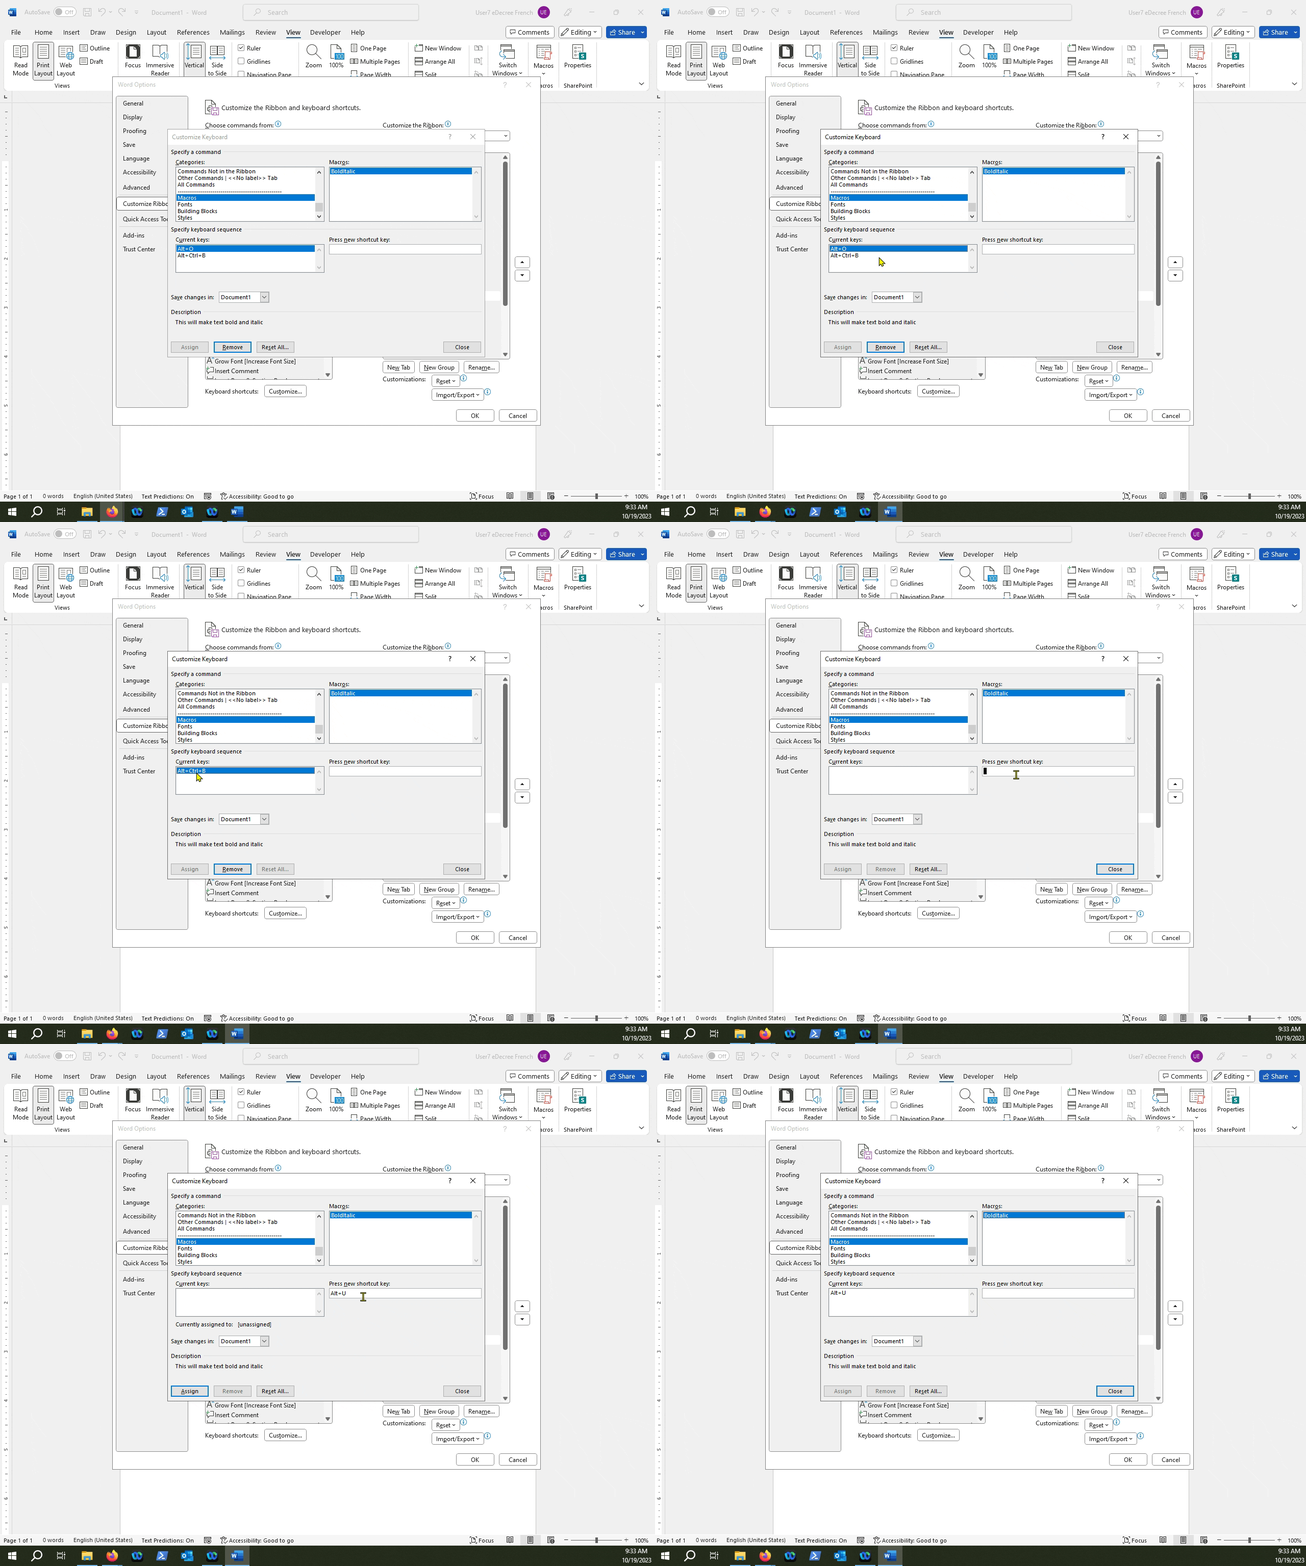
Click on "Customize..." next to "Keyboard Shortcuts"
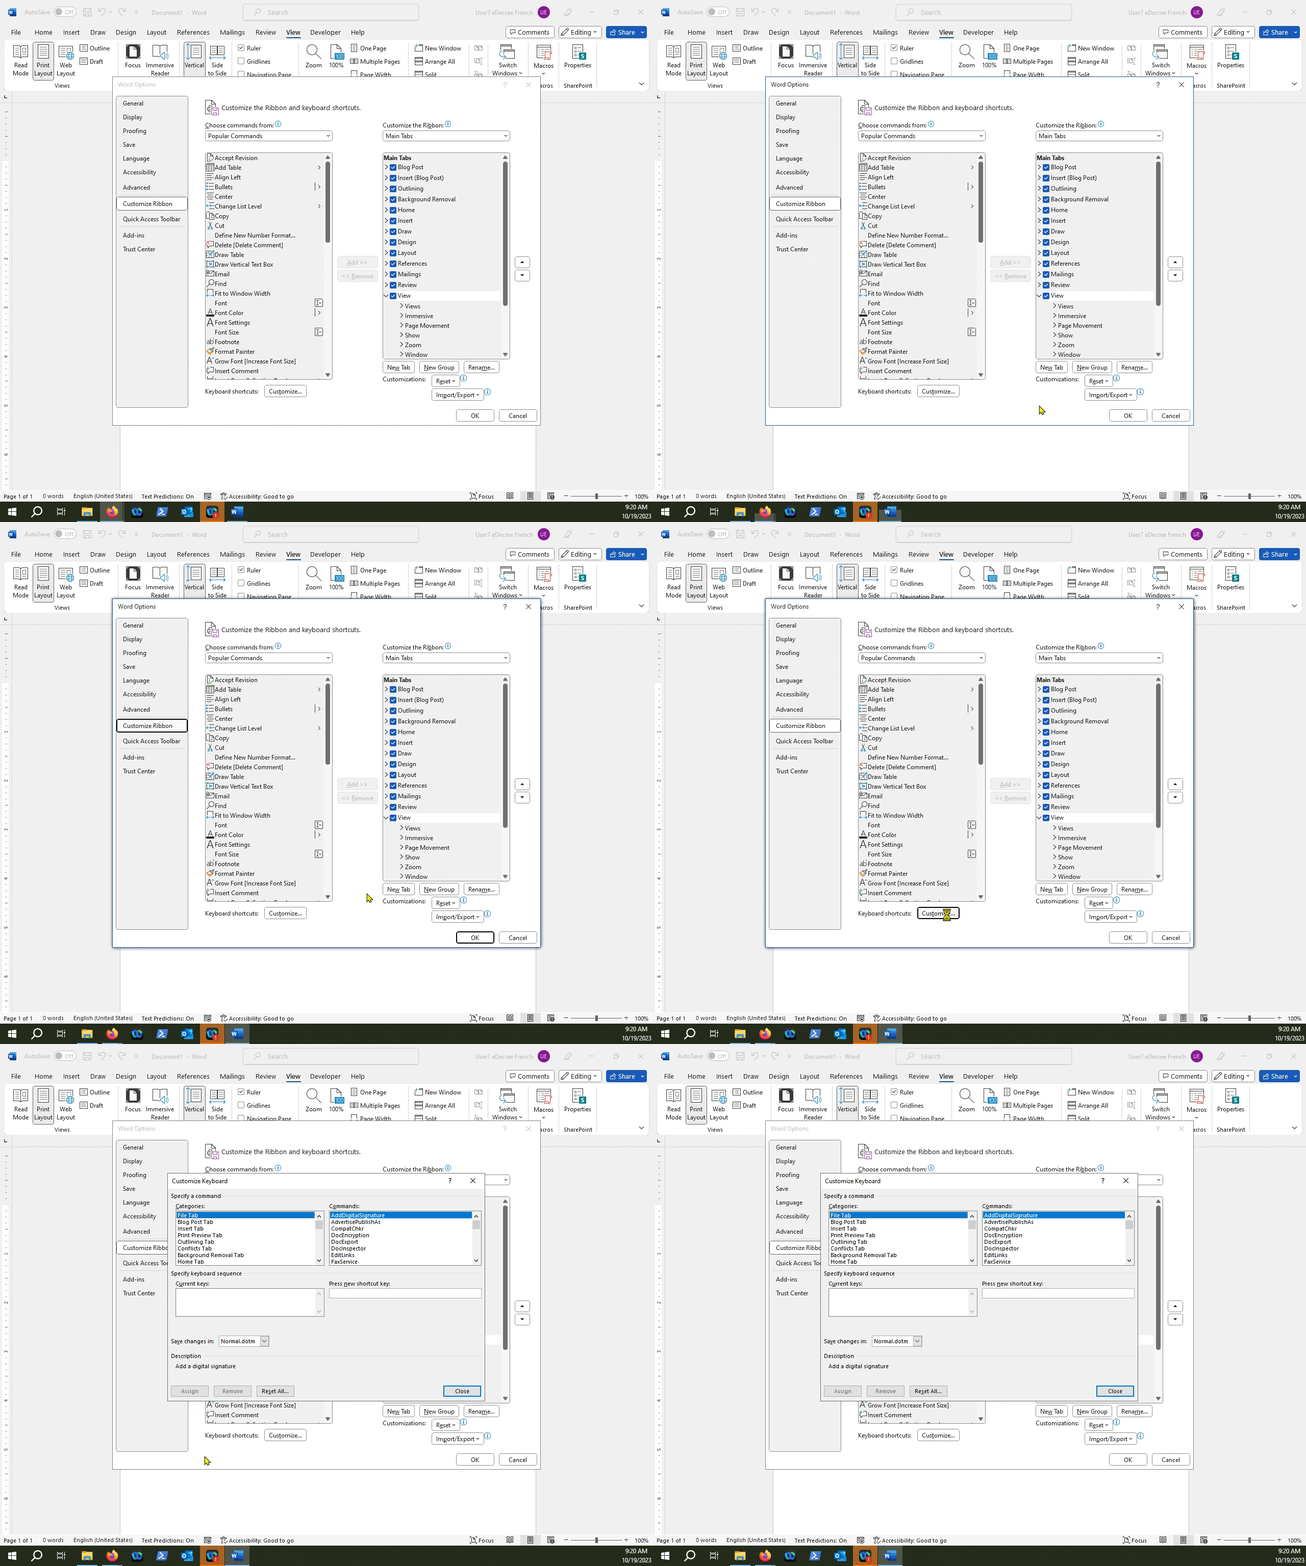
On the left hand side, in the "Categories" section, scroll down to the "Macros" category
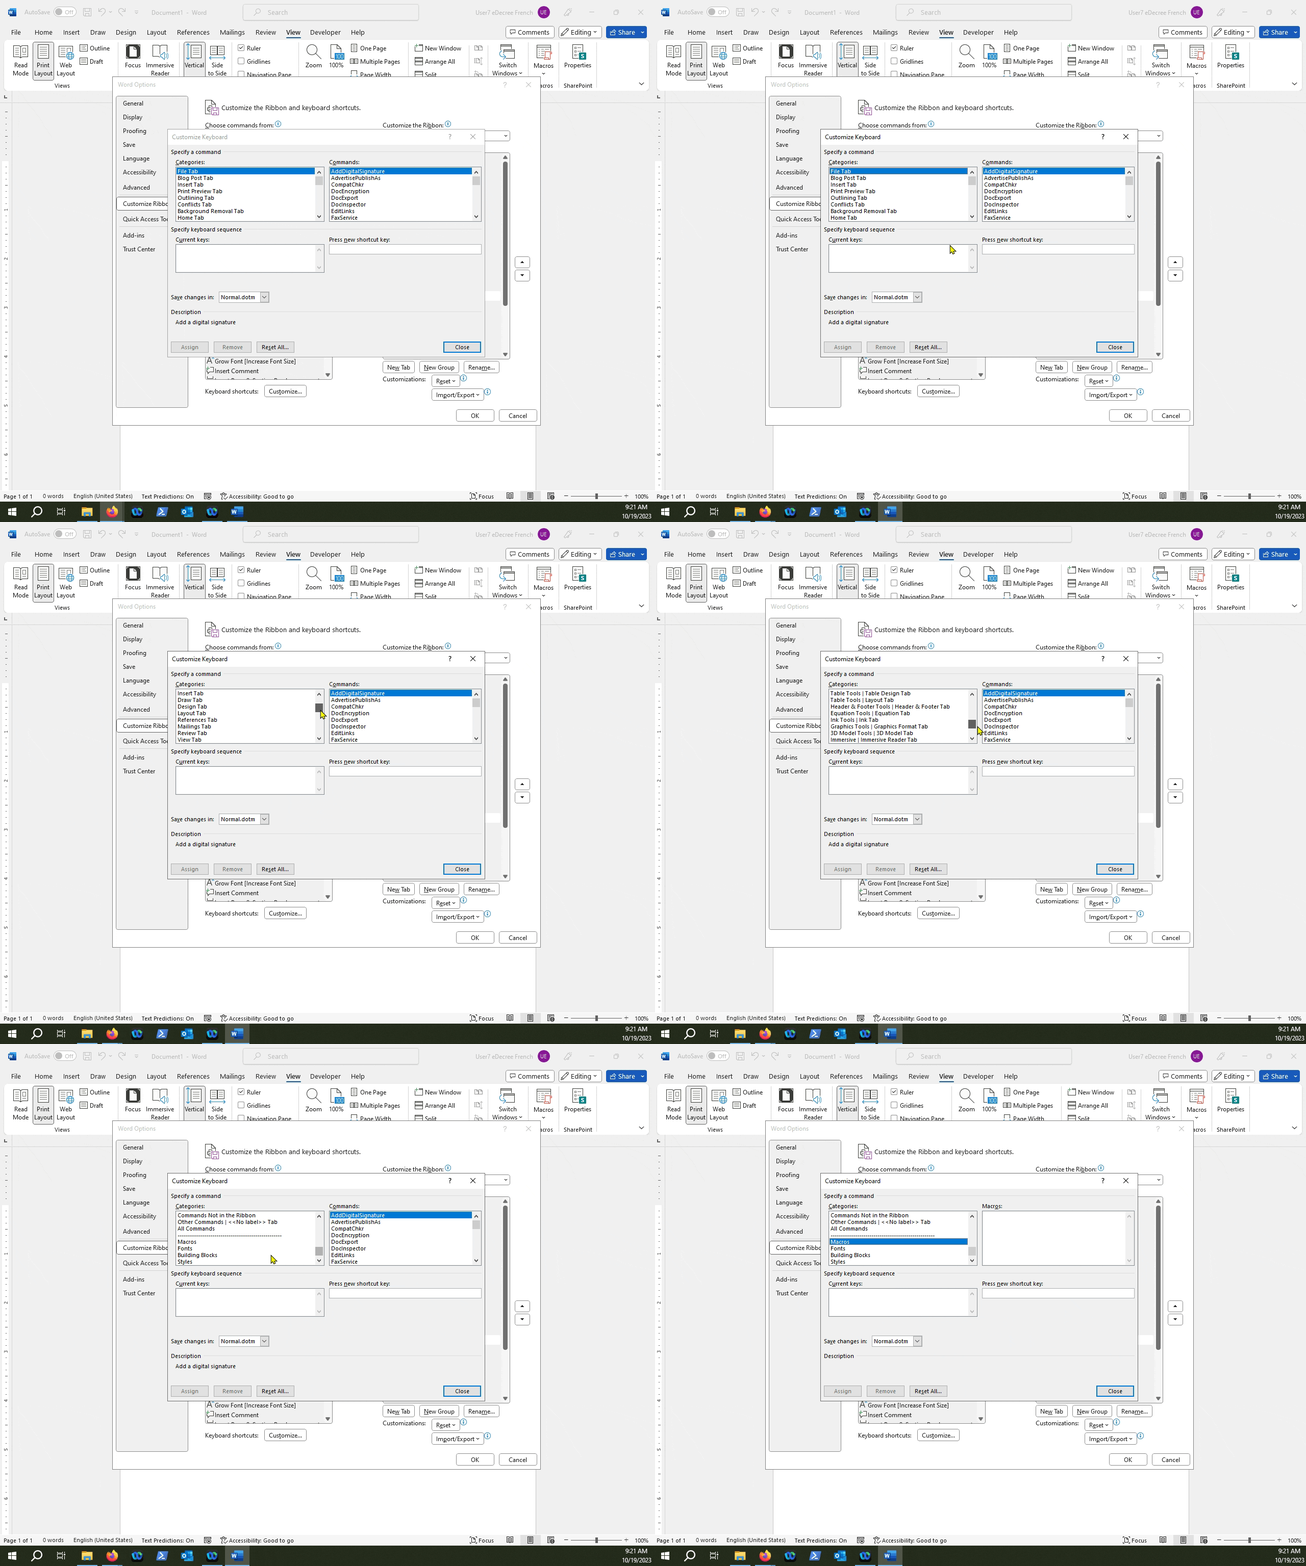
Choose the template where the macros are stored
In this case, we stored the BoldItalic macro in the document itself and not in the Normal.dotm template
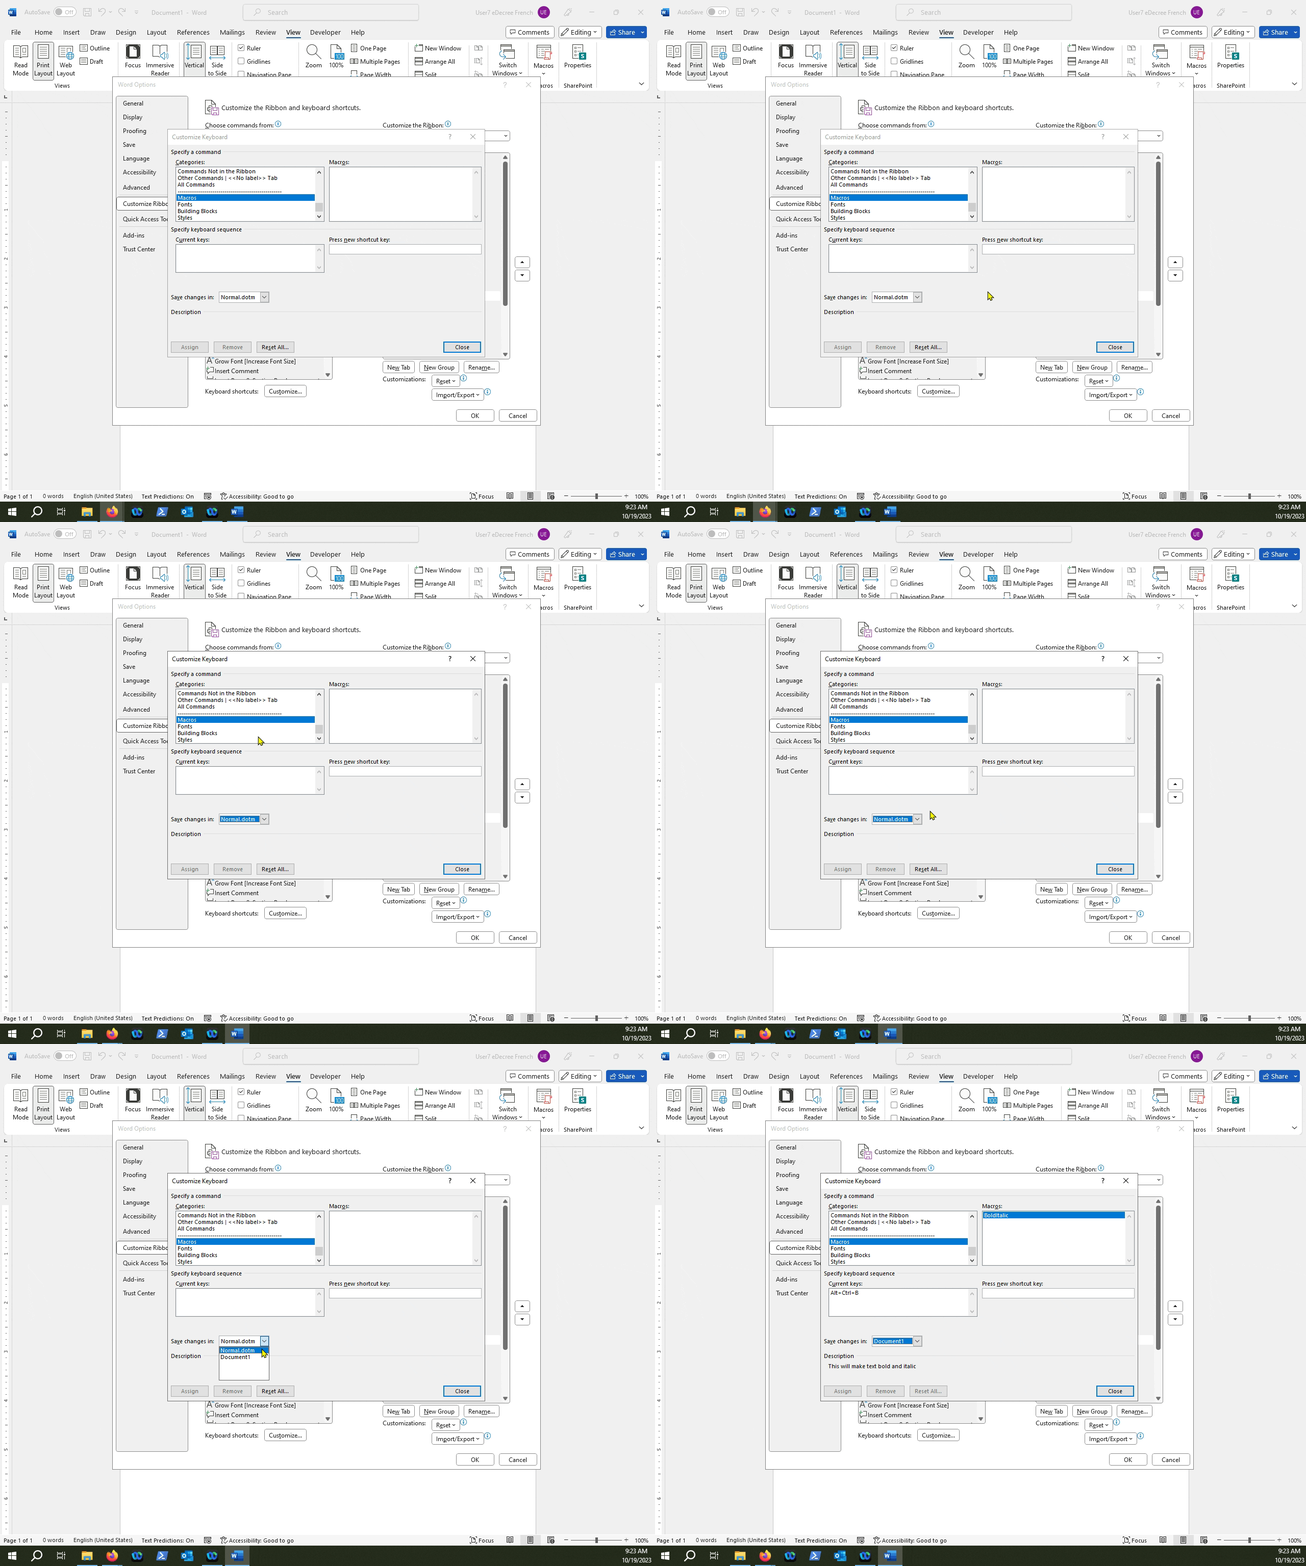
Select a macro you would like to edit, and notice the current hotkey(s) on the left-hand side of the menu
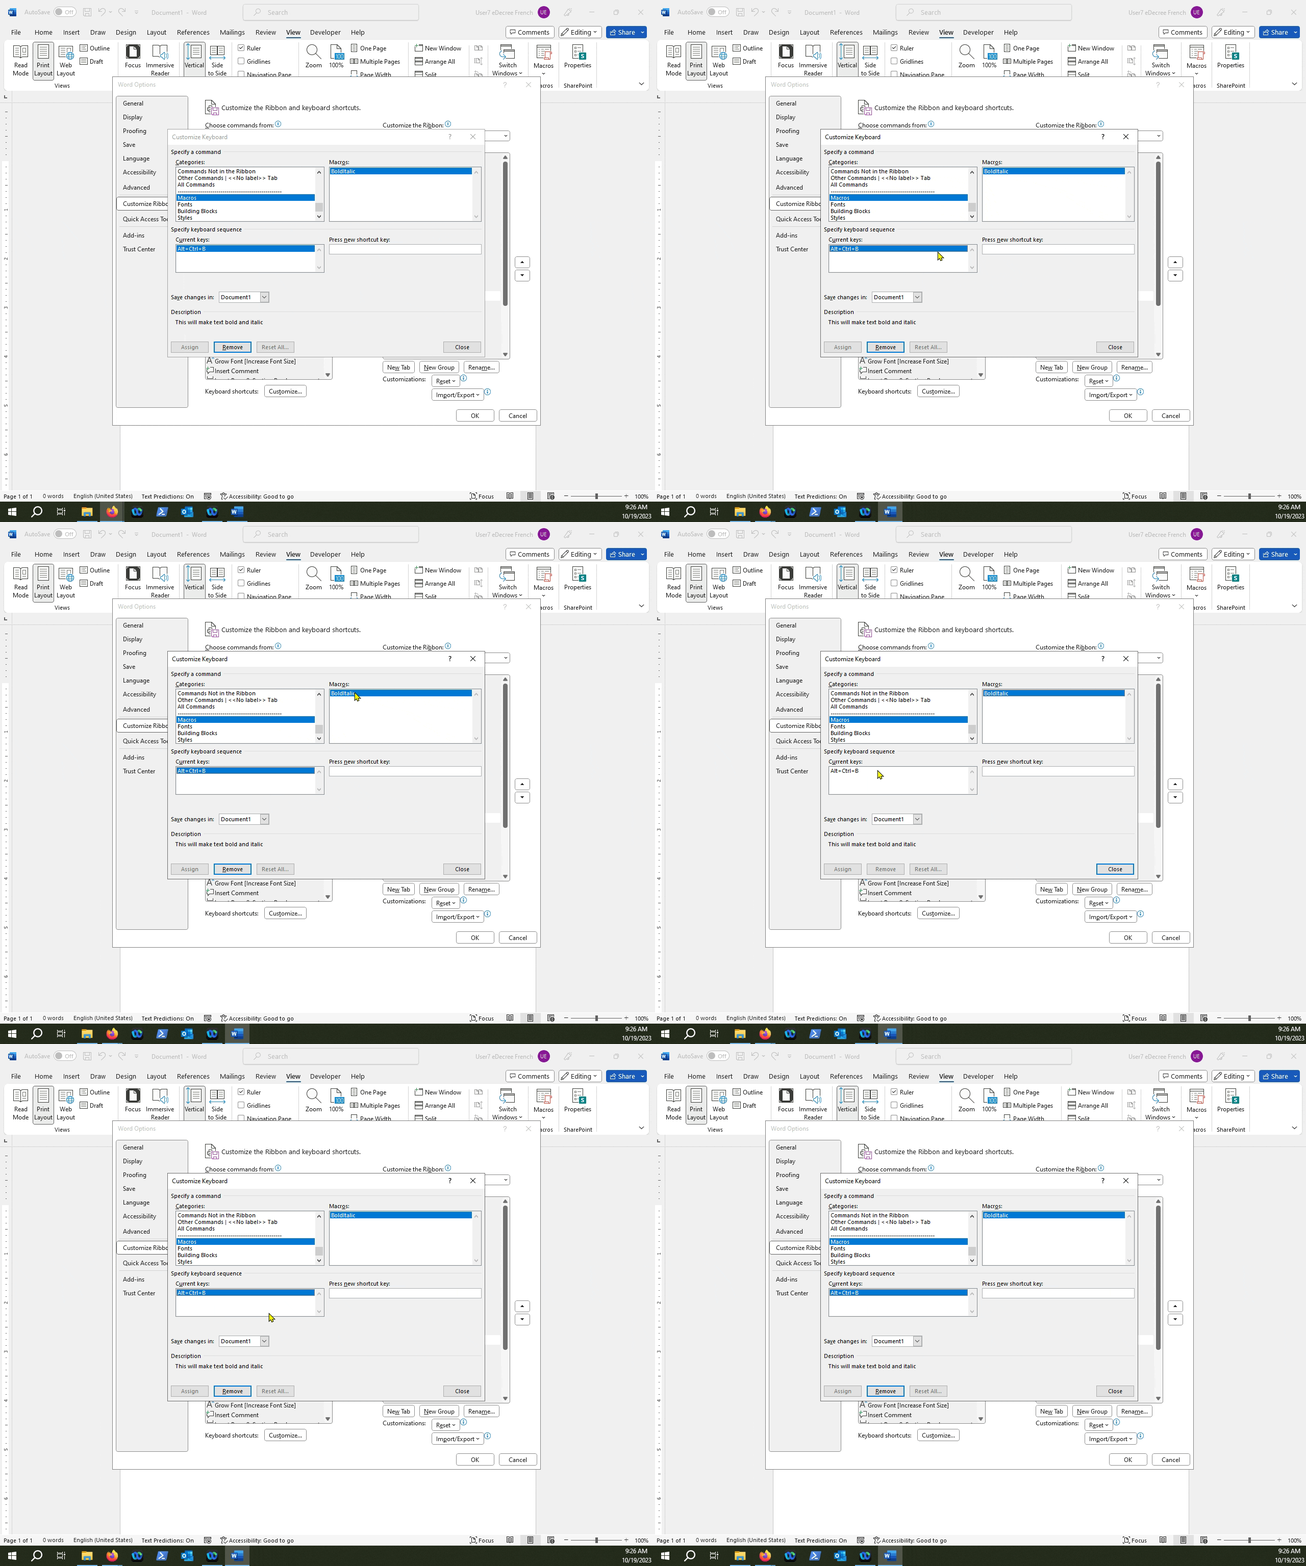
You can change hotkeys in Microsoft in a couple of ways.
One way is to just create a new hotkey and append it to your macro
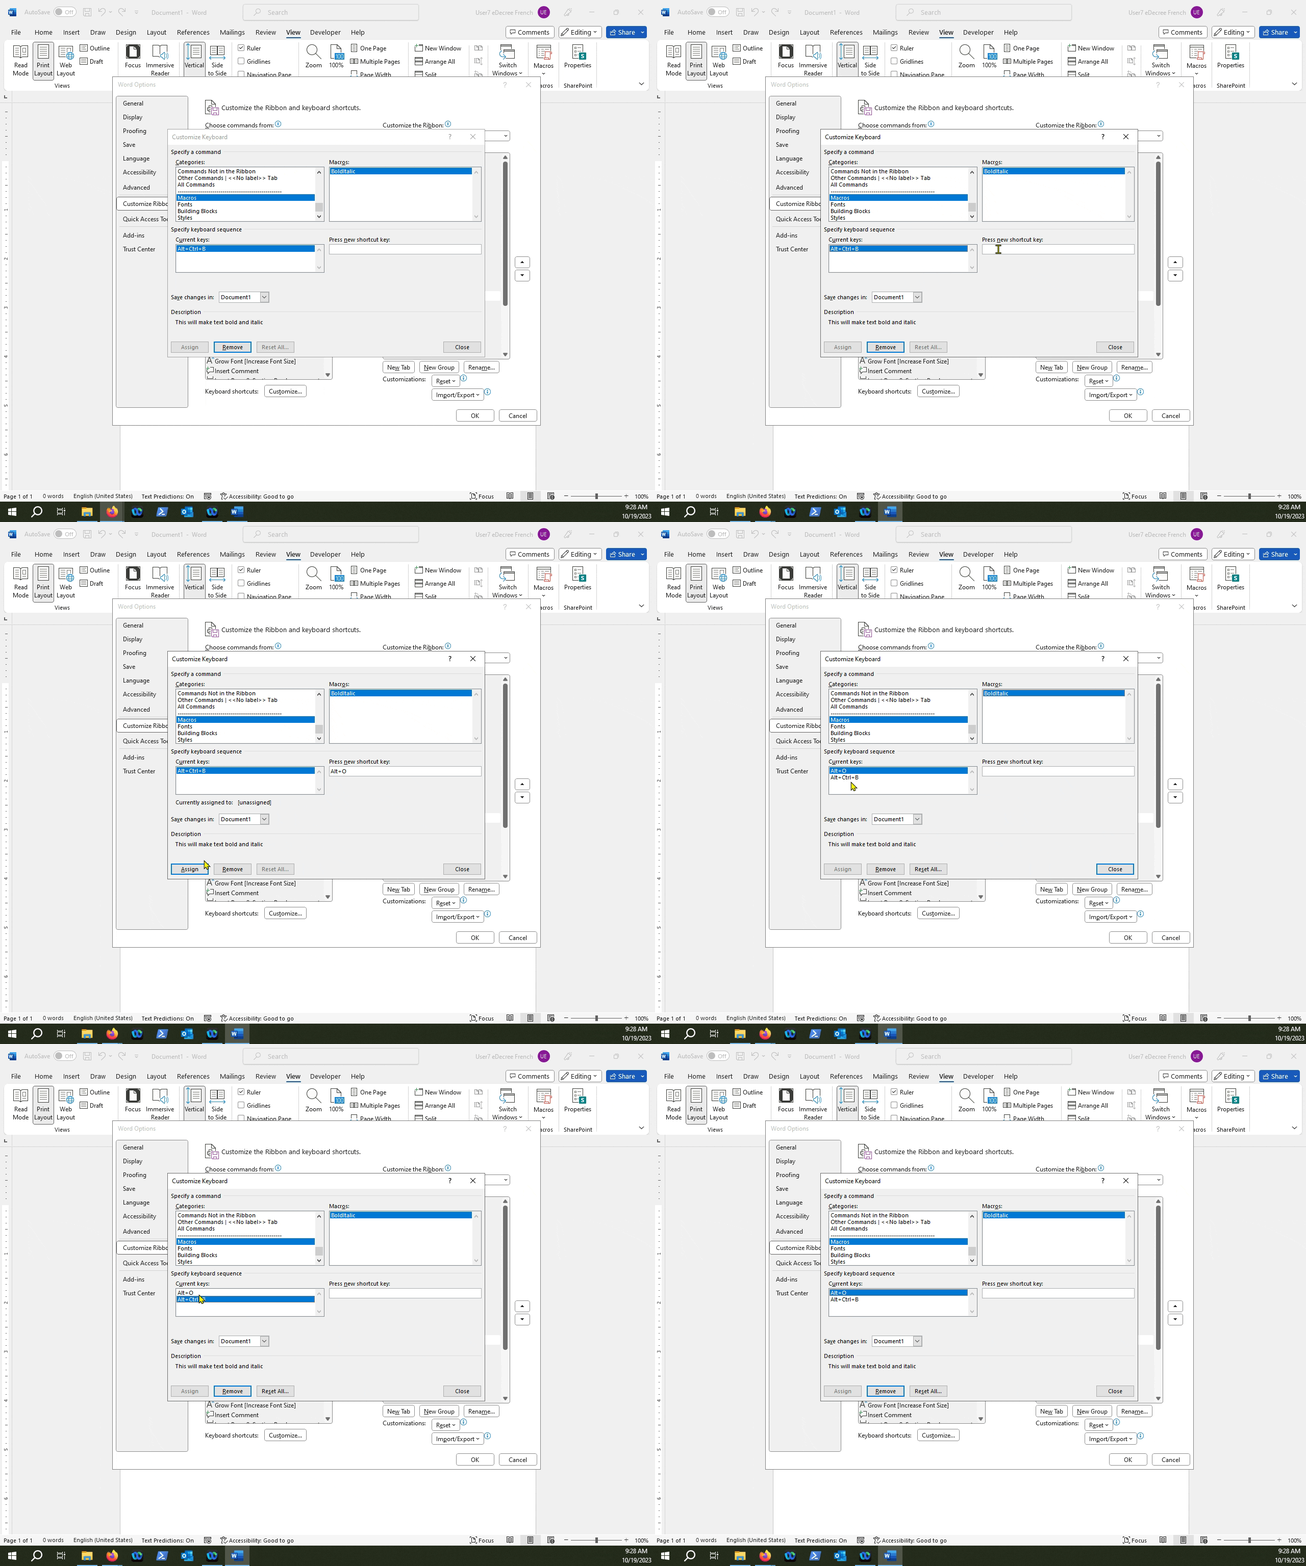
NOTE: Appending a shortcut to a macro means that you now have more than one keyboard shortcut that will execute the sequence that is recorded for that macro.