Table Of Contents
1.Navigate to the Search bar.

2.Finding the setting.

3.Turning on the text cursor indicator.

4.Adding custom colors.

5.Changing the text cursor thickness.
Sometimes you may find yourself working on a very large text file or document, and maybe notice that you are spending a long time trying to find the position of your text cursor as it can sometimes get "lost" in a large wall of text.
NOTE: By default, most documents have black text on a white background, the text cursor can sometimes blend in with the surrounding text.
TIP: There is a setting in Windows that would allow you to immediately locate your text cursor no matter how much clutter there is on the page.
To change your Text Cursor Indicator, follow the below steps:
Navigate to the Search Bar.
Type "Turn on Text Cursor Indicator" and click the first option.

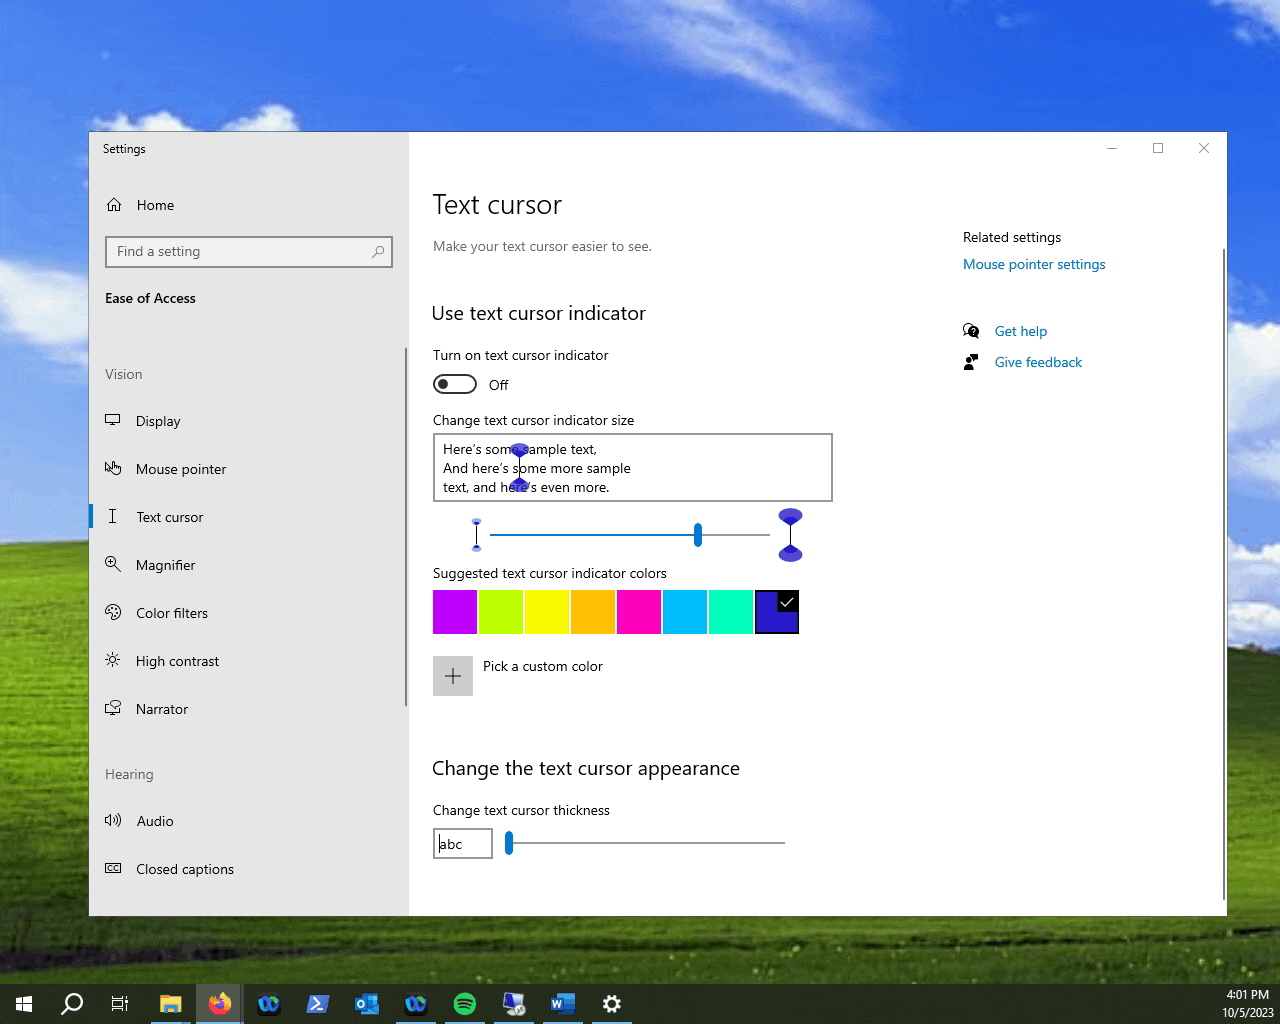
Toggle the "Turn on text cursor indicator" option. Then select the colour and intensity you want.
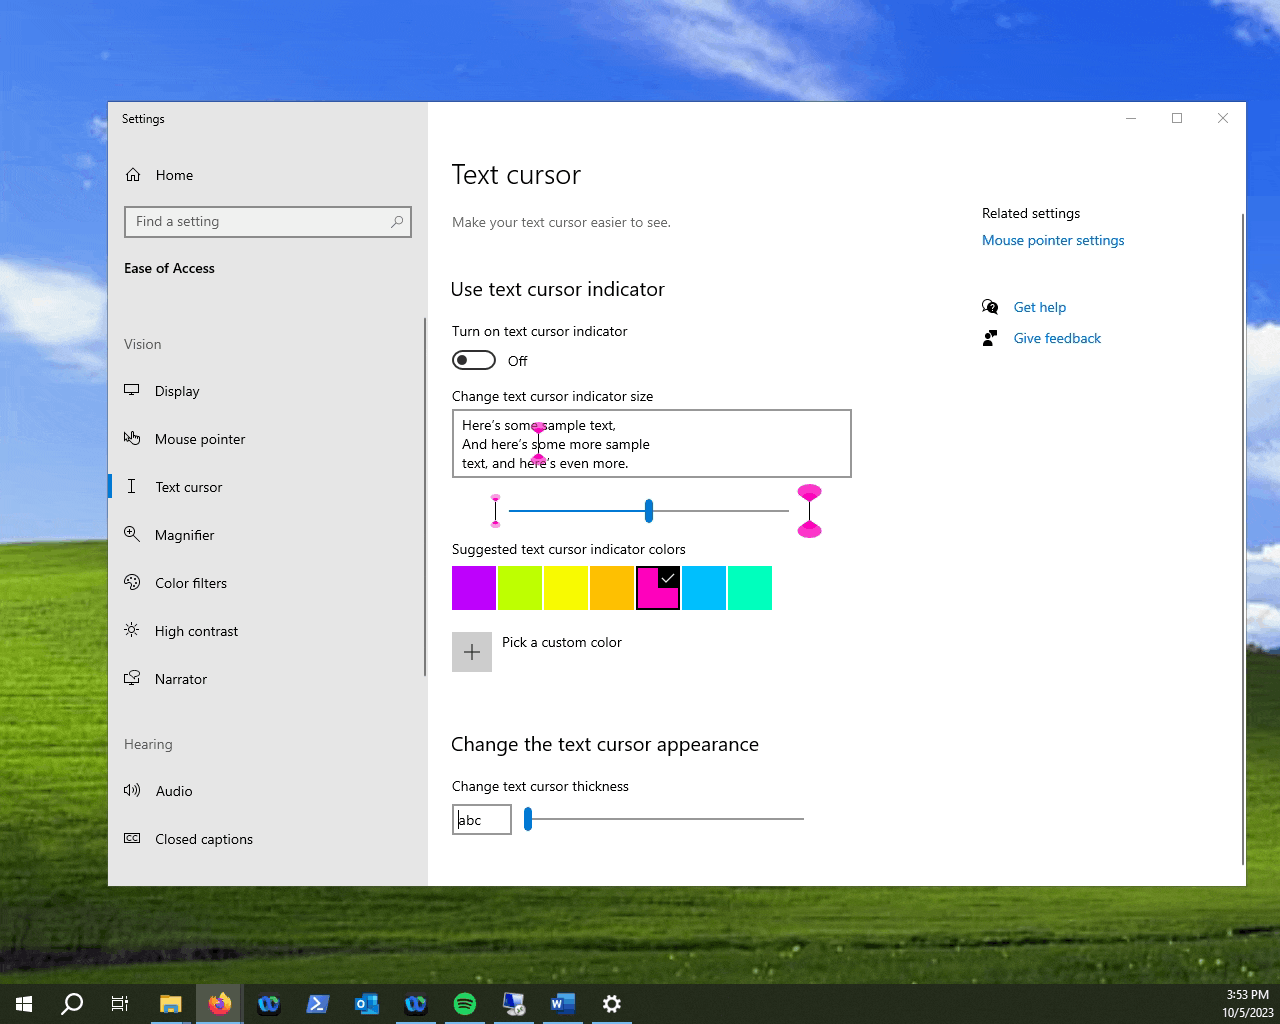
If the Colour you want isn't available from the preset selections, you can set a custom one by clicking on the "Pick a Custom Color" button.
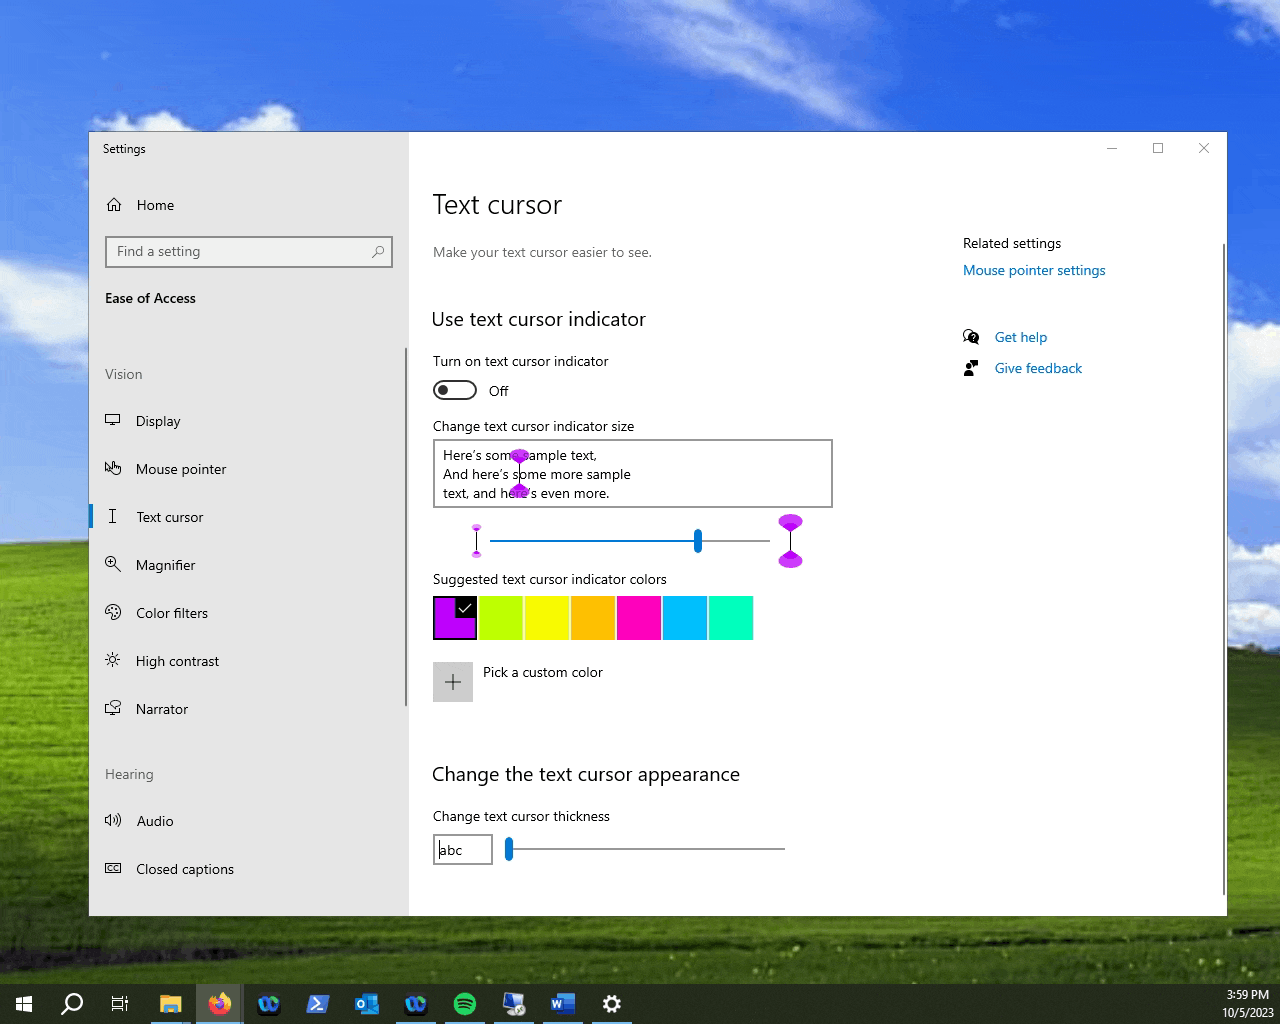
If you want to change the cursor thickness, you can do so with the "Change text cursor thickness" slider.
NOTE: Keep an eye on the little preview window as it will show you how thick the cursor will be.