![Loom_Analytics_Logo_Transparent.png]](https://support.loomanalytics.com/hs-fs/hubfs/Loom_Analytics_Logo_Transparent.png?height=40&name=Loom_Analytics_Logo_Transparent.png)
NOTE: You can refresh your knowledge of the several file types that MS Word works with in this article.
Table of Contents
Creating a Macro-Enabled Template

1. Creating a Macro in a Document

2. Use the "Save As" Menu

3. Save as a Macro Template File Type

4. Attach the Template to a Document

5. Test the Macros


Creating a Macro-Enabled Document

1.Create a New Document

2.Record a Macro

3.Store the Macro in the Document

4.Save the Macro-Enabled Document

5.Test the Macros
We've already talked about what macros are and how they can be created and used within an MS Word document. What we didn't mention is that macros are also something that can be saved in, and then applied as, a document template. We will also cover how you can create a macro-enabled document in this article.
There are many file types to consider when using MS Word, but in this article we will mainly focus on the .dotm (macro-enabled template) and the .docm (macro-enabled document) extensions.
What Is a .dotm File?
A .dotm file is something that's known as a Macro-Enabled Word Template. In short, this means that we can take an empty MS Word document, record some macros in it, and then save it as a template to then later have it applied to other .docx files.
We demonstrate how a Macro-Enabled Template can be created and applied to a .docx file below.
TIP: Before going through working with templates, you can familiarize yourself with what macros are and how to create them.
Let's use the macro that we have created in this article previously. Remember that we created and stored it within the document instead of the global template (Normal.dotm).
Consider This: If we had saved it to the global template, that would mean any new document that we create will have that macro loaded up automatically because it is saved to Normal.dotm (which is a template that is attached to all documents by default).
But if we create a new template file with that macro, we can then attach it to another .docx document. Let's take a look at what that looks like in practice.
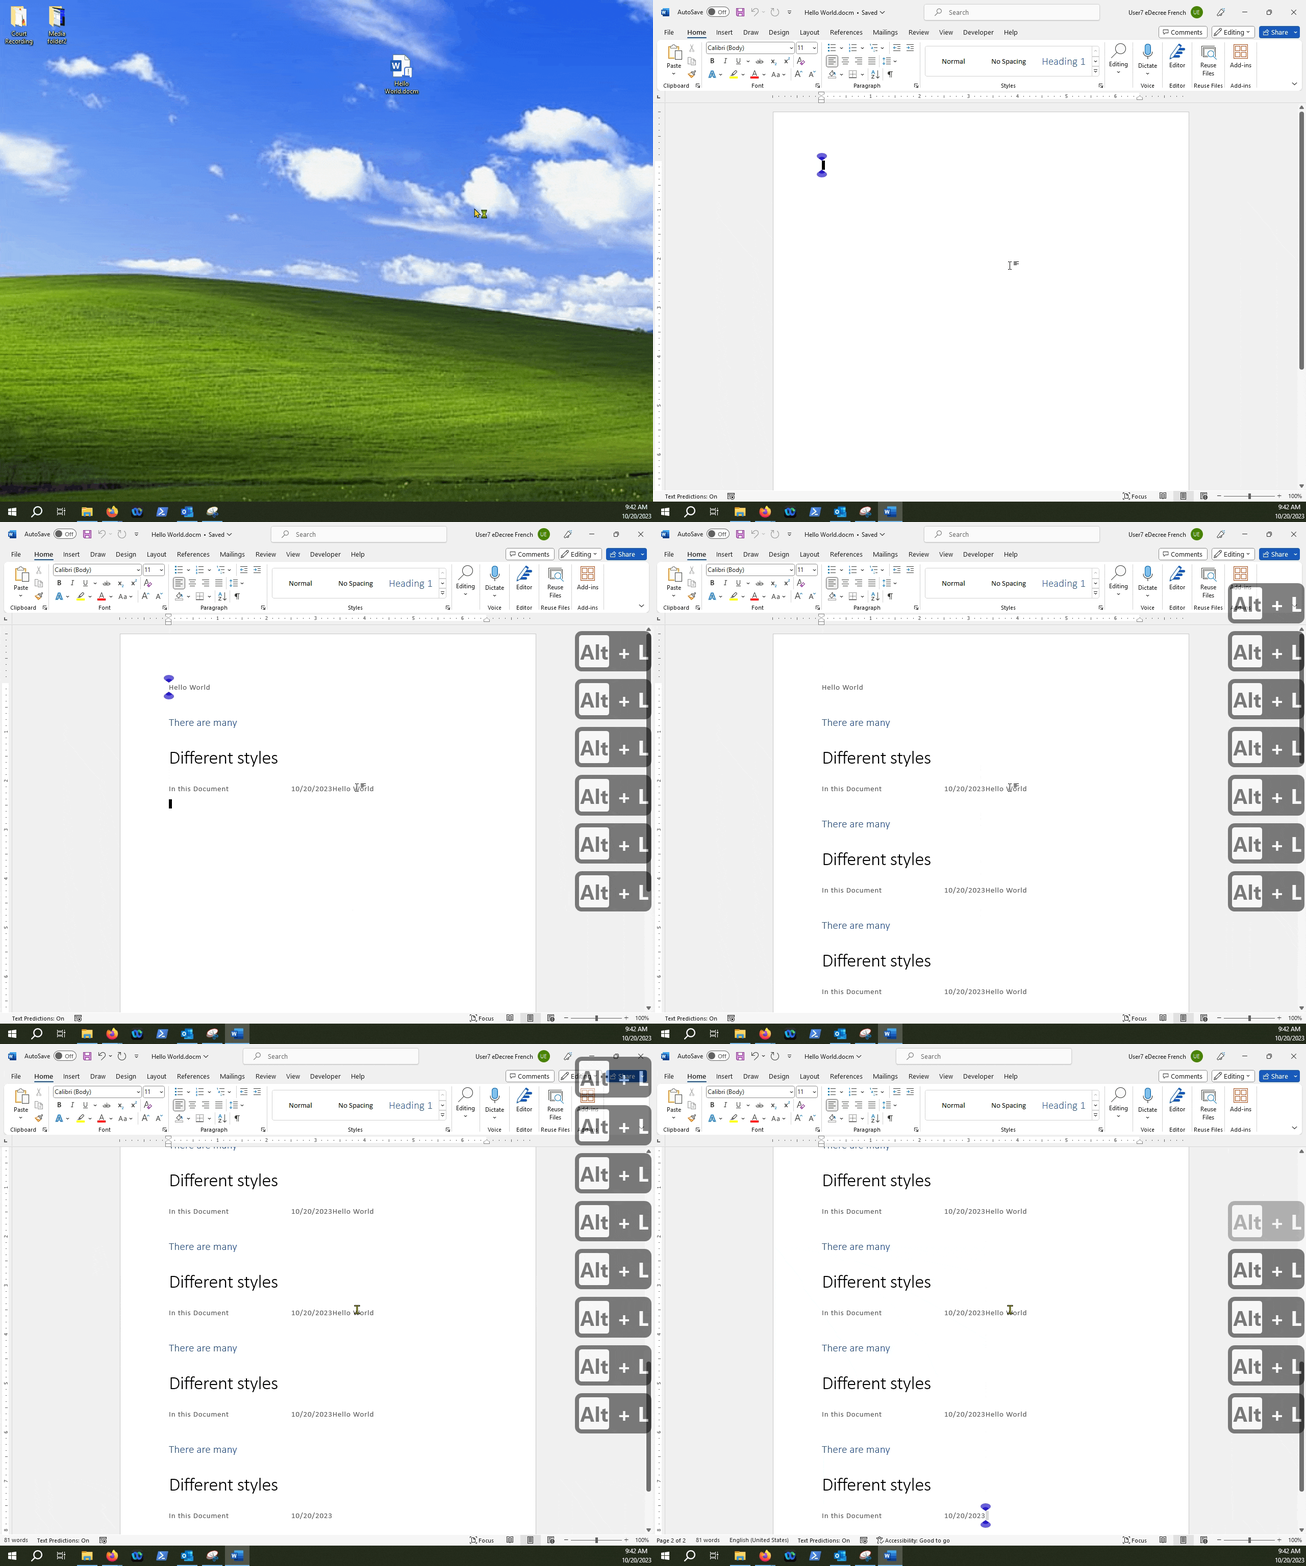
Consider the file that we have created that has a macro in it:
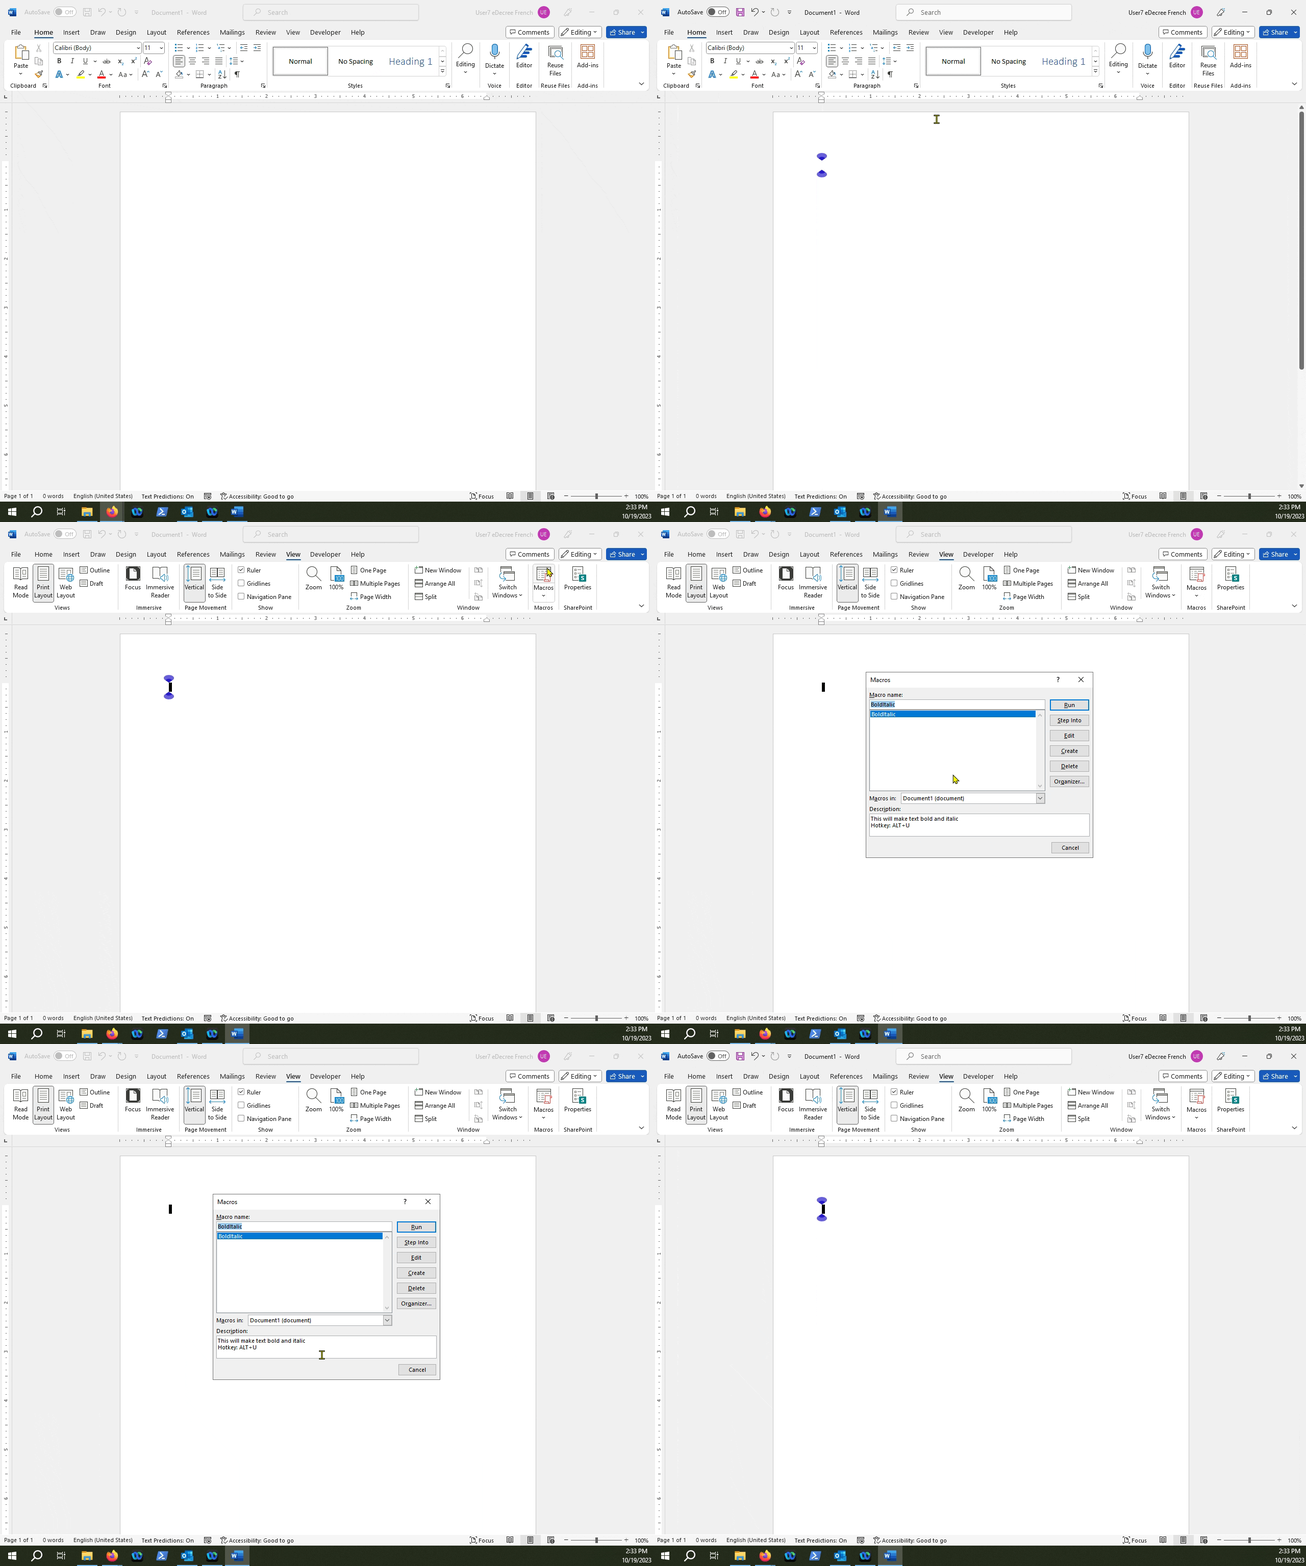
We can save this as a macro-enabled template or a .dotm file by clicking on "File"...
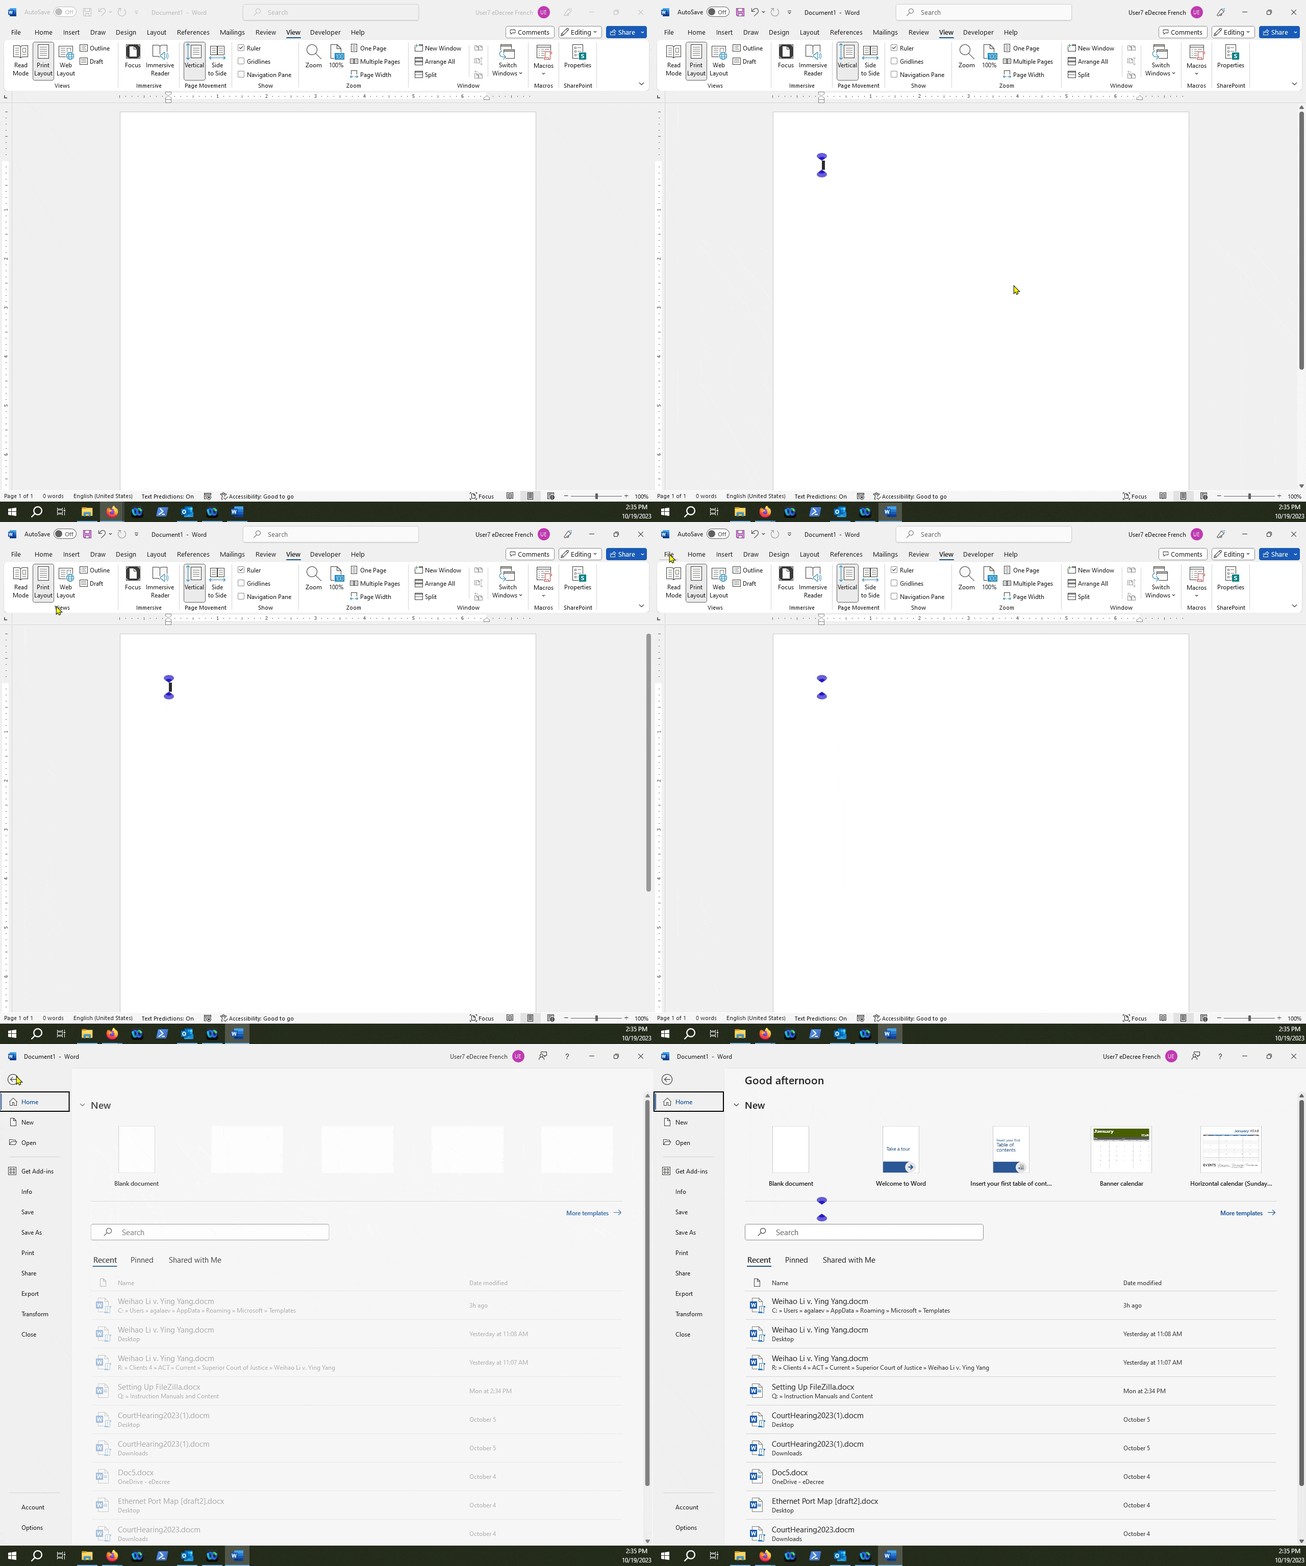
Then clicking on "Save As"...
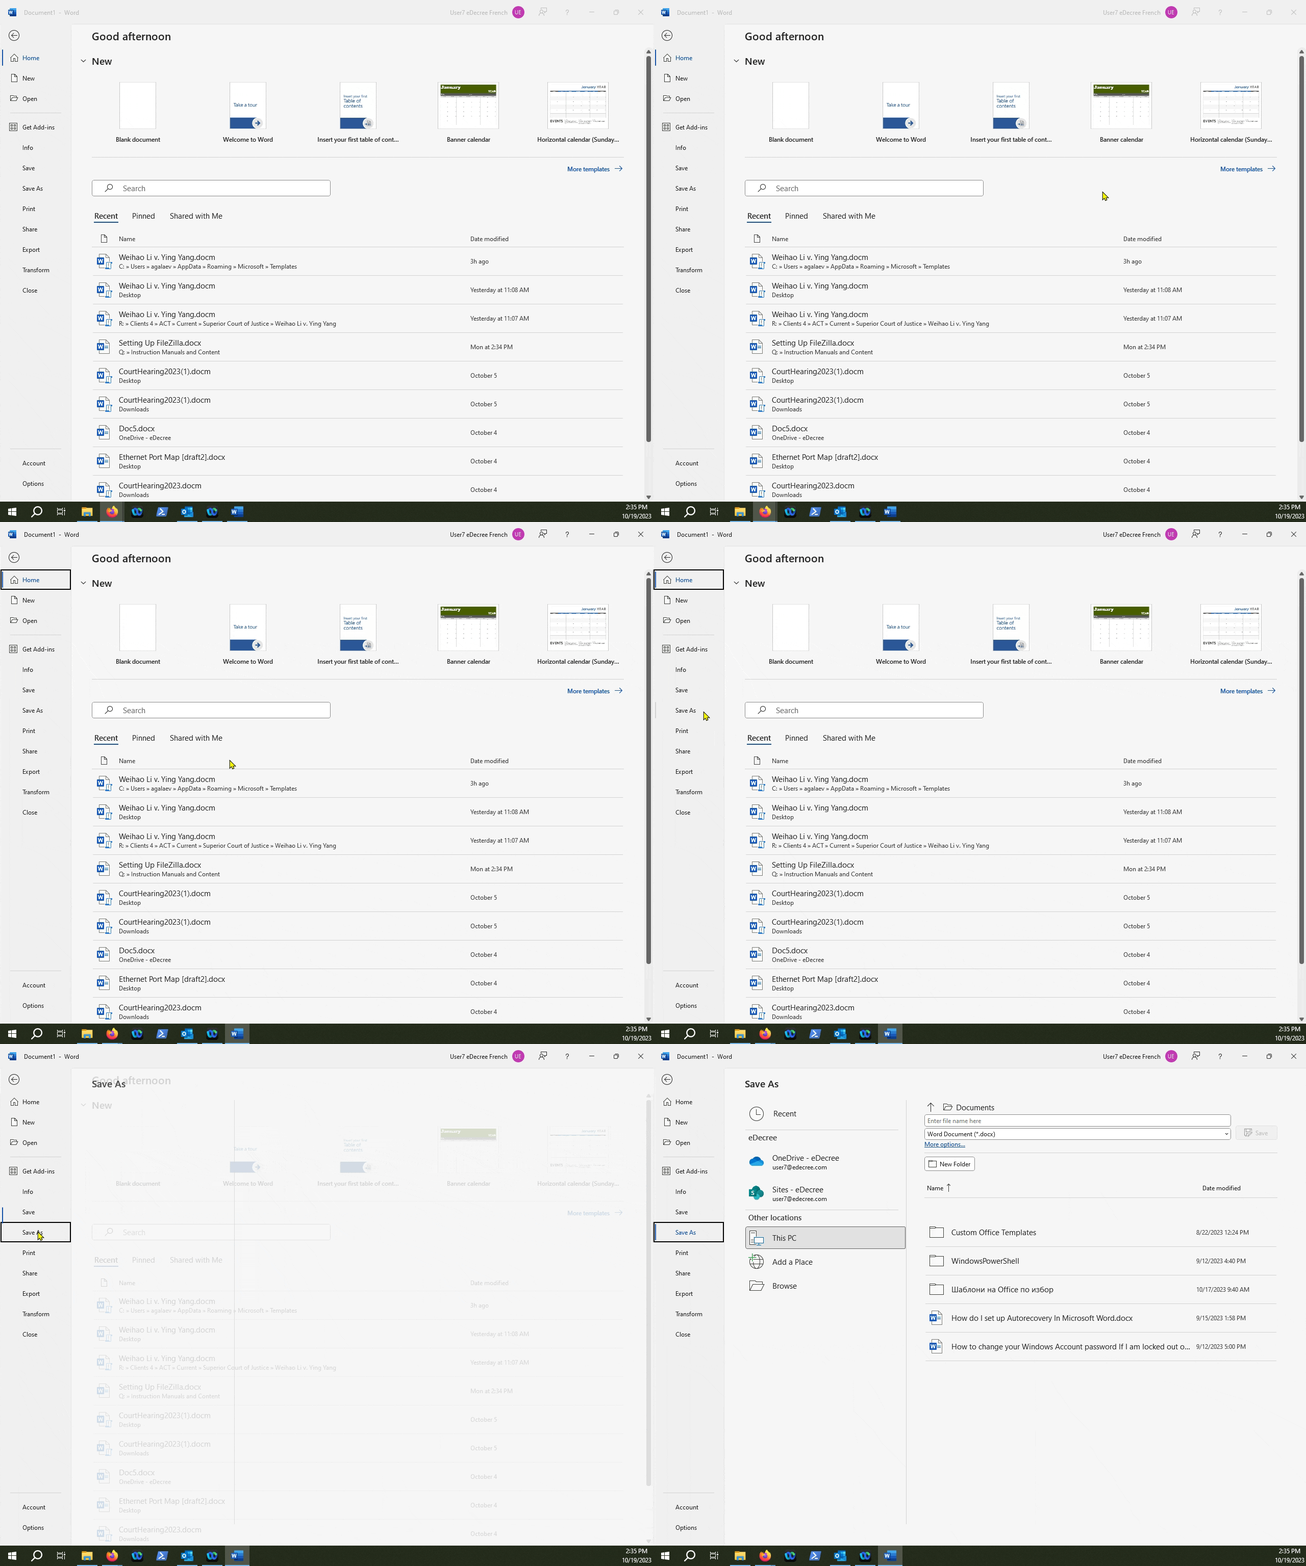
Then "Browse"...
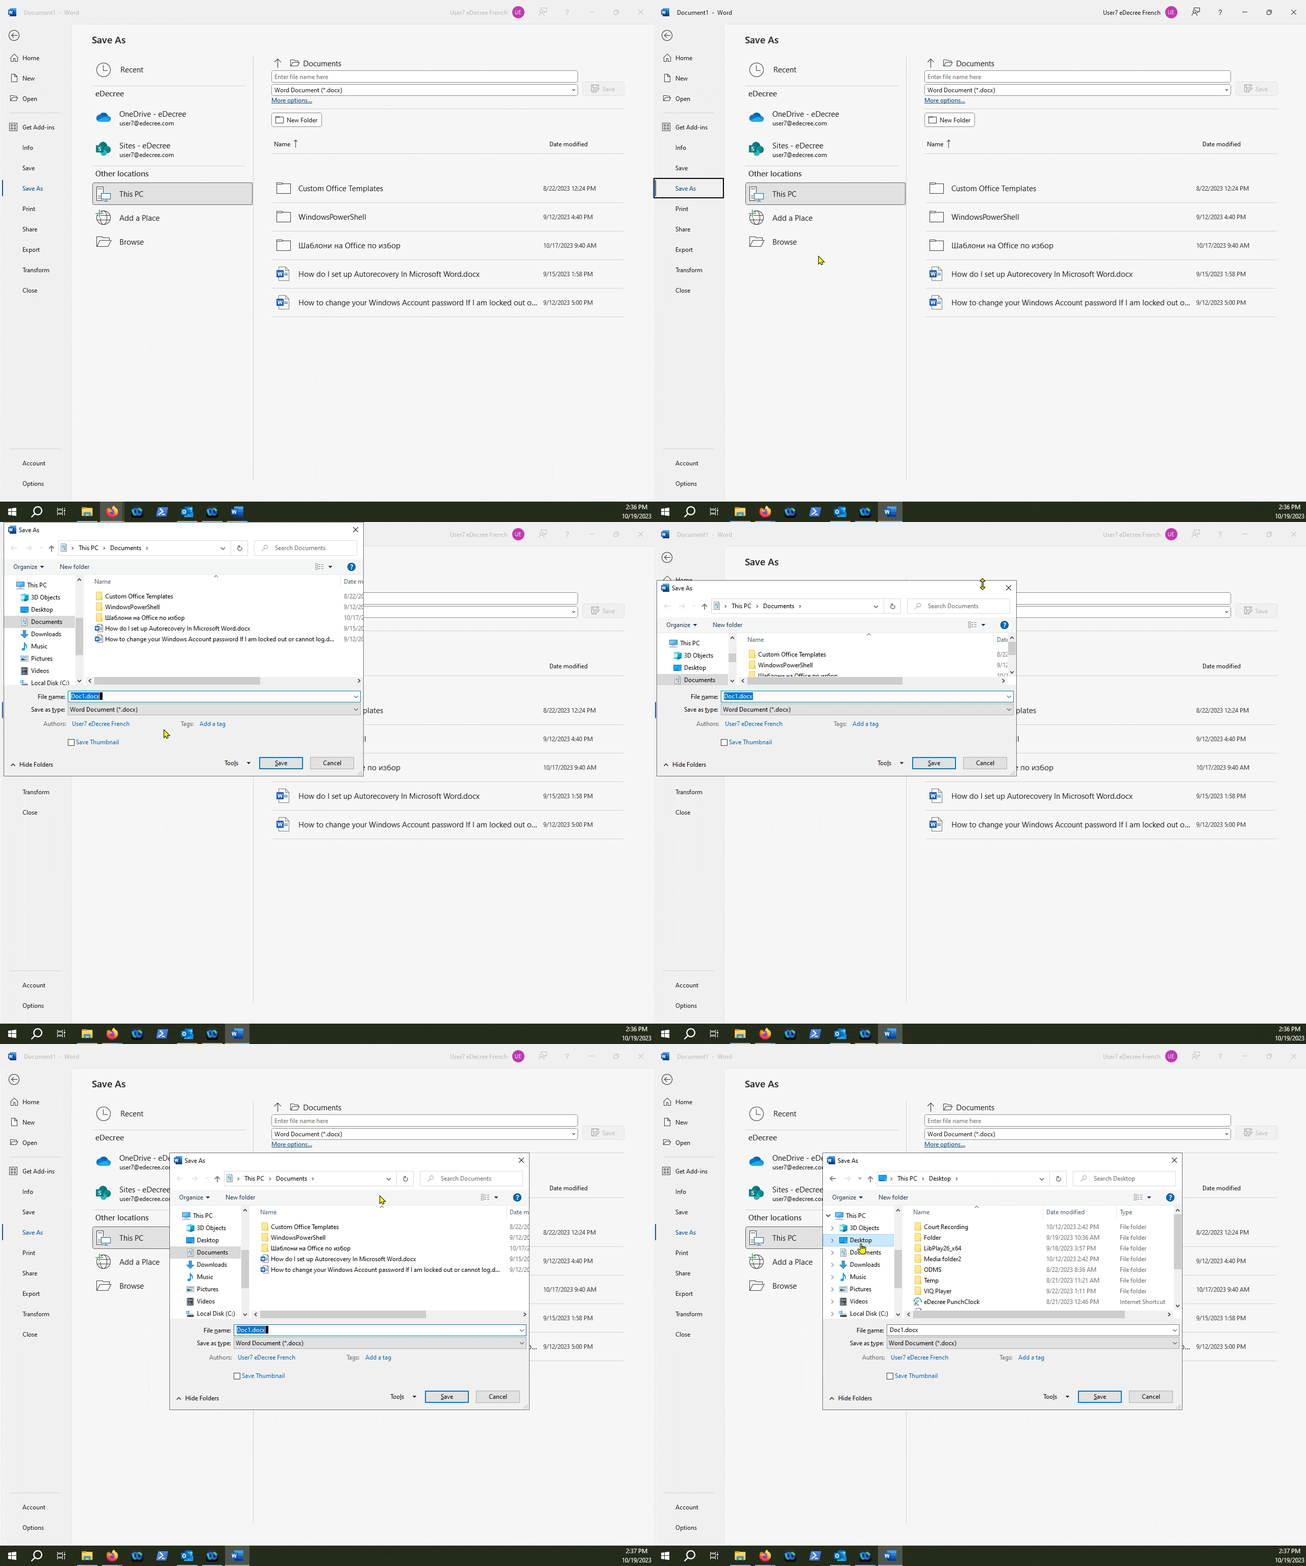
NOTE: At this point you will be presented with a Save As window where you can select where you want to save your new template. Keep in mind that if the macro-enabled template is saved to an un-trusted location, the macros will not run If you try to open or attach the template from that same location.
Now name your new template
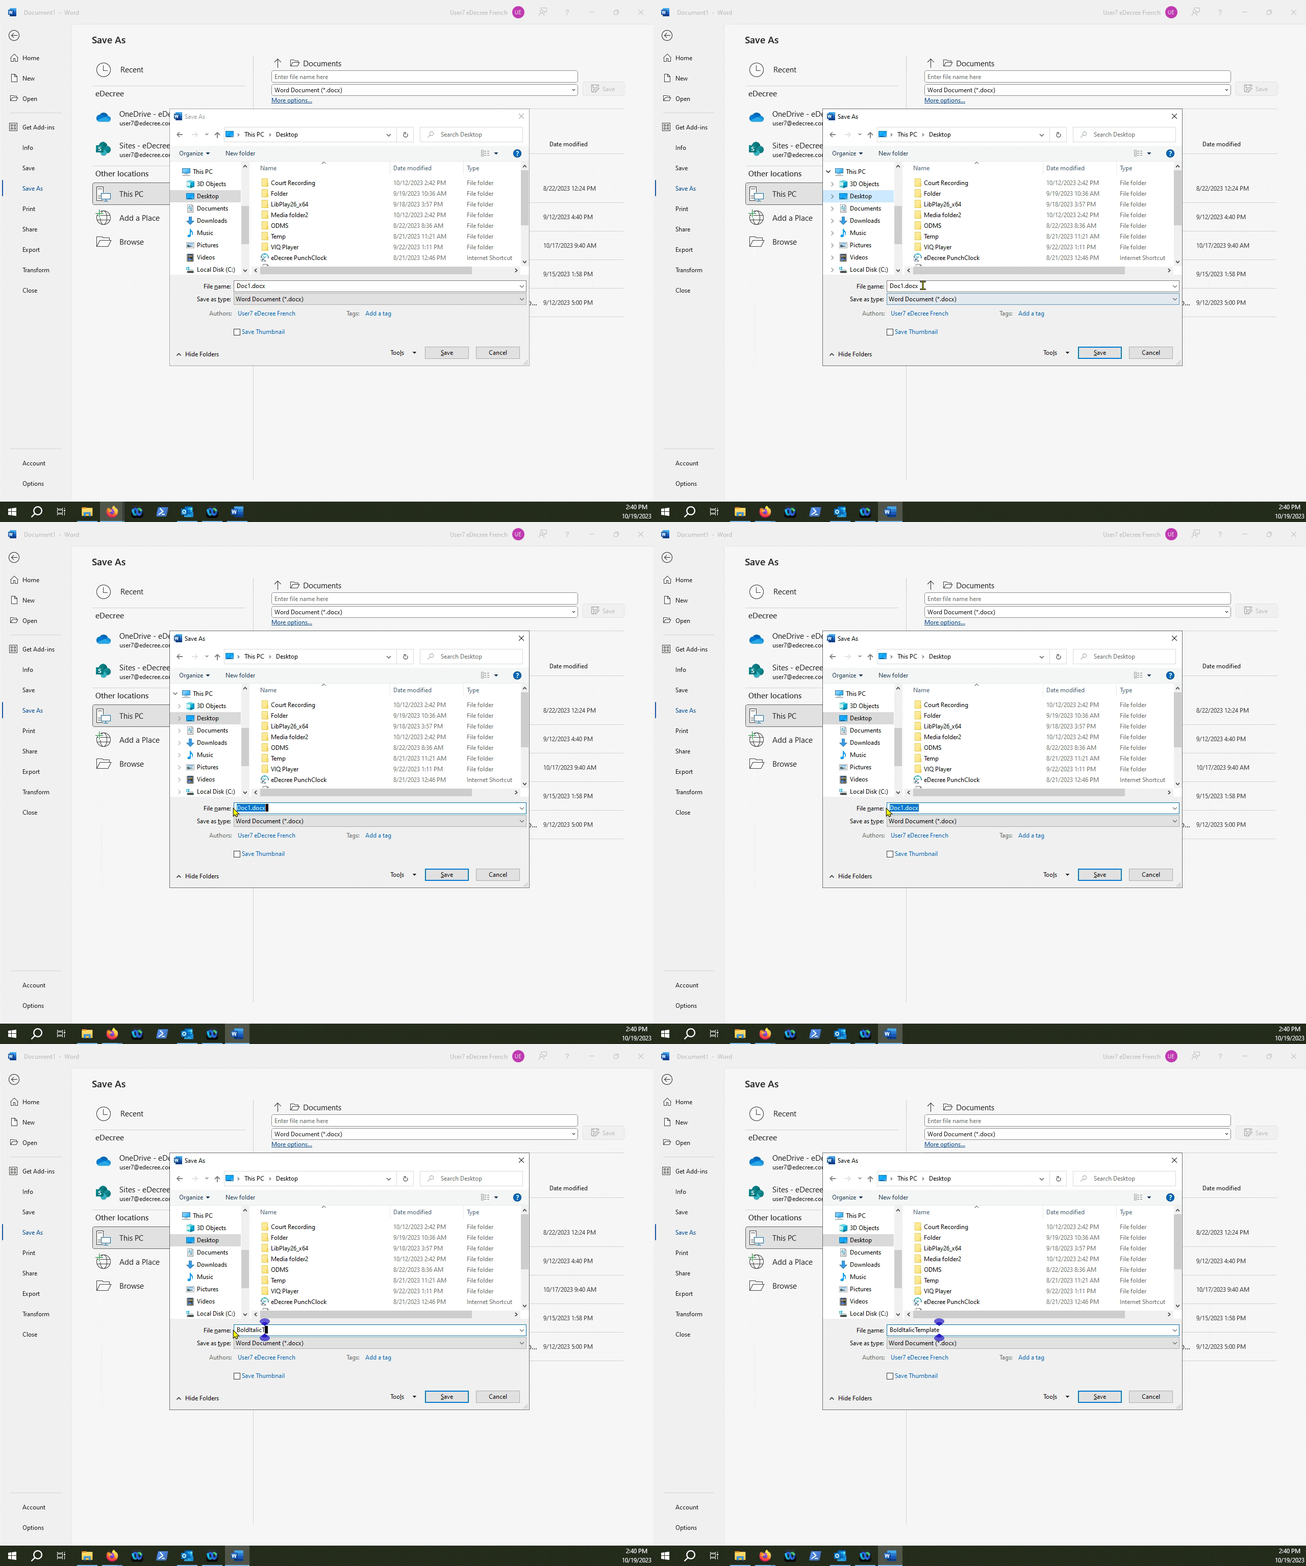
Then click on the "Save as type" drop-down list and select the .dotm file format
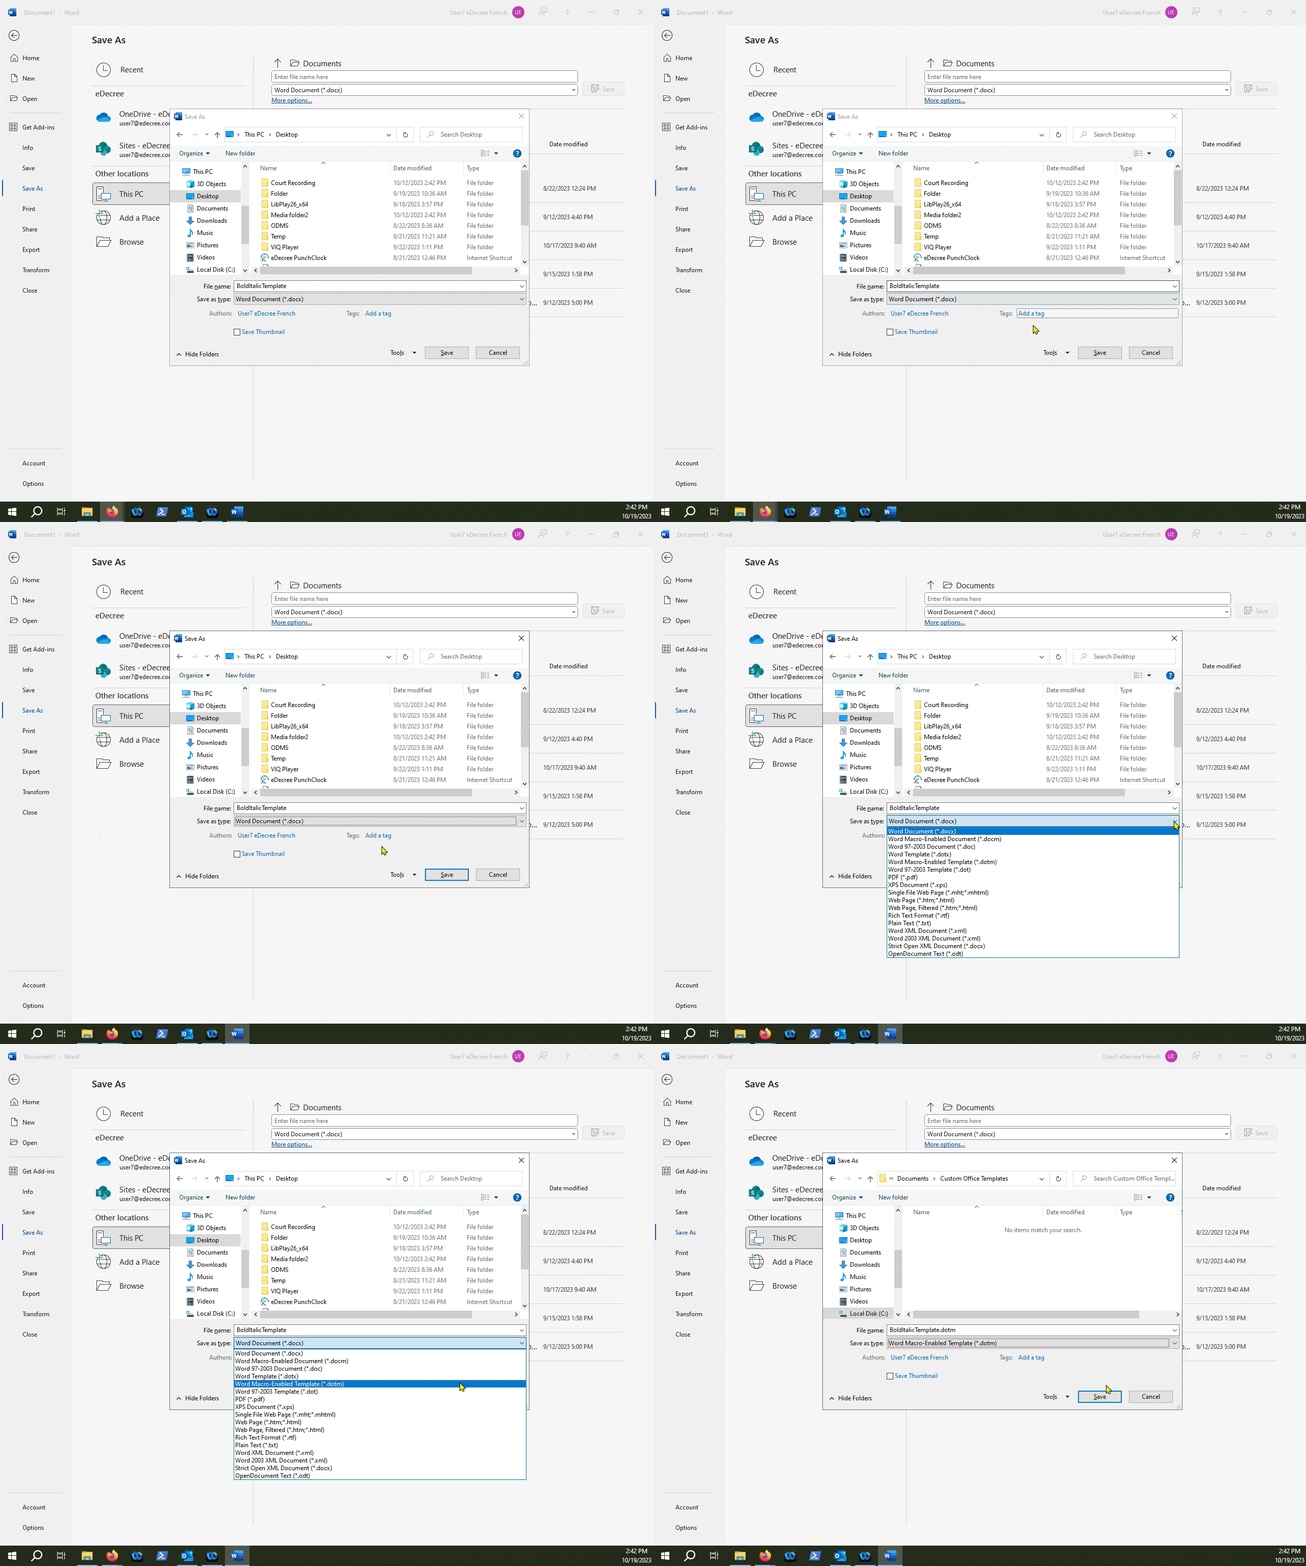
Click "Save"...
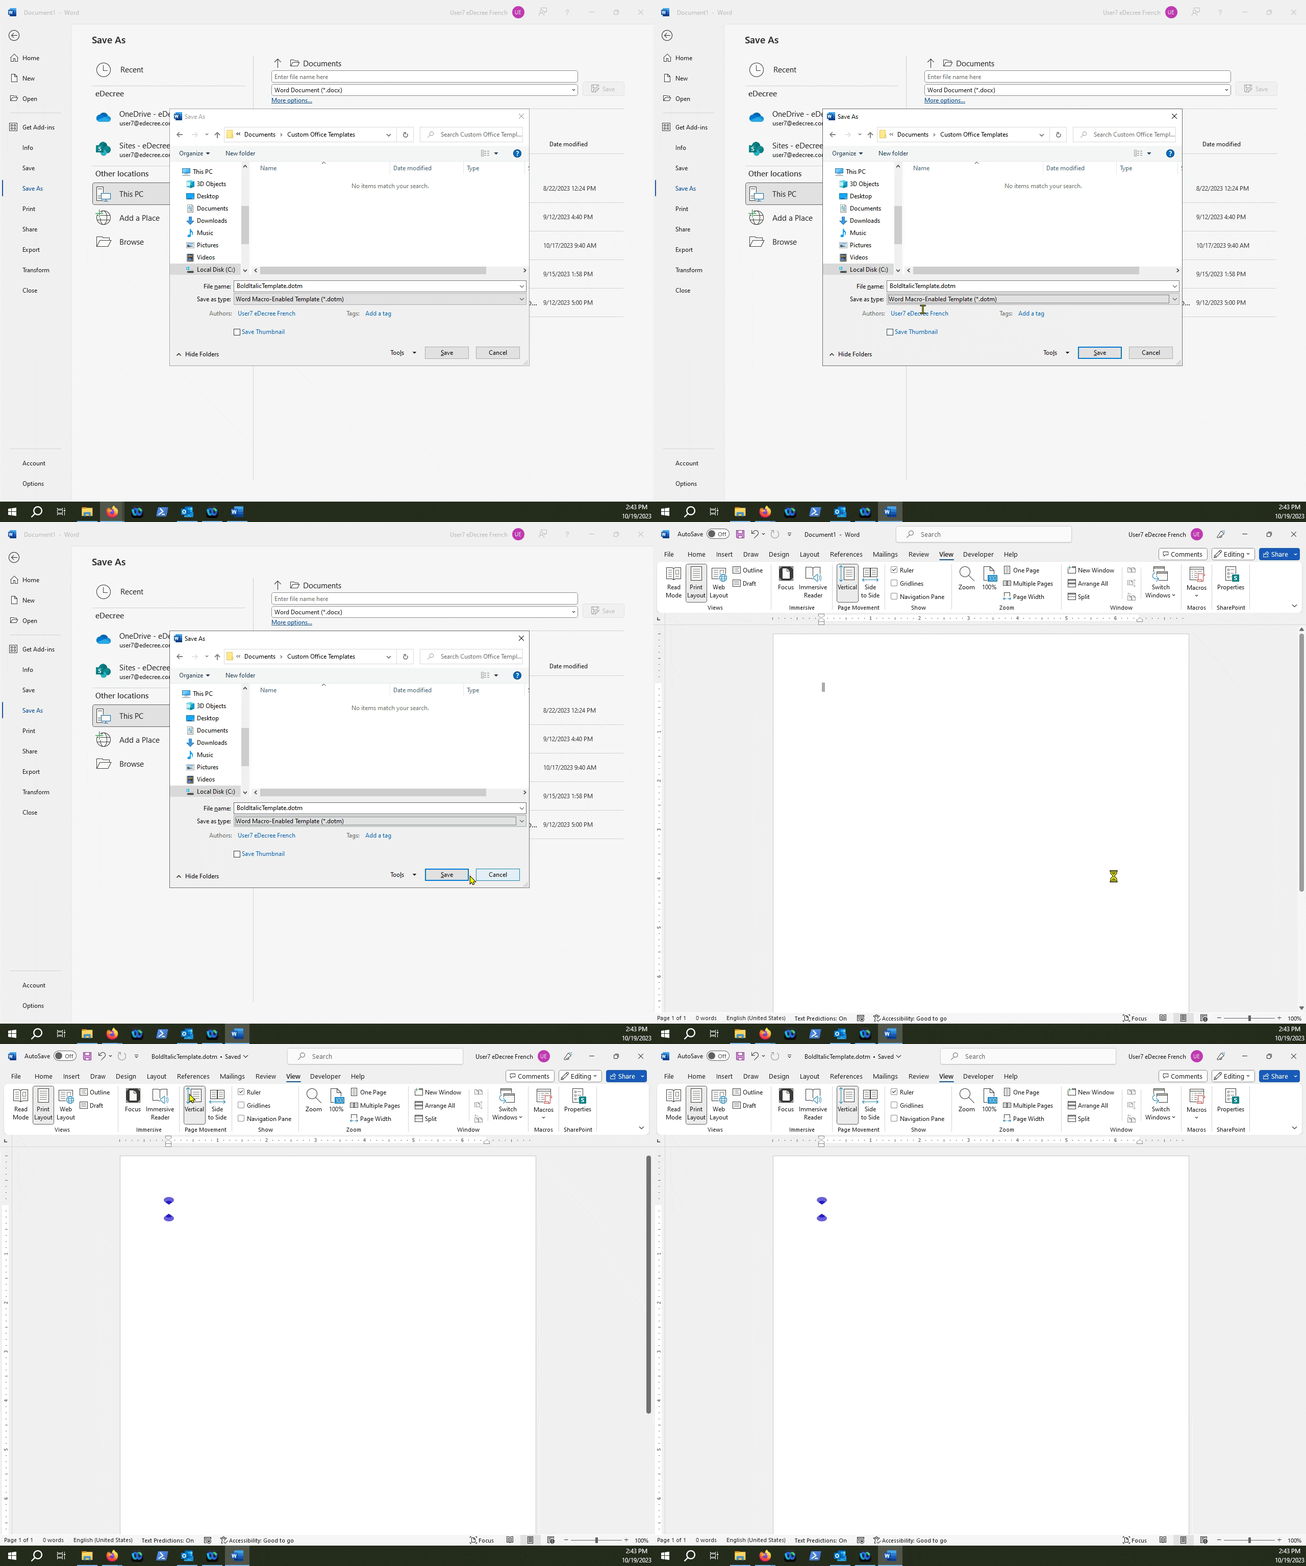
NOTE: You now have a template that can be "attached" to any .docx file.
Let's open a new document that doesn't have any macros attached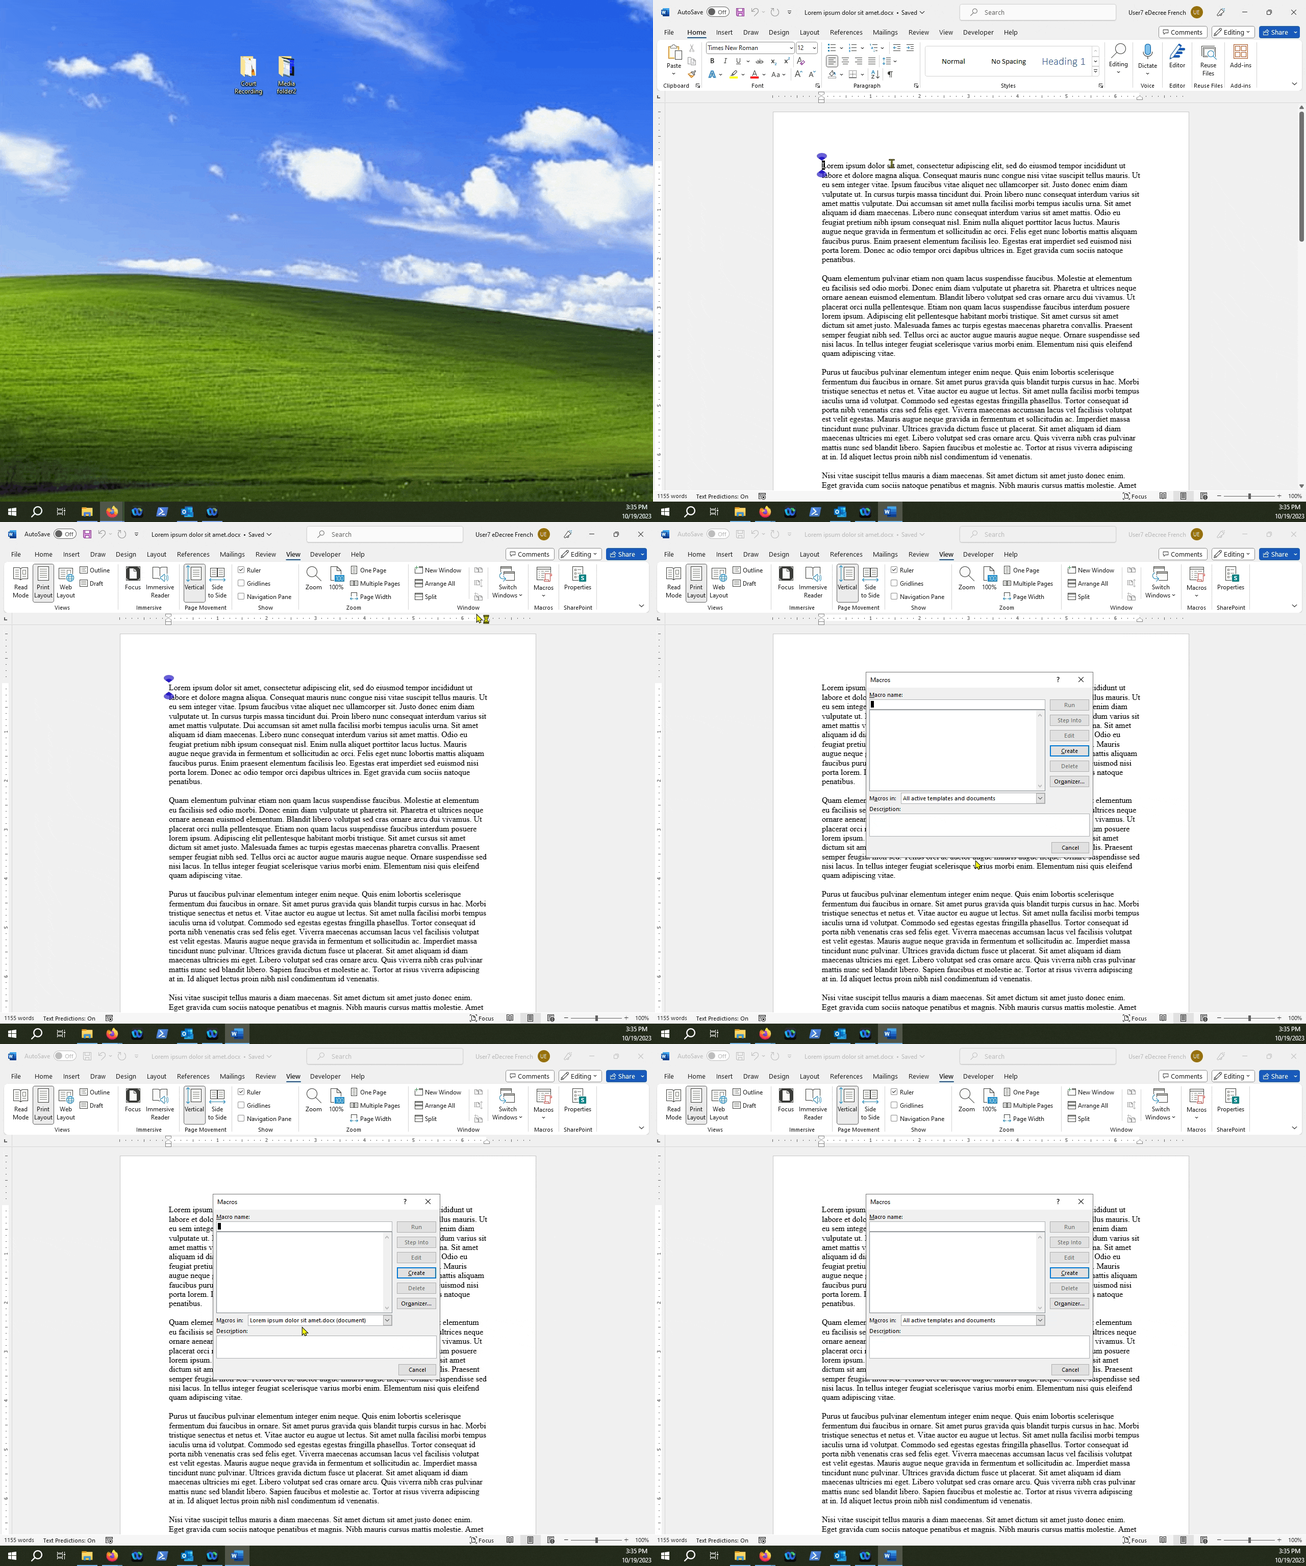
We can attach the template that contains our custom macro to the new document
Start off by clicking the "File" tab...
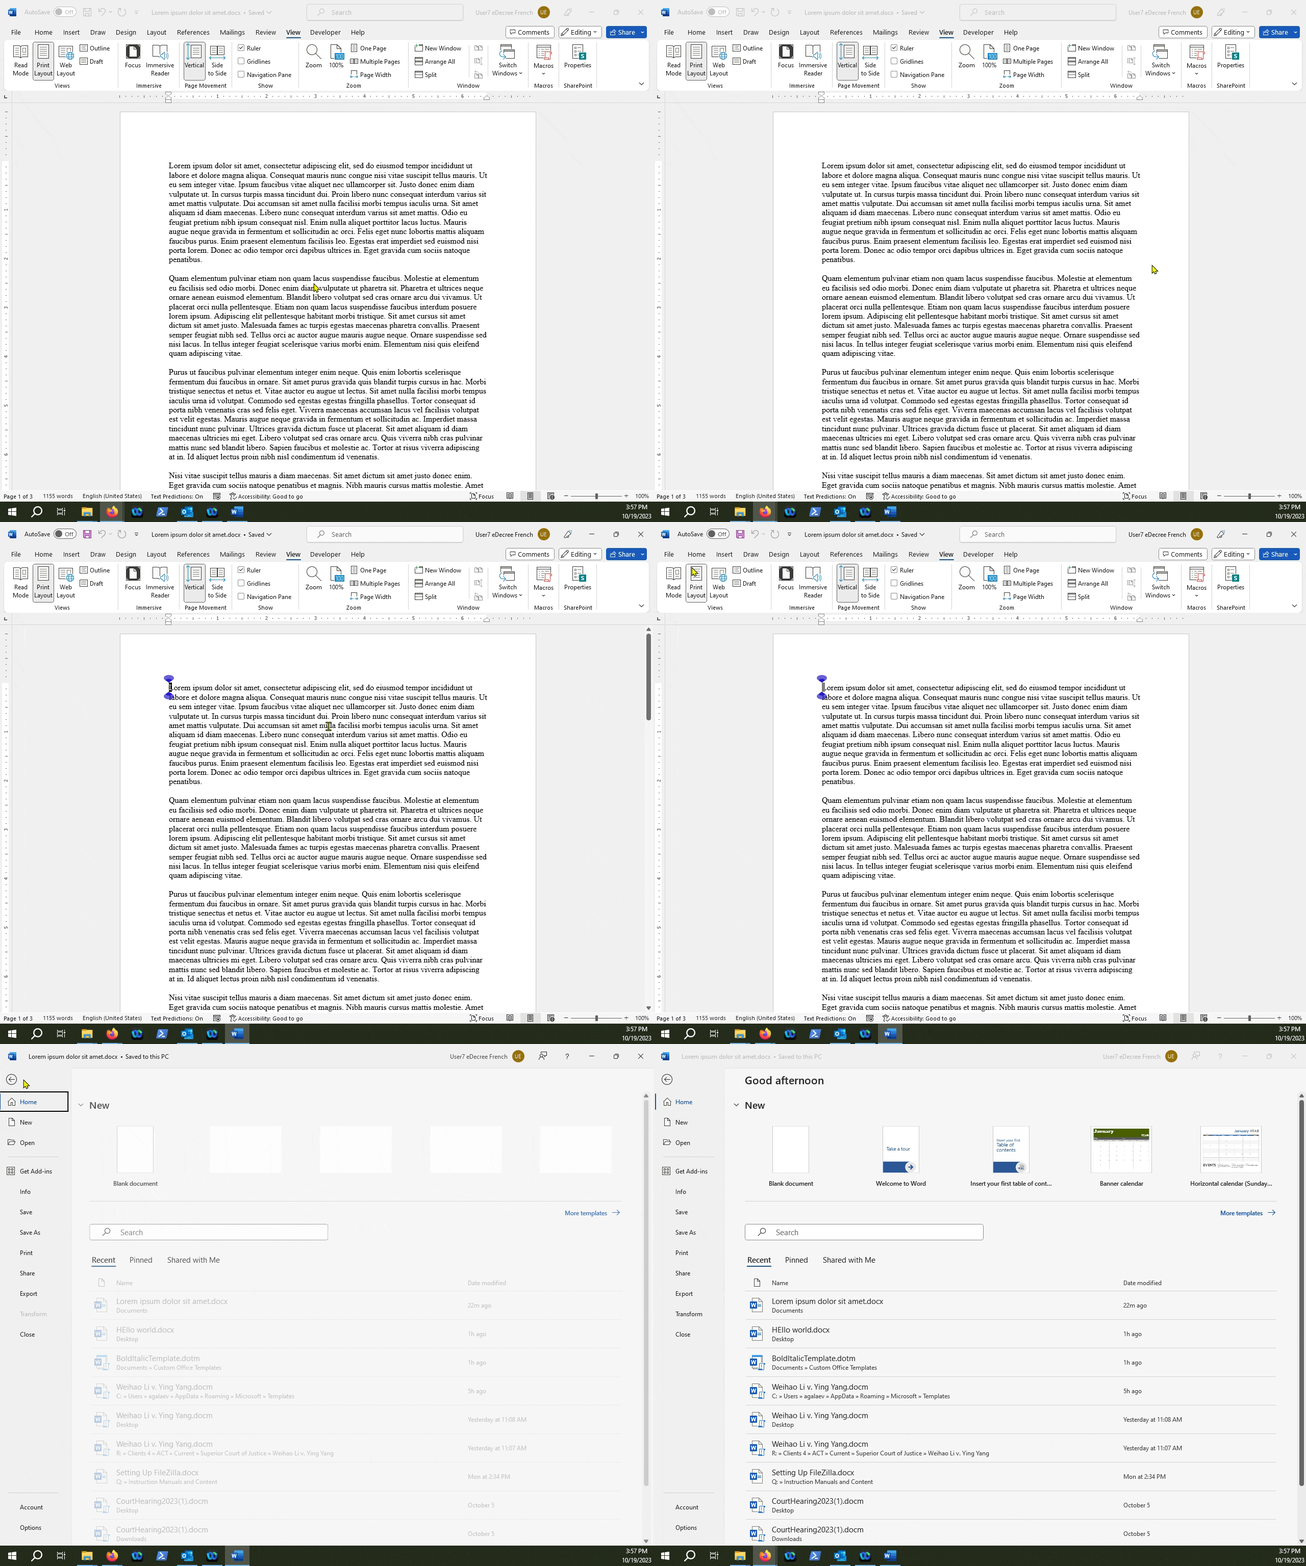
Then go to "Options"...
-gif.gif)
Next, click on the "Add-Ins" tab, and then select "Templates" from the "Manage" drop-down field
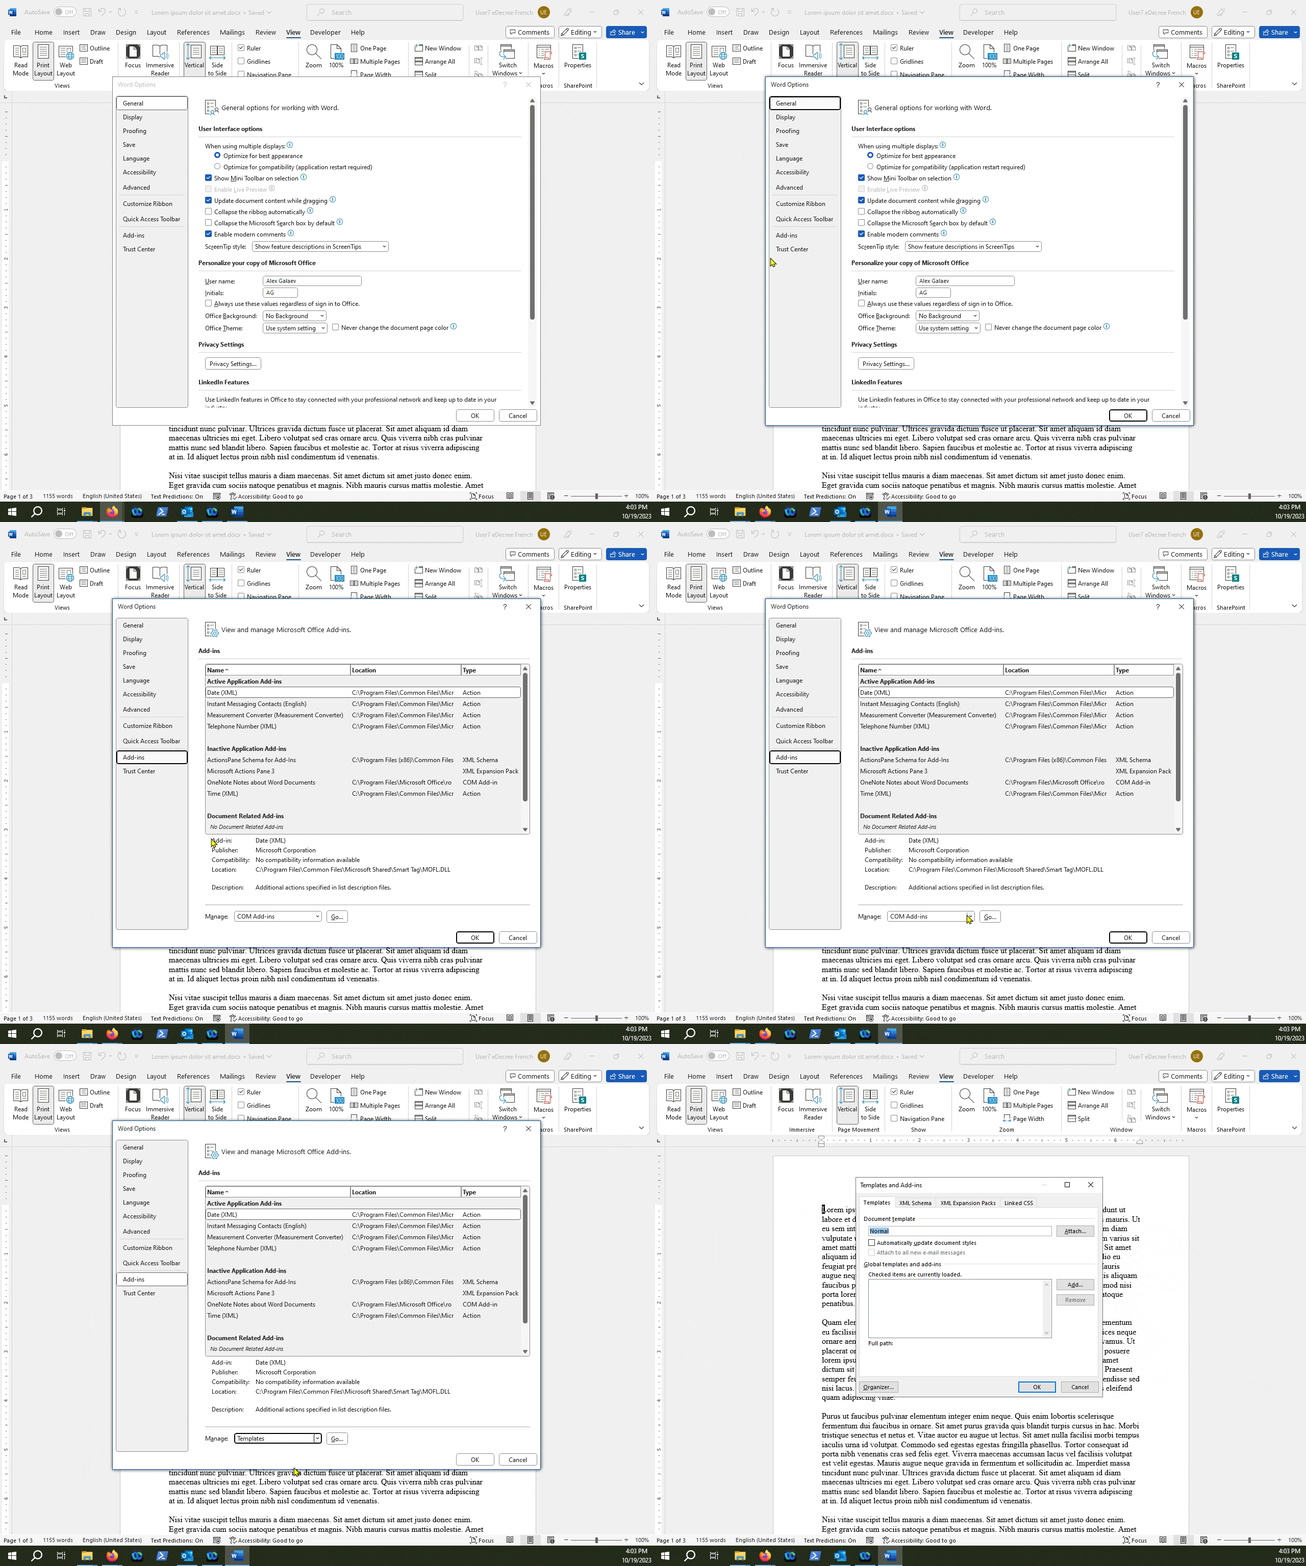
Click the "Attach.." button
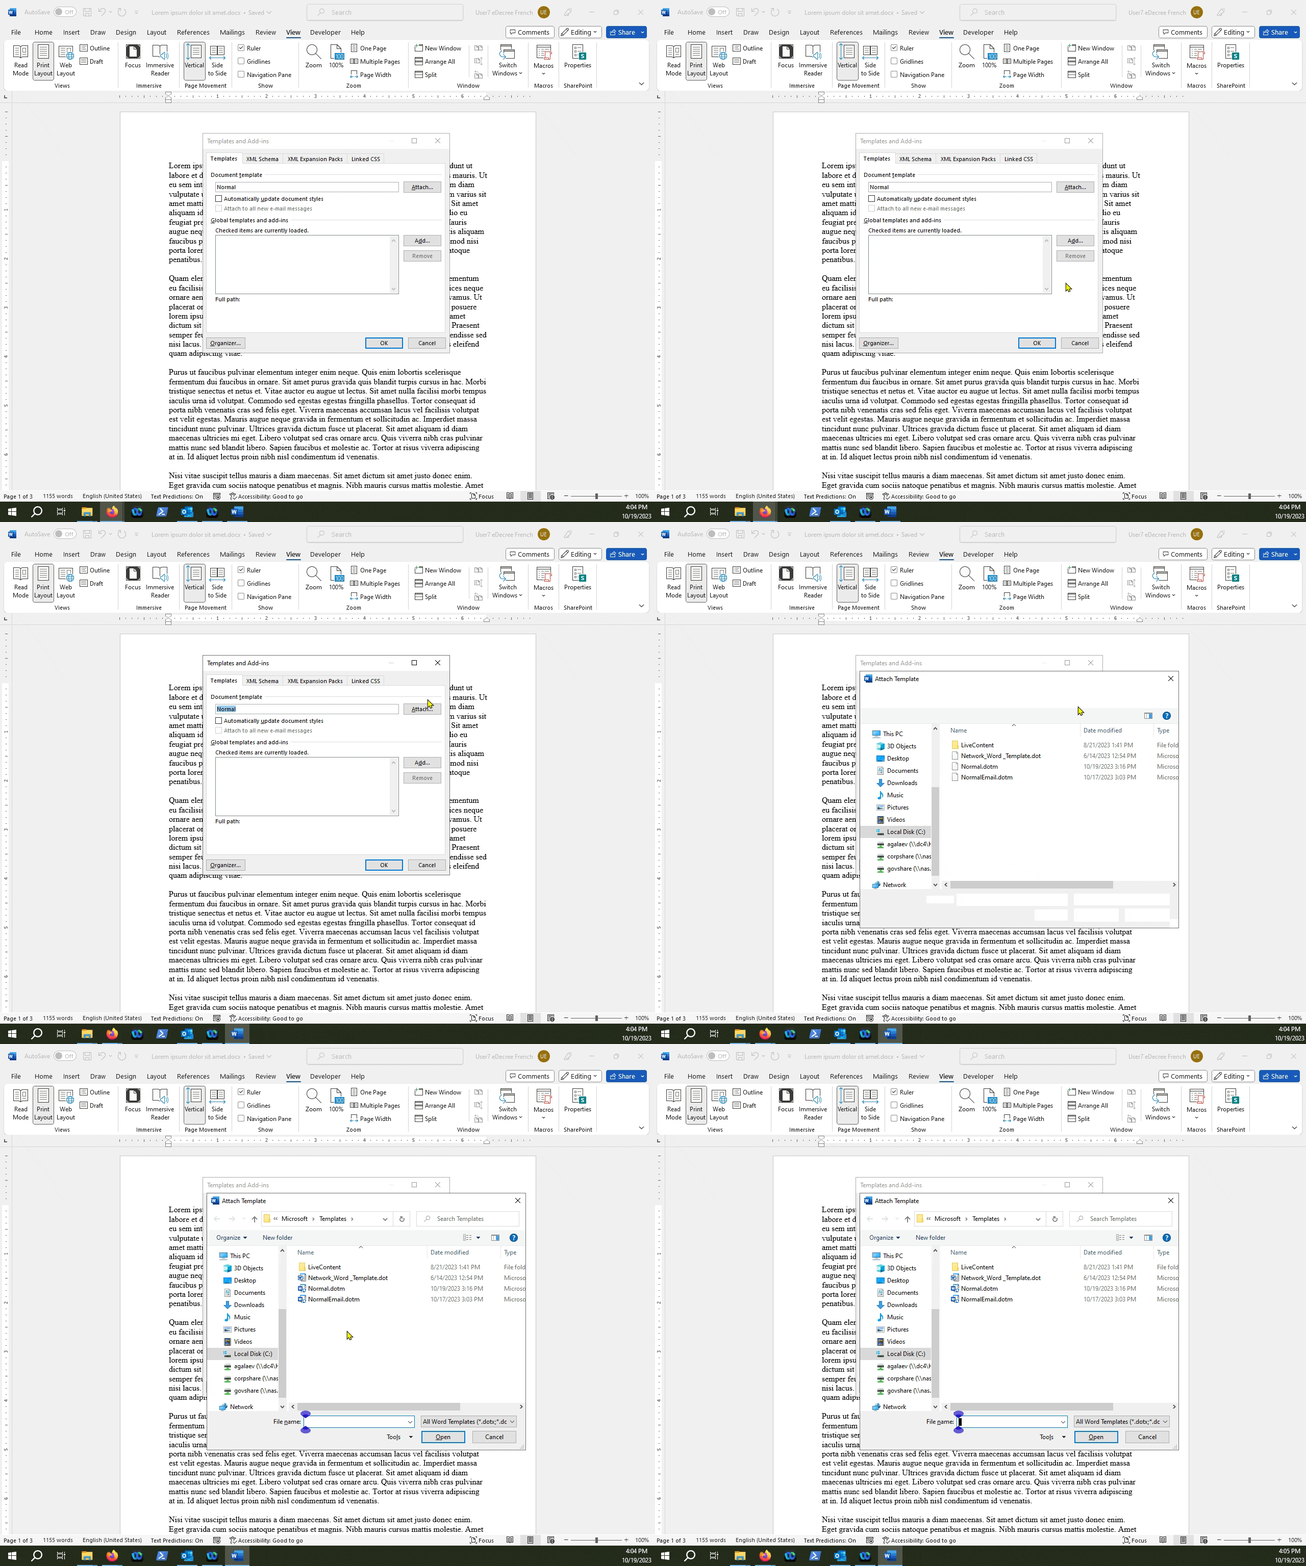
Find the custom .dotm template you created and click "Open"...
Then close the add-ins menu by clicking "OK"...
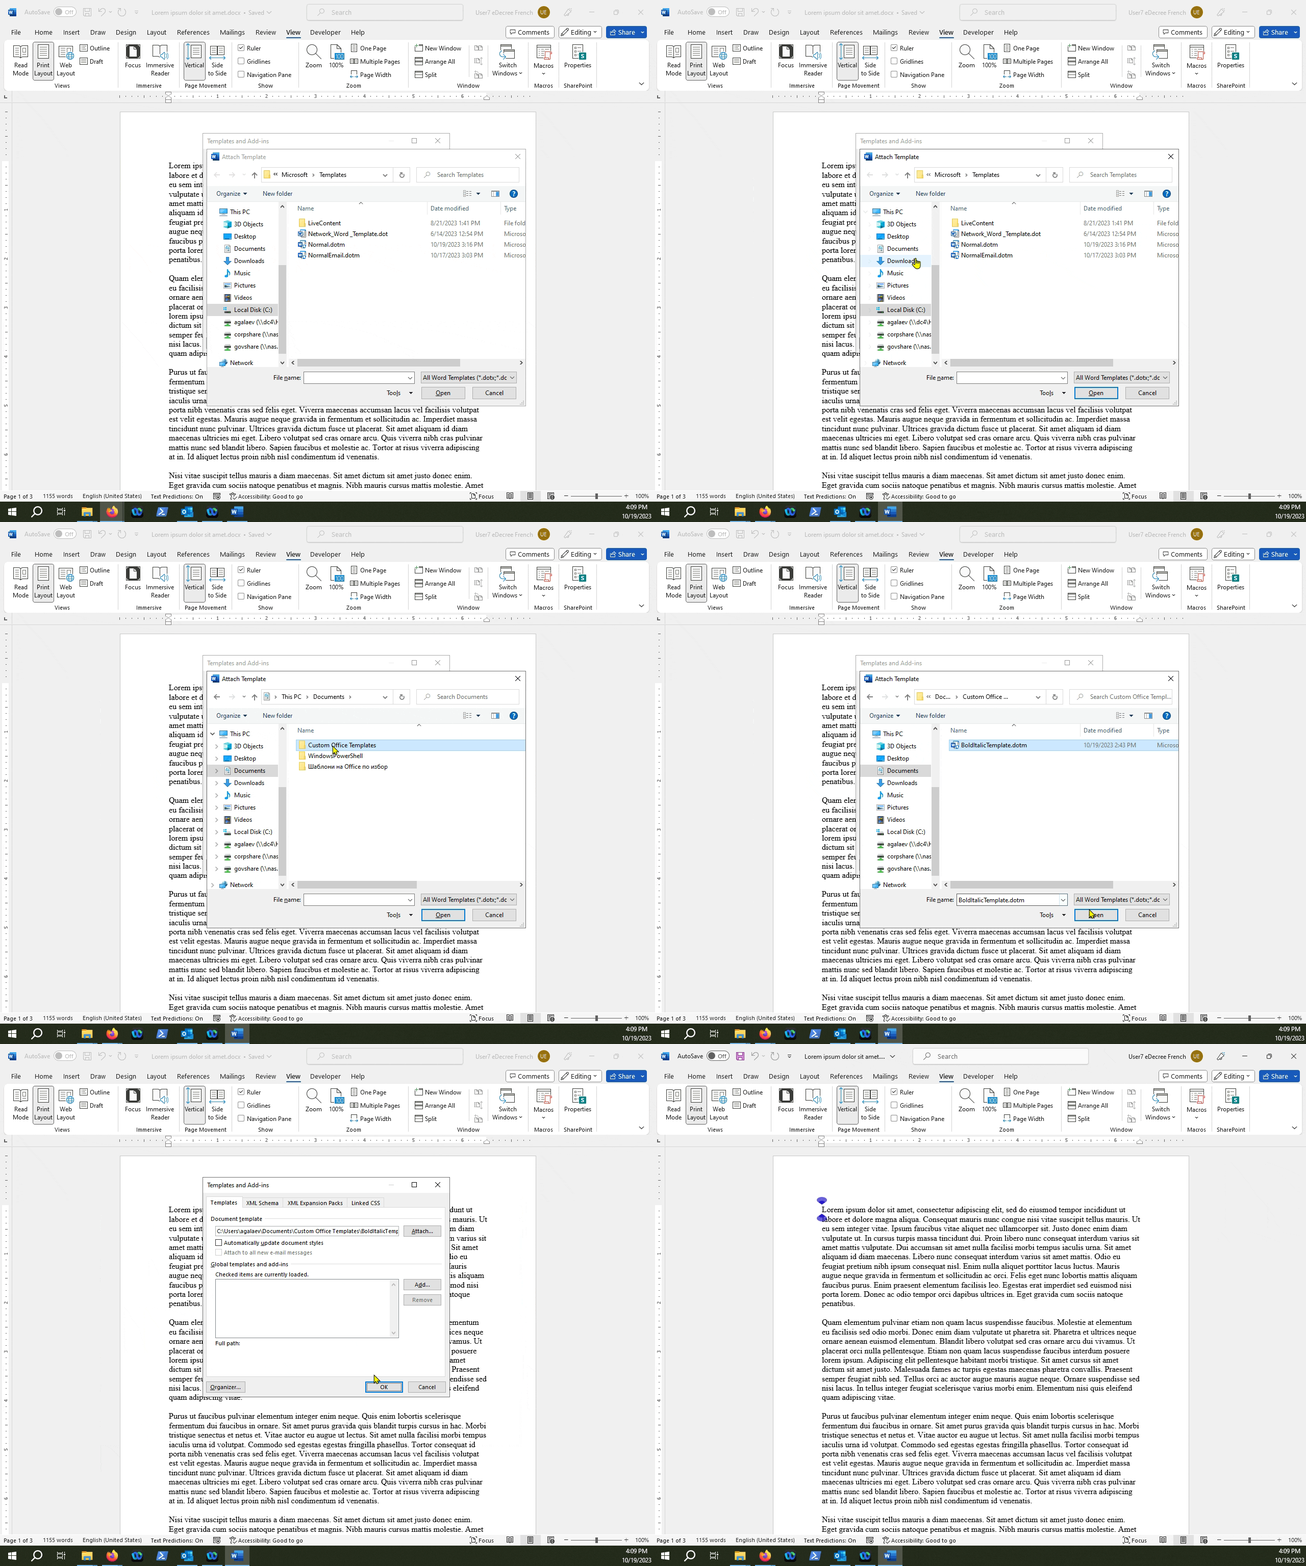
We can check the macros list or press the hotkey to see if we have correctly loaded the template
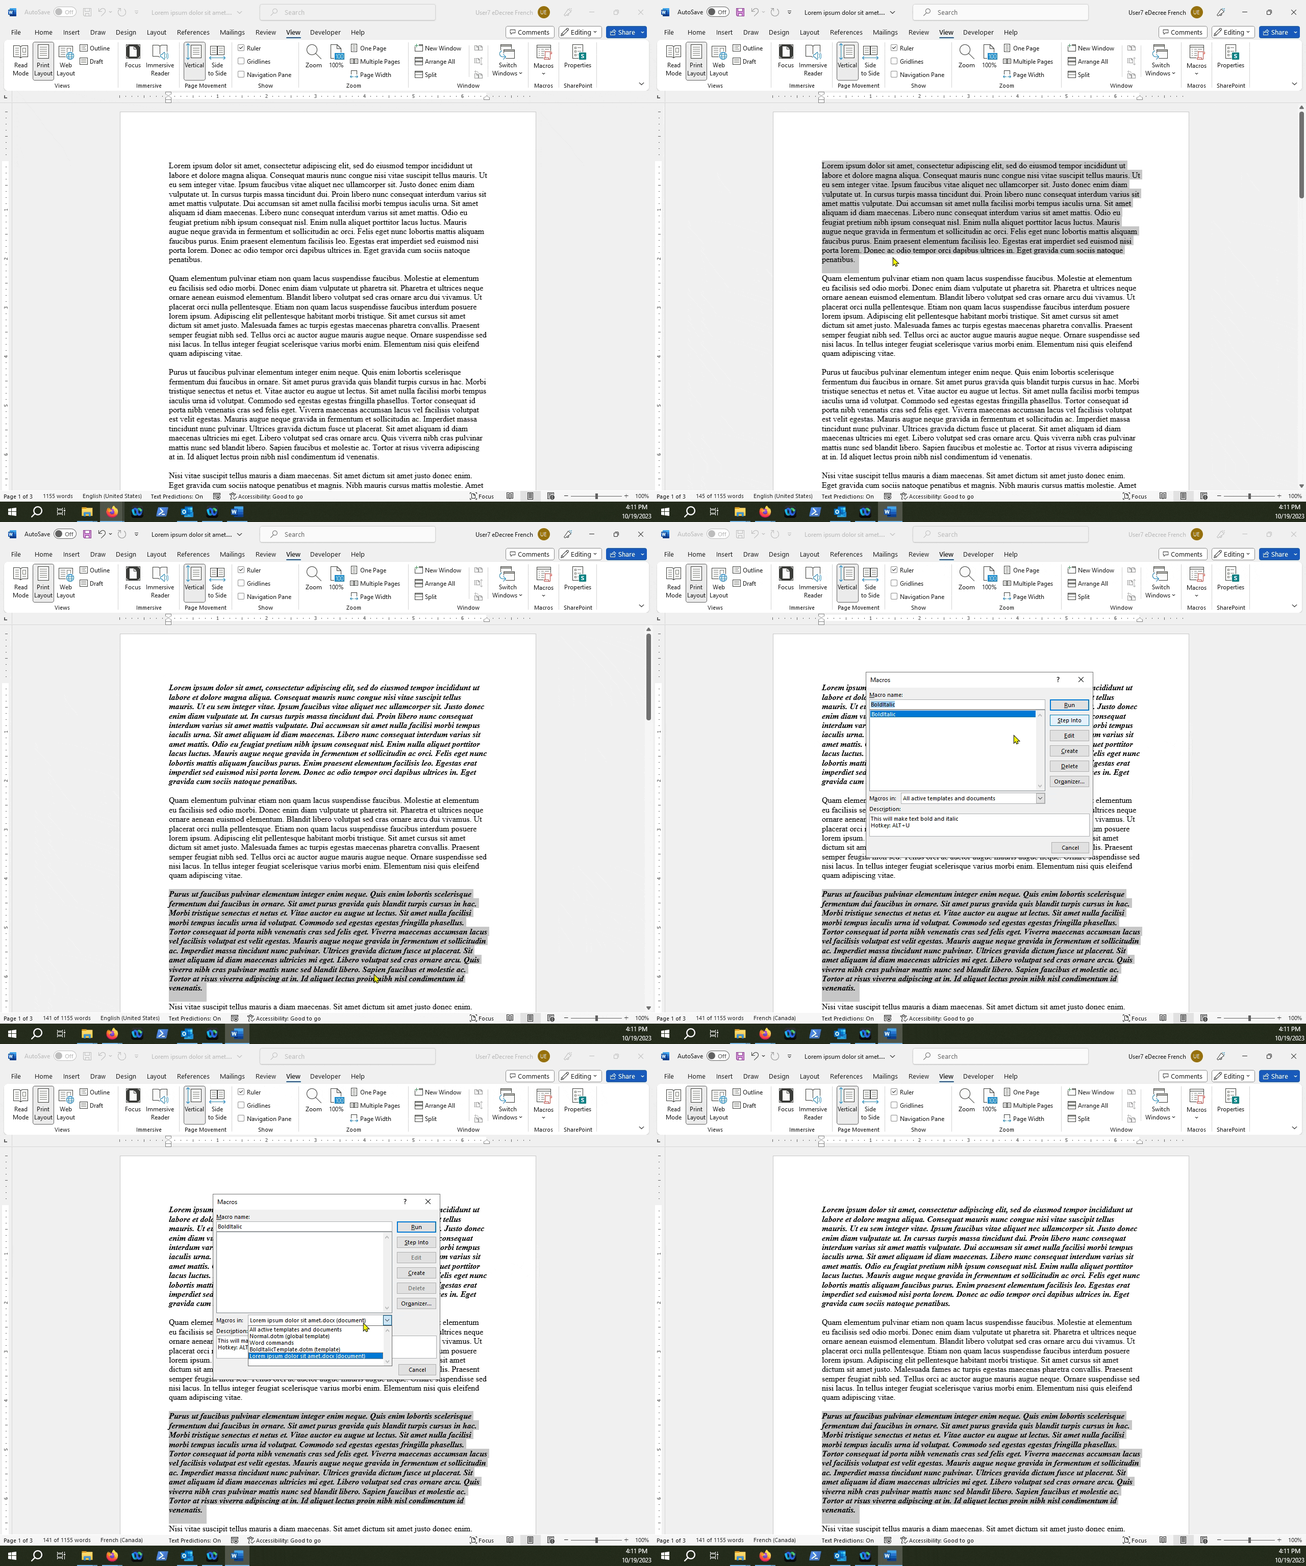
NOTE: The macro in the .docx document exists because we attached a template, meaning that it's not part of the "Normal.dotm" template file, nor is it saved in the document. This makes the adding of similar or identical macros to each document a much easier process (document automation).
So, How Is It Different From a .docm File?
So, we've identified .dotm files in MS Word as template files that contain macros, with the purpose of being applied to .docx files.
.docm files, however, are a bit different, as they are Macro-Enabled Documents (not templates), meaning that all macros that are created in that file type are contained within the document. Let's look at how that works.
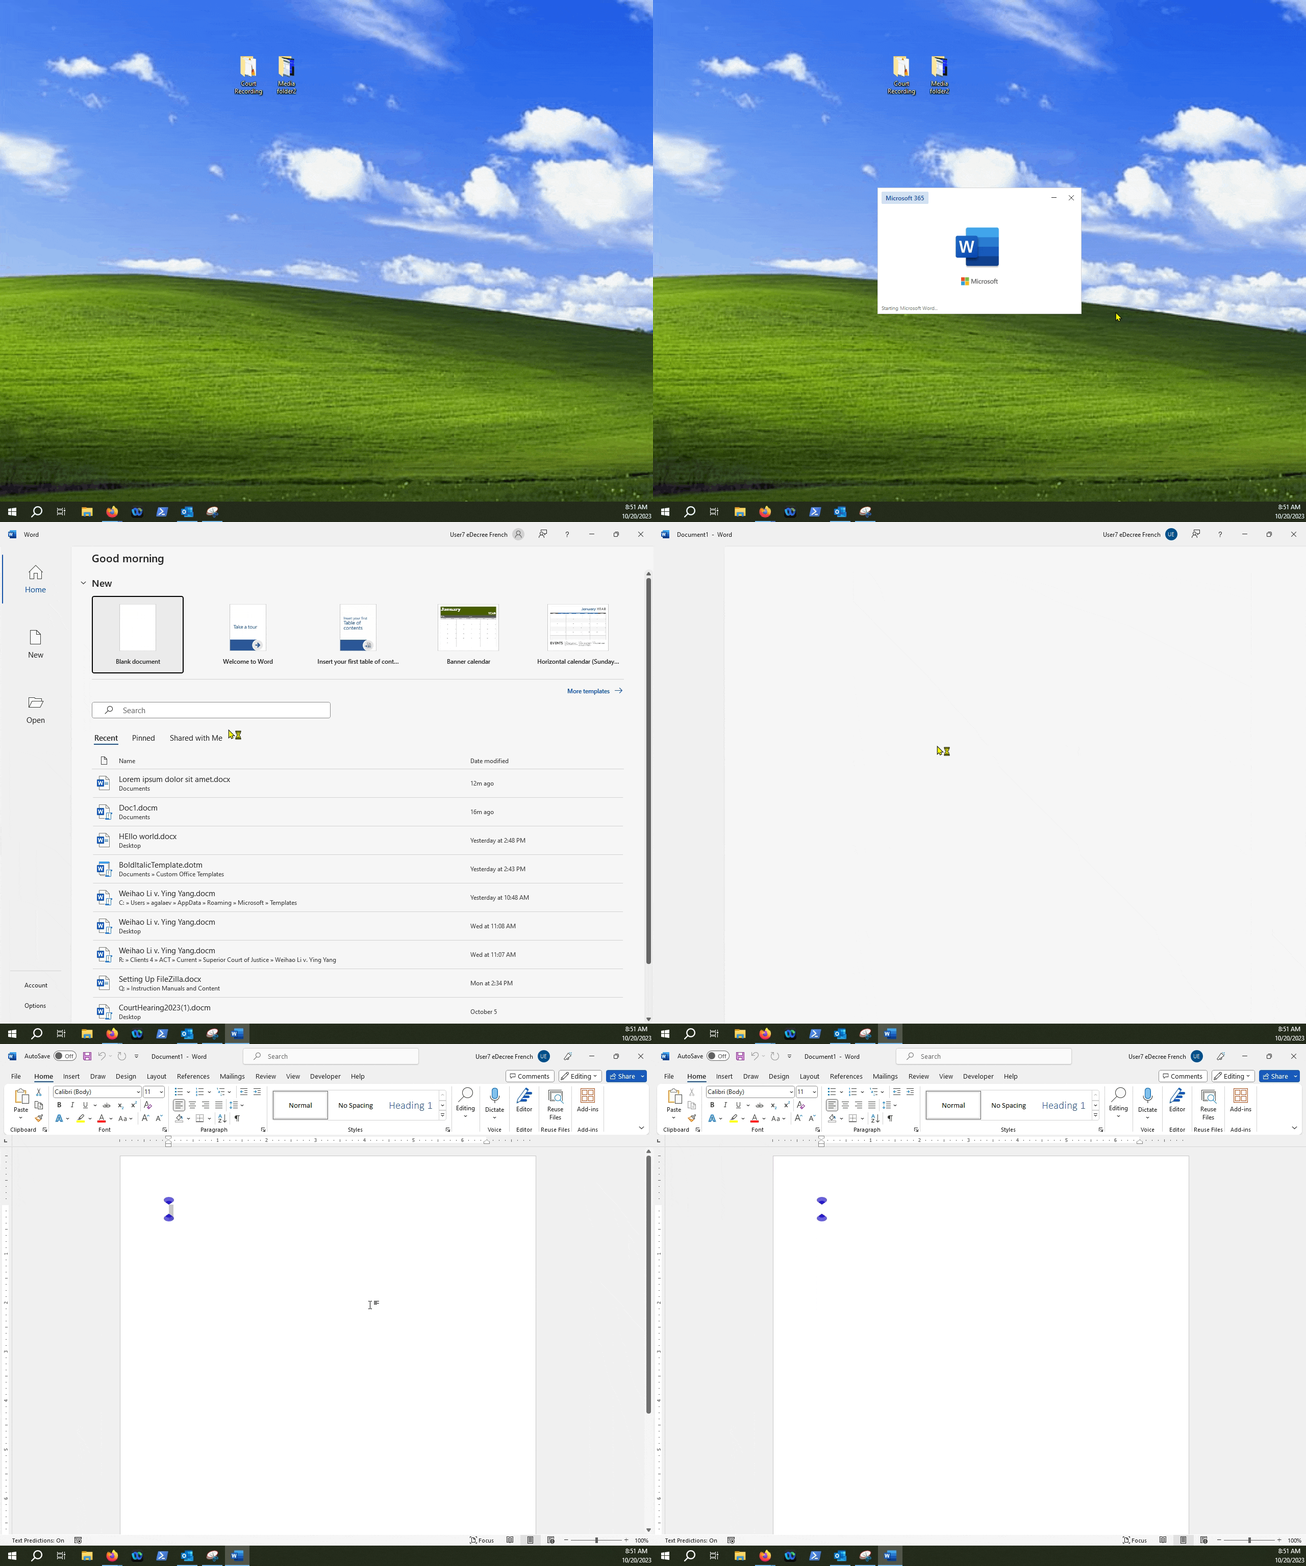
Create a new document in MS Word
Click "Record Macro.."
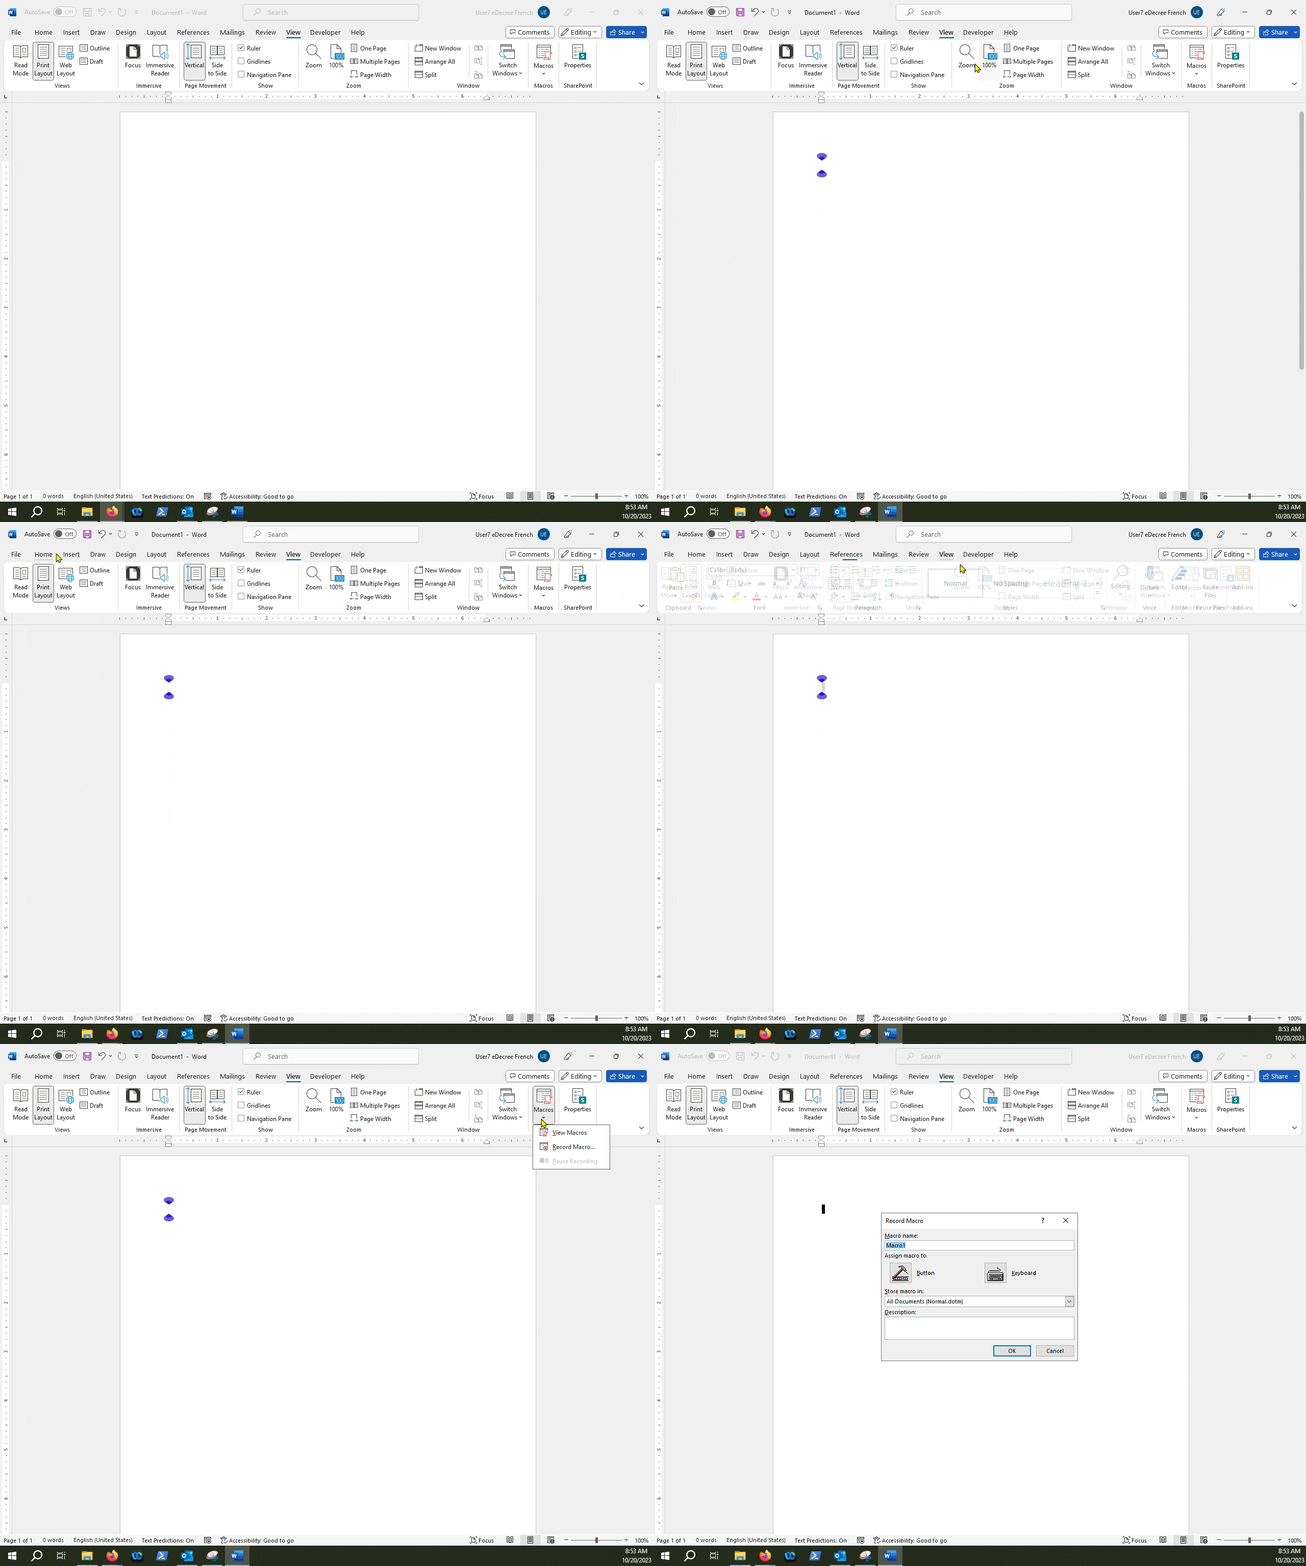
Name your macro and give it a description (optional)
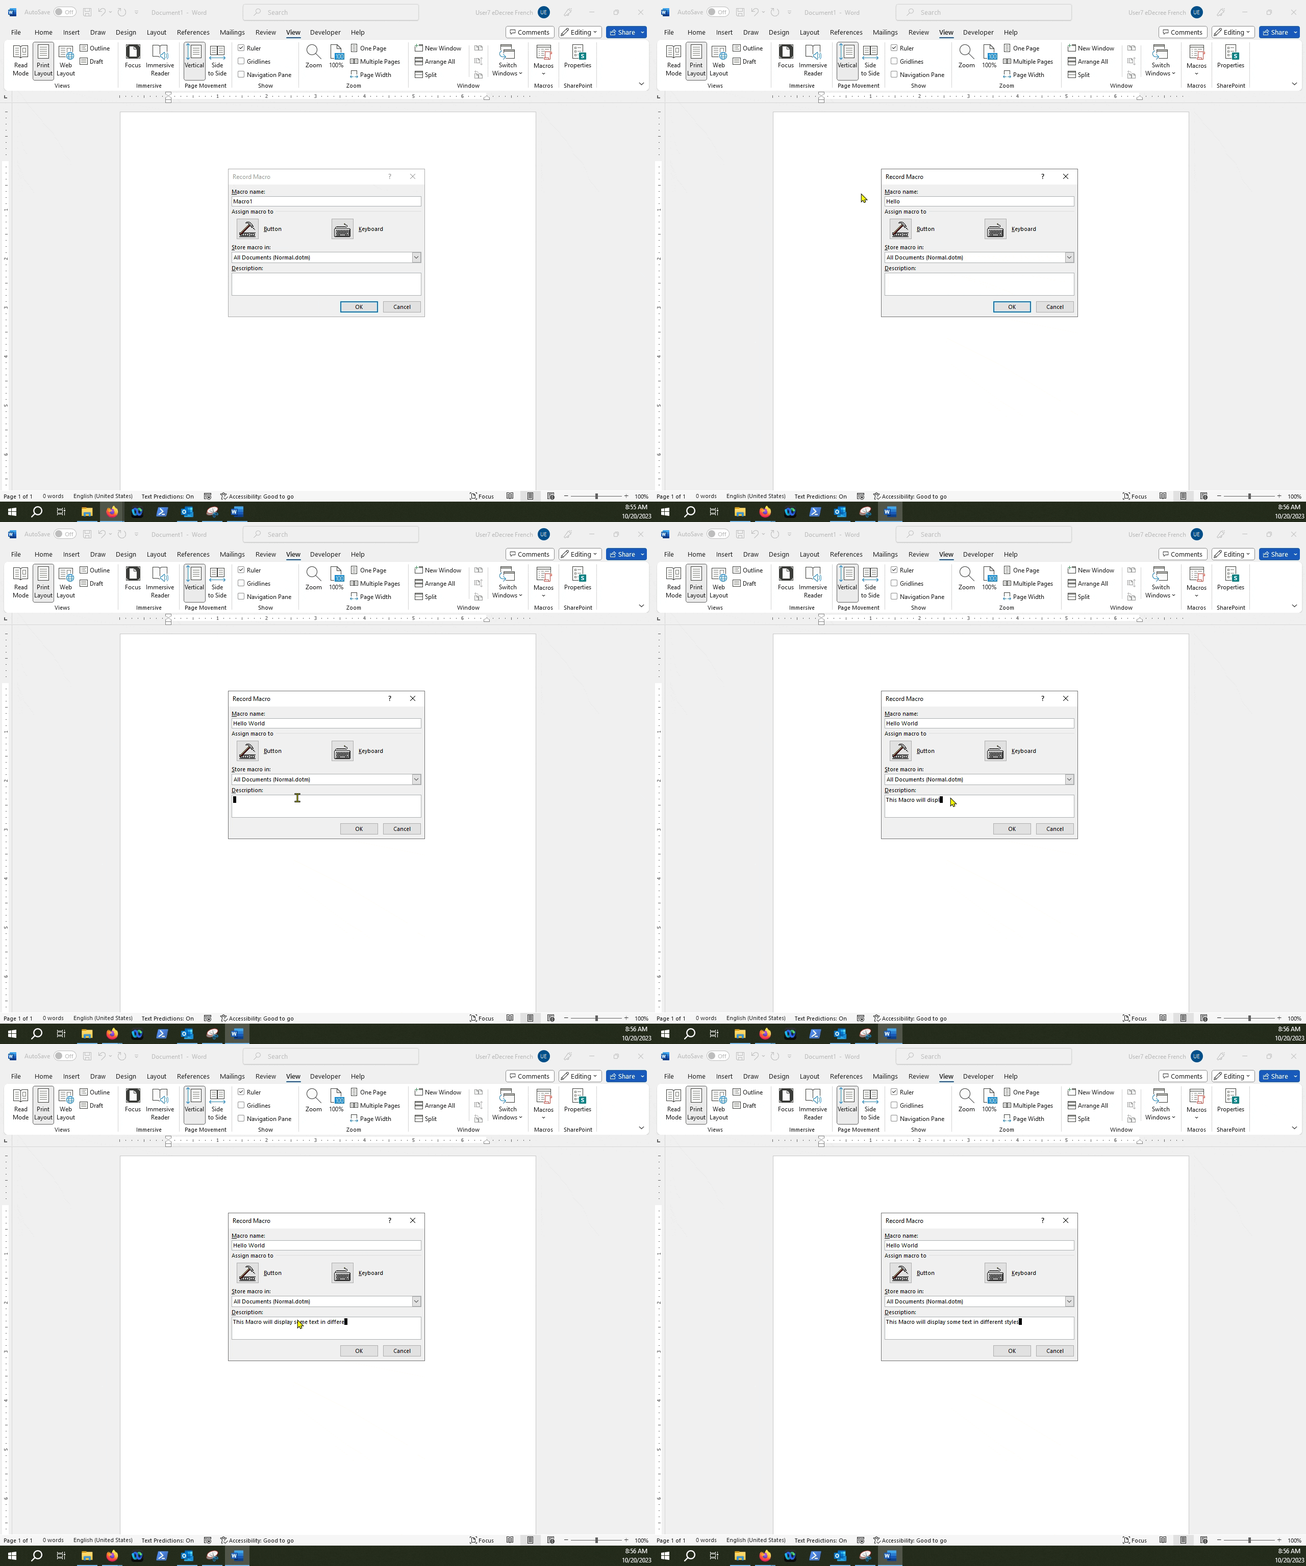
Click the "Store Macro in" drop-down list and select the current document you are working in (in this case it is Document1)
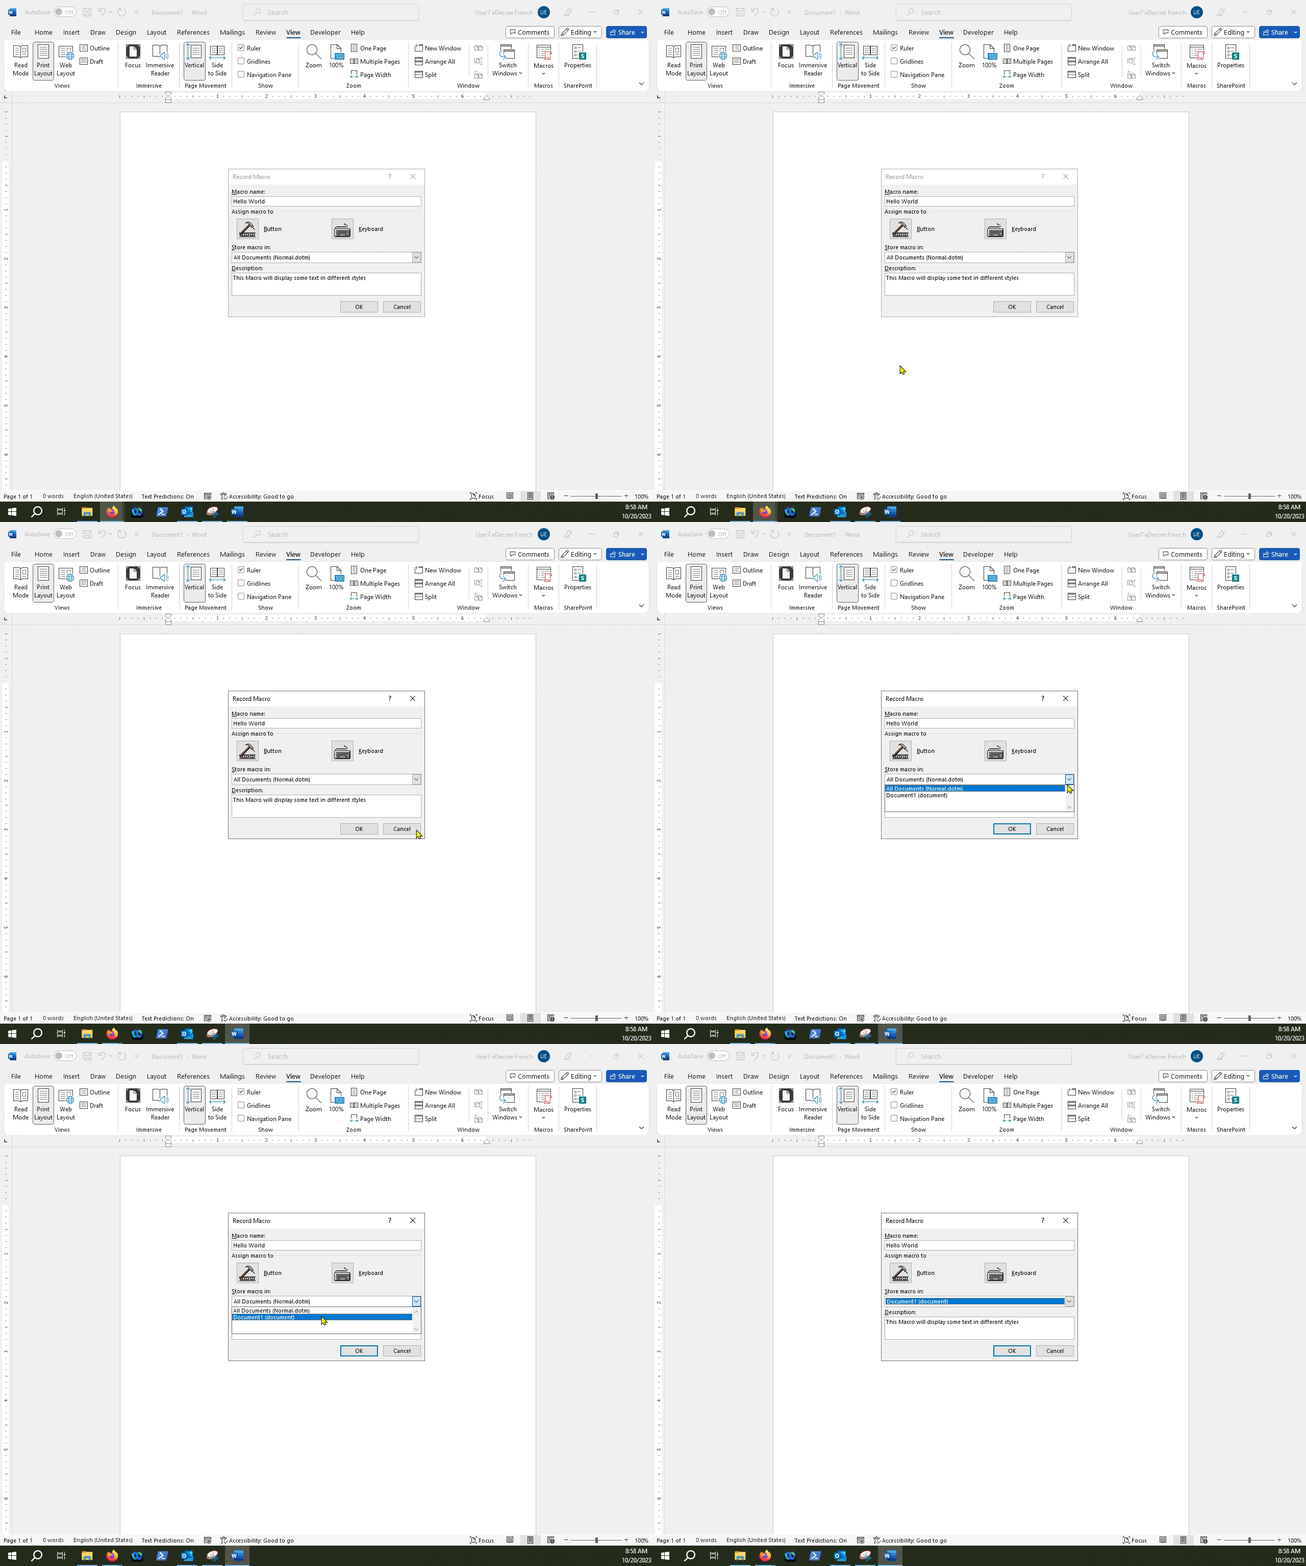
CAUTION: Be careful when naming your macros, as macro names must begin with a letter and use either letters or numerals. You cannot use spaces, non-alphanumeric characters, or periods.
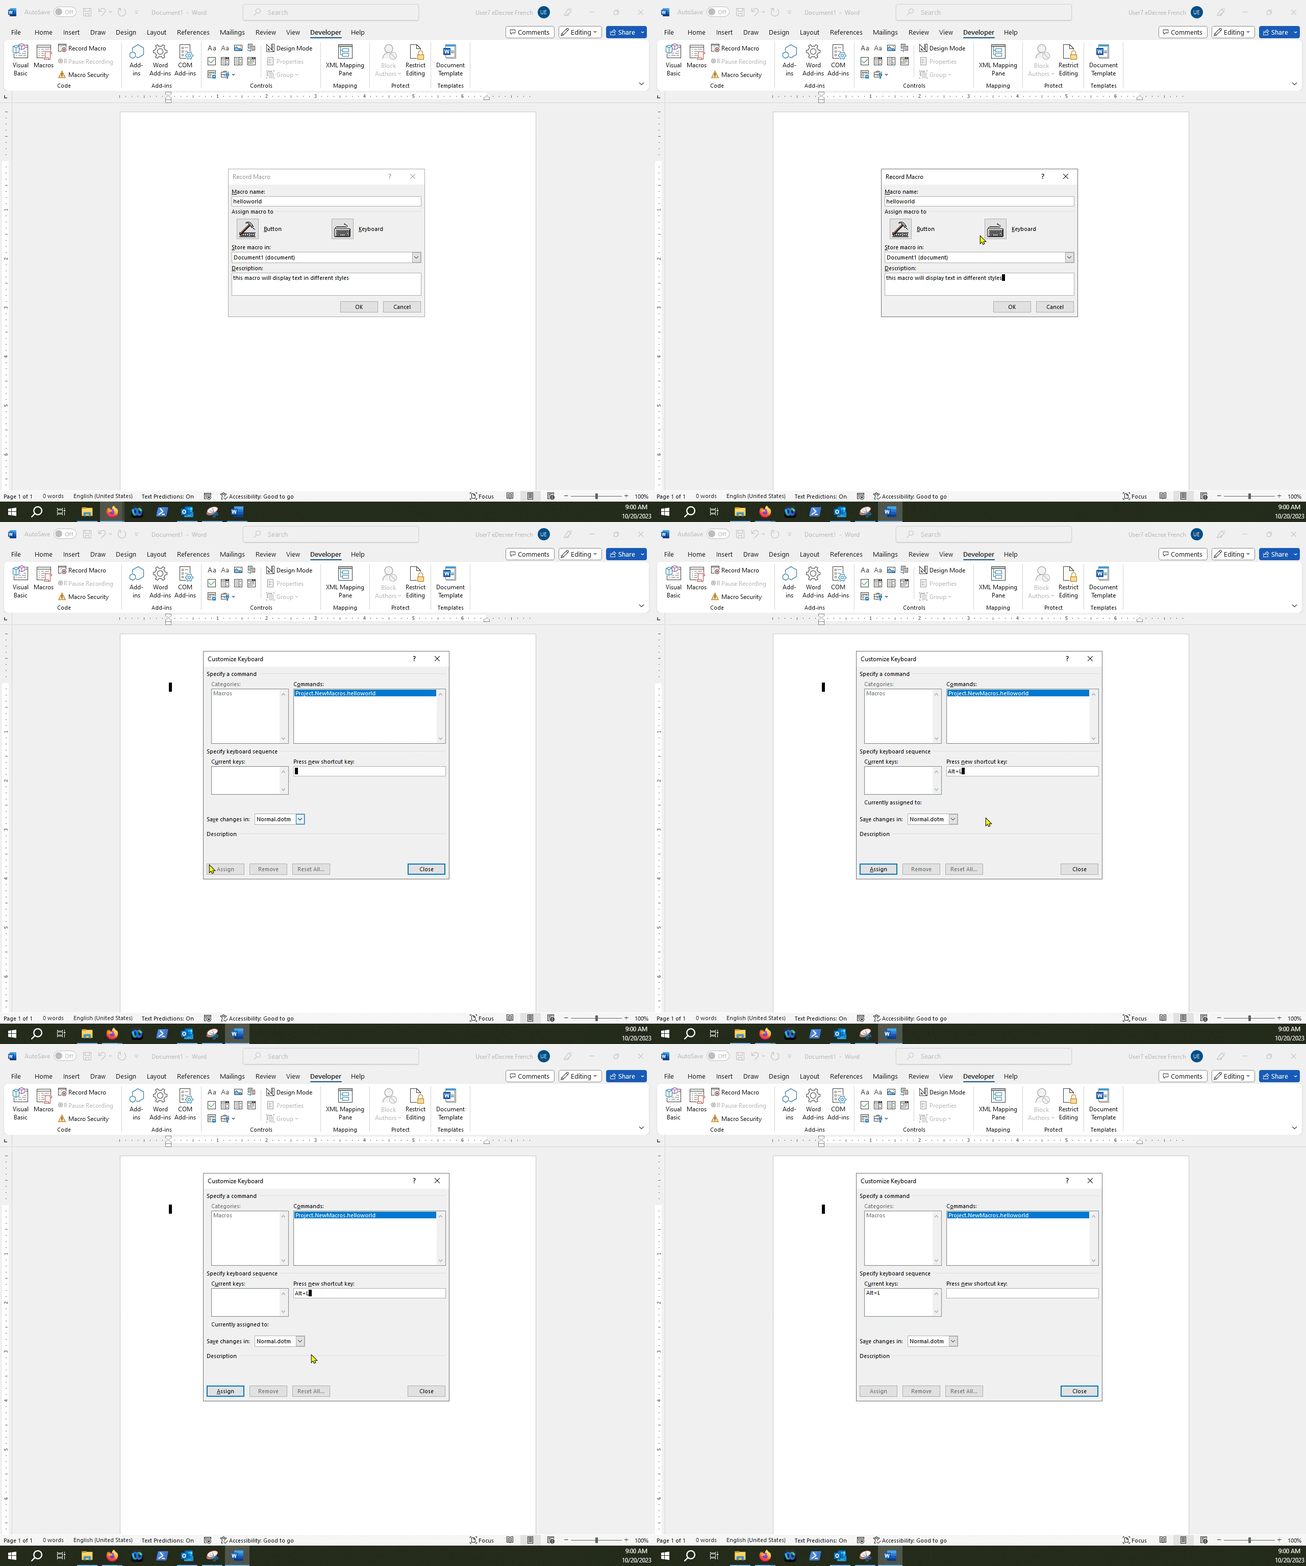
Assign a hotkey to the macro
Next, click the "Save Changes in:" drop-down list and select the current document
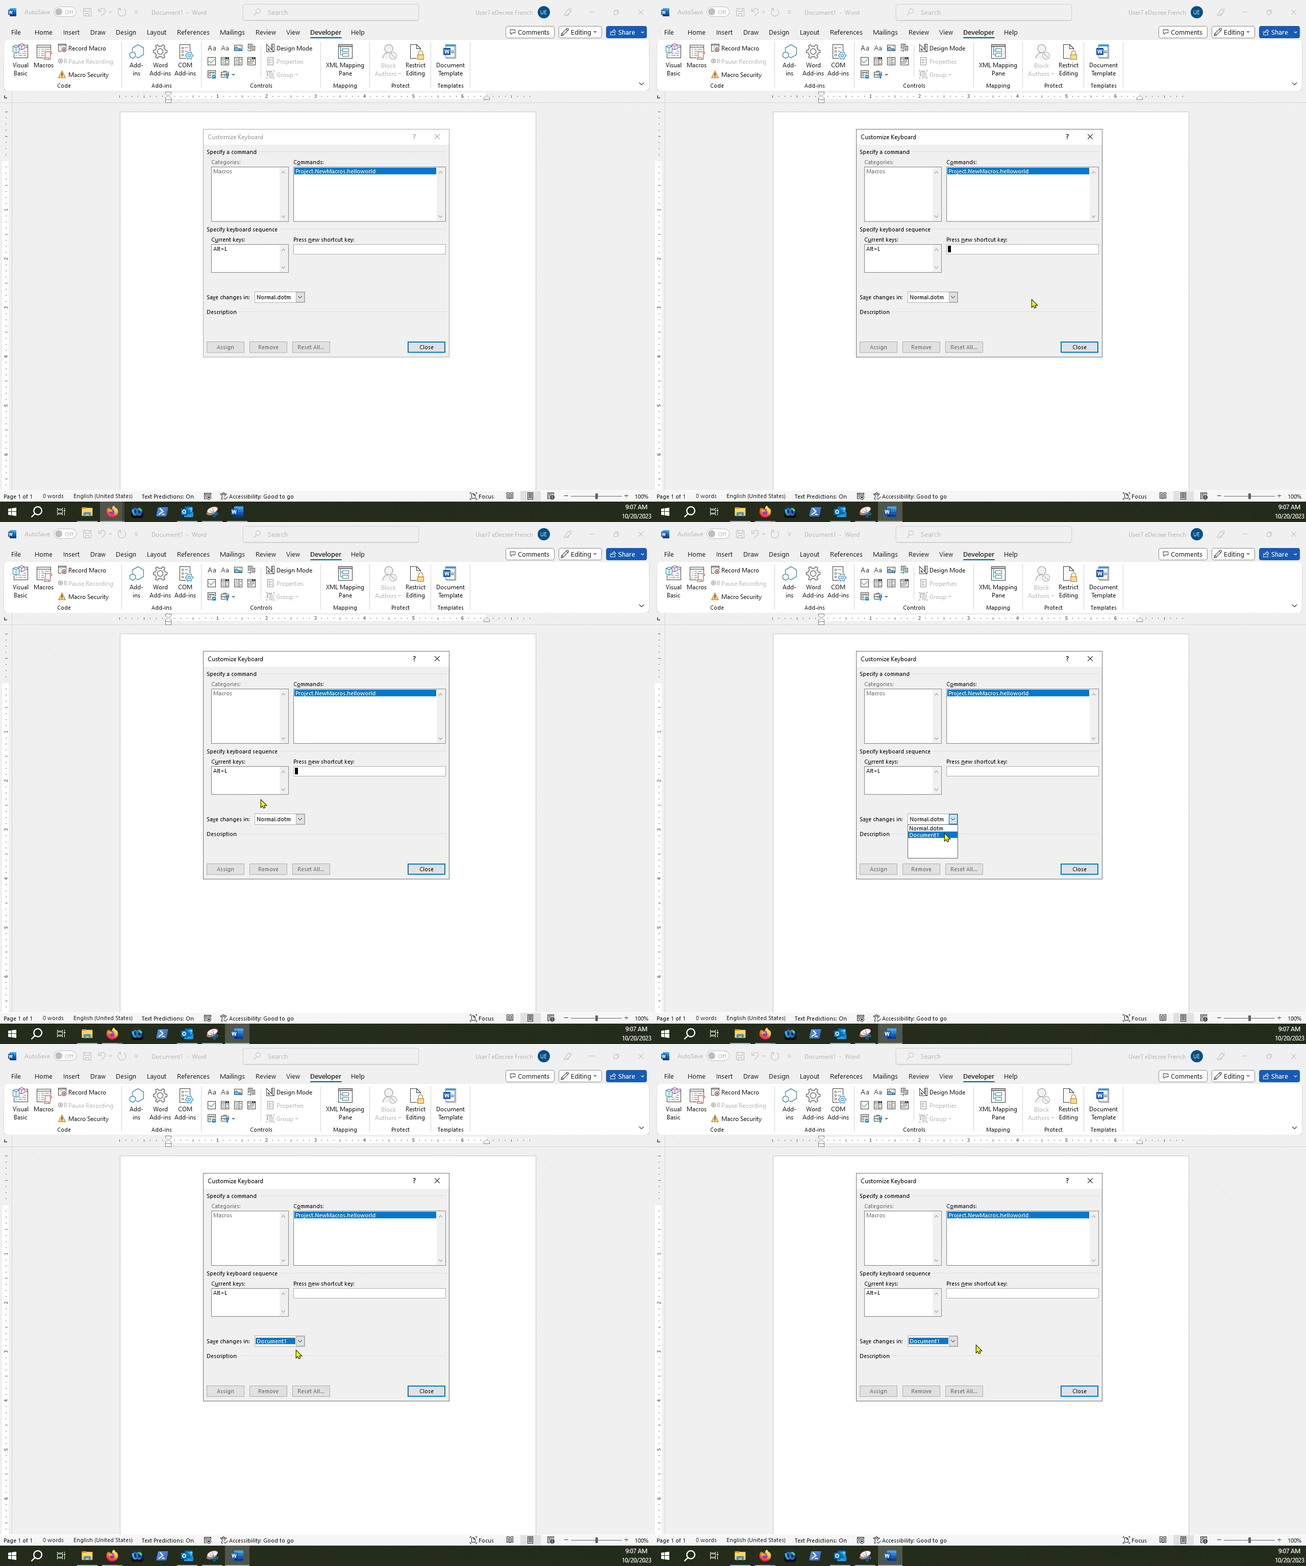
Close out the edit menu and record your macro
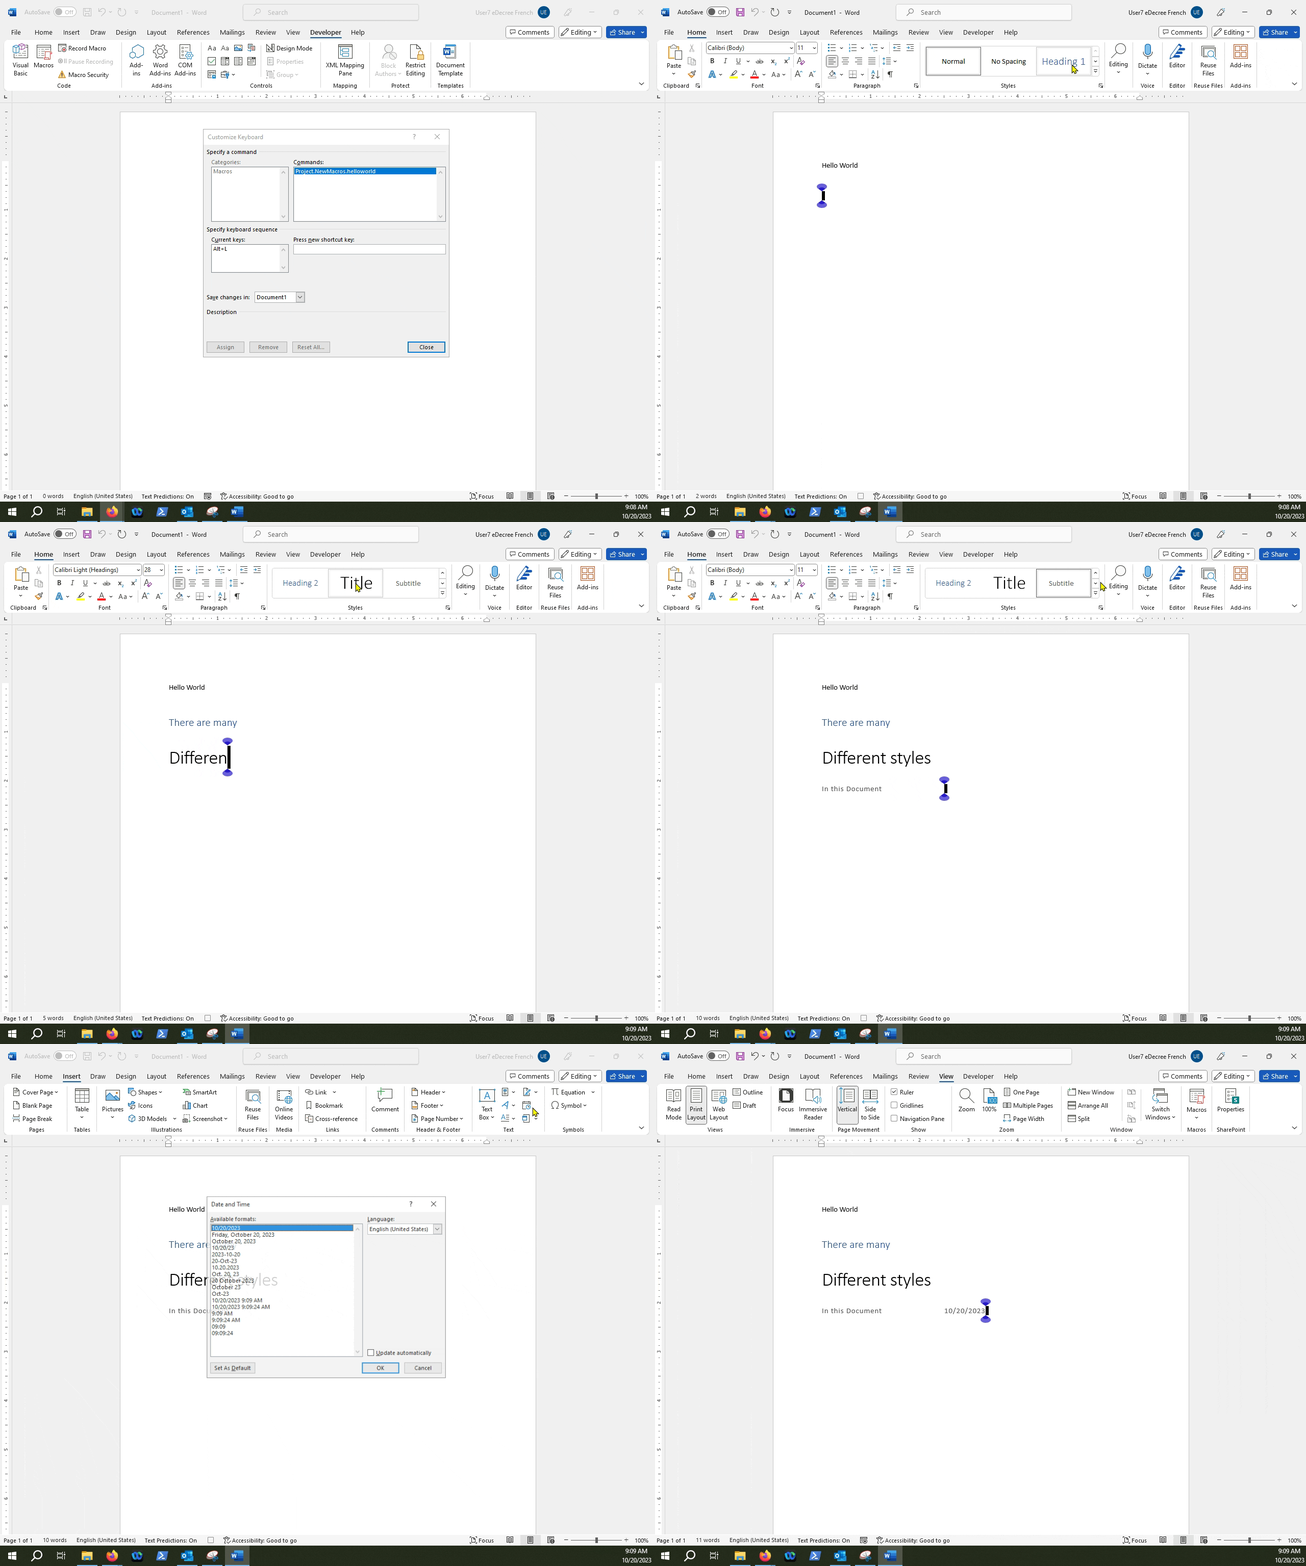
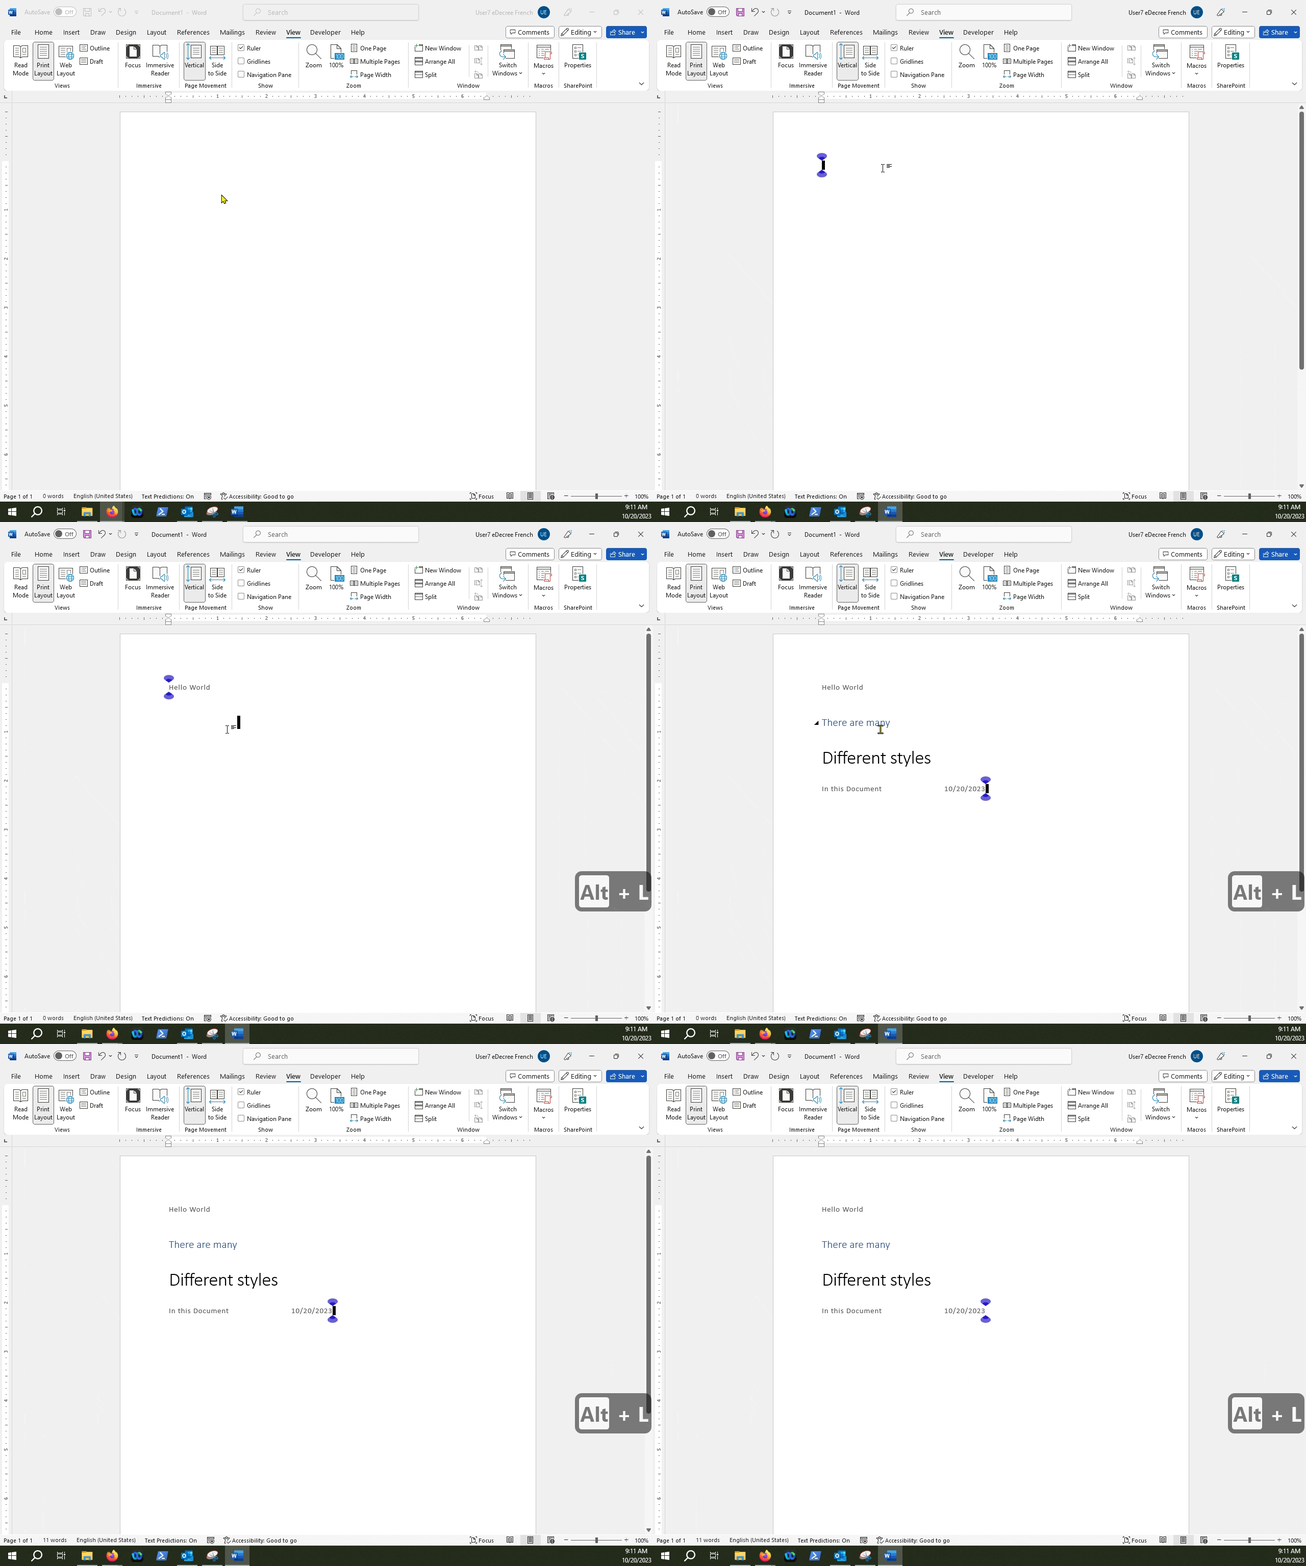
Test the macro
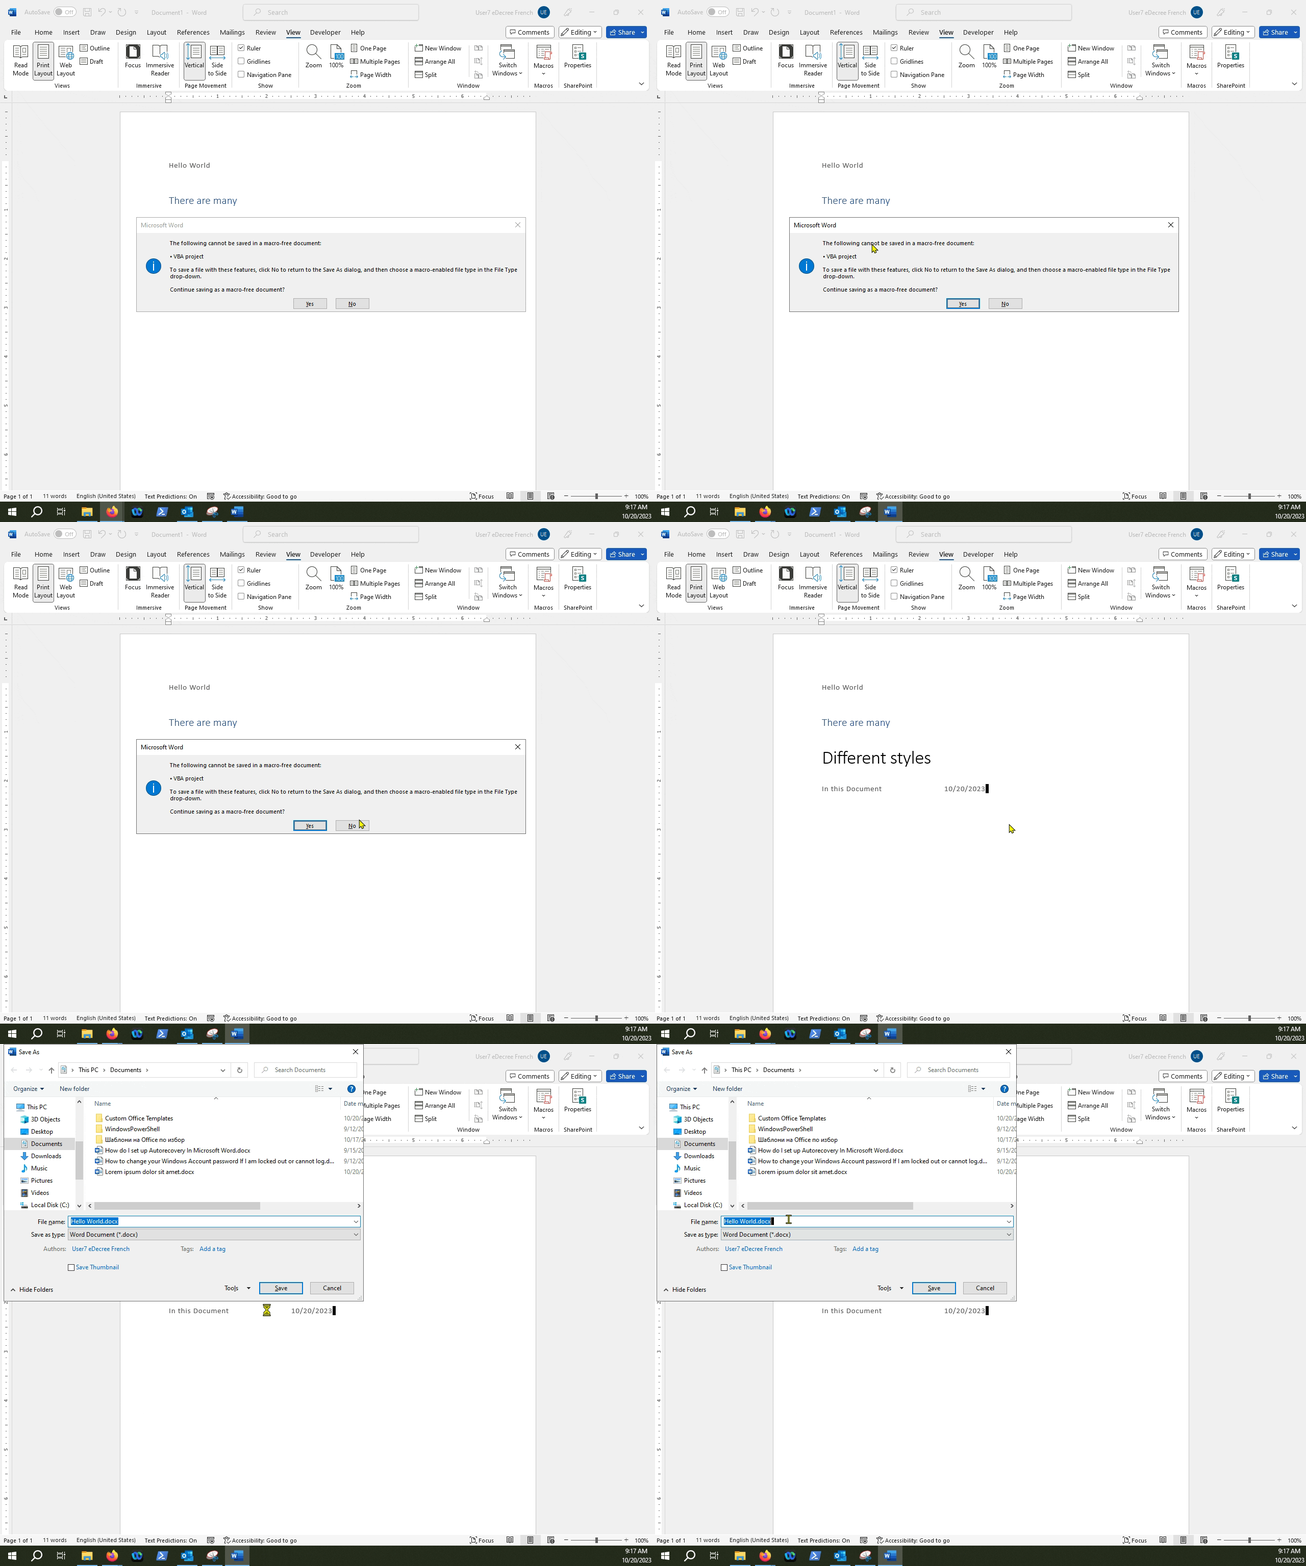
Go to the "File" tab and click "Save As" and browse where you want to save your file
-gif.gif)
NOTE: We tried to save the document as a .docx file while it had macros stored inside of the document. MS Word gave us a warning that, because this file contains a macro, it needs to be saved as a macro-enabled document (or a .docm file).
Click "No" on the dialogue box
This will bring back the "Save As" window
Select a location where you want to save the file, and select .docm as the file type
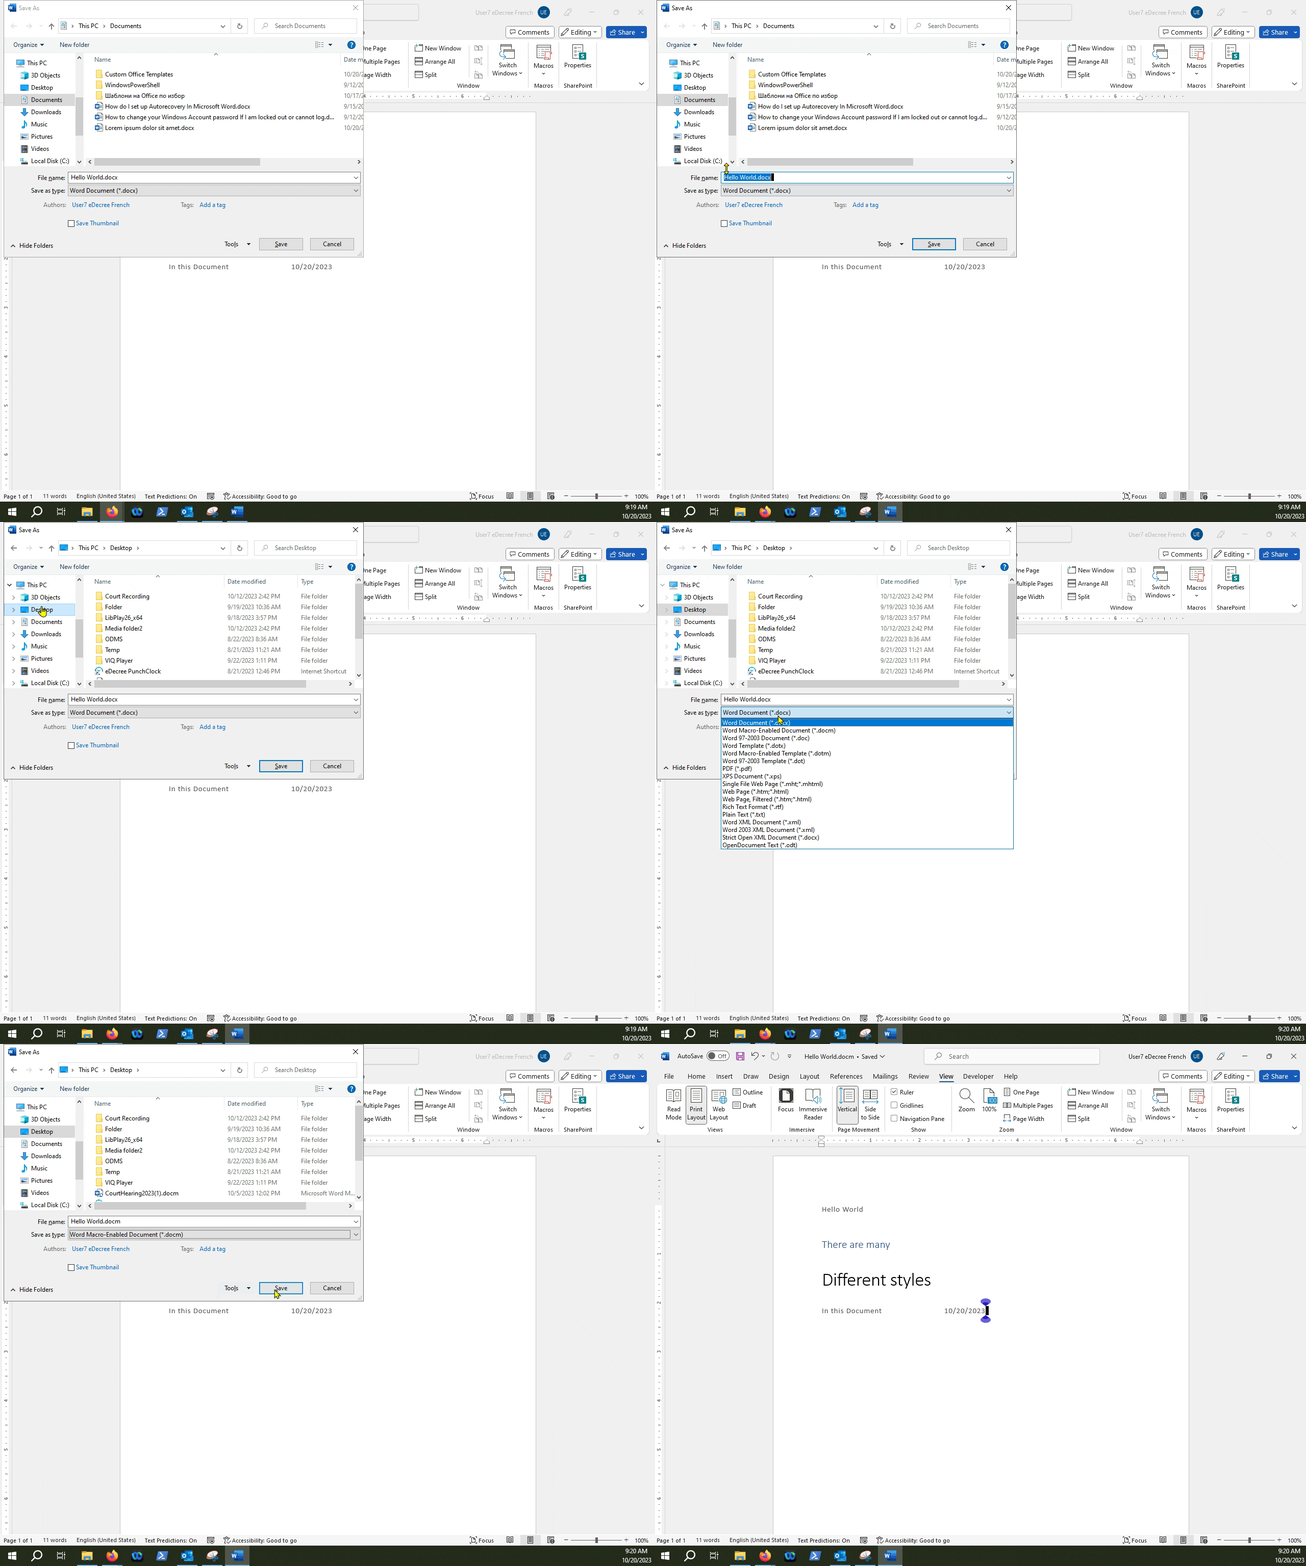
NOTE: Keep in mind that if the macro-enabled document is saved to an un-trusted location, the macros will not run If you try to open the file from that same location.